
Setting the Scene: The Ultimate Copper Pipe Showdown
[🎥 Camera Angle: Wide shot of a well-lit plumbing workbench. On the left, a traditional torch setup with a blue flame. On the right, a modern, battery-powered press tool resting on a bed of copper fittings.]
Welcome to the visual breakdown of crimping vs soldering copper pipe. For decades, sweating (soldering) was the undisputed king of residential and commercial plumbing. Today, press-fit technology has disrupted the trade, offering a flame-free alternative that drastically alters job site economics and safety protocols. In this video-style visual guide, we are putting the torch and the press tool side-by-side under the macro lens to evaluate prep, execution, failure modes, and real-world 2026 pricing.
Scene 1: The Gear & Cost Breakdown
[🎥 B-Roll: Panning close-ups of the tools, with on-screen text graphics highlighting current market pricing.]
Before we strike an arc or spark a torch, we need to address the barrier to entry. The financial footprint of these two methods is vastly different.
The Soldering Kit (The Traditionalist)
- Torch: Bernzomatic TS8000 High-Intensity Torch Head (approx. $75). The swirl-flame design ensures even heating of the fitting cup.
- Consumables: Oatey No. 5 Lead-Free Paste Flux ($8) and Oatey Safe Flo 95/5 Silver-Bearing Solder ($35 per pound).
- Accessories: Norton emery cloth, wire brushes, and a heat-shield cloth ($25).
- Total Entry Cost: ~$143
The Crimping / Press Kit (The Modernist)
- Press Tool: RIDGID RP 340 Compact Press Tool (approx. $1,299 in early 2026 markets). This 18V lithium-ion platform delivers 7,200 lbs of pressing force.
- Jaws/Rings: ProPress jaws for 1/2" to 2" pipe range from $300 to $450 per size.
- Fittings: Viega ProPress 1/2" copper couplings cost roughly $4.50 each (compared to $0.90 for standard sweat couplings).
- Total Entry Cost: ~$1,650+ (Tool + one jaw size + fittings)
🎬 Director's Note on ROI: If you are a homeowner doing a single bathroom remodel, soldering wins on pure economics. If you are a contractor or advanced DIYer tackling whole-house repipes, the labor-time savings of crimping pays for the RIDGID tool by the second day on the job.
Scene 2: Pipe Prep (The Macro Lens)
[🎥 Camera Angle: Extreme macro close-up on the cut end of a 1/2" Type L copper pipe.]
Both methods demand meticulous preparation, but the type of prep differs critically. The Copper Development Association (CDA) emphasizes that capillary action relies on pristine, chemically clean surfaces.
Soldering Prep Focus: Chemical Cleanliness
For soldering, the exterior of the pipe and the interior of the fitting cup must be polished to bright copper using emery cloth. Any oxidation or grease will block the flux from eating through the surface tension, resulting in a failed capillary draw. You must apply a thin, even layer of Oatey No. 5 flux immediately after shining the copper to prevent flash-oxidation from the ambient air.
Crimping Prep Focus: Mechanical Tolerances
[🎥 Visual Cue: Split screen. Left shows sanding; Right shows a deburring tool reaming the inside of the pipe.]
Press technology relies on a black EPDM (Ethylene Propylene Diene Monomer) O-ring pre-lubricated inside the fitting. Here is the fatal edge case: If you cut the pipe with a tube cutter and fail to ream the inside edge, the microscopic inner burr acts like a razor blade. When you push the pipe into the Viega ProPress fitting, that burr will slice or roll the EPDM O-ring. The joint will pass the initial visual inspection but will fail catastrophically under thermal expansion cycles. Always use a dedicated reaming tool and lightly bevel the outer edge of the pipe to guide it past the O-ring safely.
Scene 3: The Execution (Split-Screen Action)
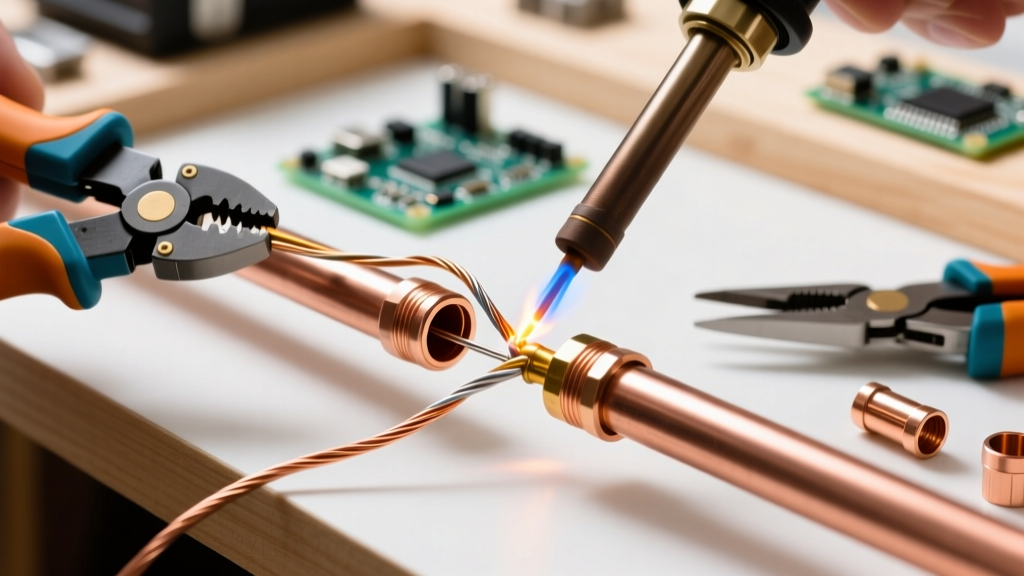
[🎬 Split Screen Comparison: Left side shows the torch method; Right side shows the press method. A digital stopwatch overlays the center.]
Left Screen: Sweating the Joint (Time: 3 Minutes)
- Heat Application: The TS8000 torch is applied to the fitting, not the pipe. We want the heat to travel inward, drawing the solder into the cup via capillary action.
- The Touch-Off: At exactly 450°F to 500°F, the flux bubbles and turns clear. We touch the 95/5 solder wire to the opposite side of the joint. [🎥 Macro shot: Molten solder instantly wicks into the joint, forming a silver ring.]
- Cool Down: The joint must remain completely stationary for 60 seconds. Moving it while the solder is in its plastic state creates a fractured 'cold joint'.
Right Screen: Pressing the Joint (Time: 15 Seconds)
- Insertion: The pipe is pushed into the Viega ProPress fitting until it hits the internal depth stop. A depth-marking pencil line confirms full insertion.
- Jaw Alignment: The RIDGID RP 340 jaw is opened and positioned squarely over the fitting's pressing contour.
- The Press: Pull the trigger. The tool cycles in roughly 4 seconds, permanently deforming the copper fitting into the pipe and compressing the EPDM O-ring into a watertight seal. The tool beeps, and the joint is immediately ready for pressure testing.
Scene 4: Failure Modes & Diagnostics
[🎥 Camera Angle: Infrared thermal imaging and slow-motion water leak tests.]
Understanding how these joints fail is critical for troubleshooting behind drywall.
Soldering Failure: The Cold Joint & Flux Corrosion
A cold joint occurs when the base metal wasn't heated sufficiently, causing the solder to paste over the surface rather than alloy with the copper. Visually, a cold joint looks dull, grainy, and bulbous, lacking the smooth, concave fillet of a proper sweat joint. Furthermore, if excess acidic flux is not wiped away with a damp rag while warm, it will cause pinhole green-leeching corrosion over a 5-to-10-year span.
Crimping Failure: Dry-Press & UV Degradation
The most common DIY failure with press fittings is the 'dry-press'—forgetting to ensure the O-ring is actually seated inside the fitting before pressing. Additionally, EPDM O-rings are highly susceptible to UV degradation. If ProPress fittings are stored in direct sunlight or left exposed to UV rays on an outdoor job site for months before being pressurized, the rubber will dry-rot and micro-crack, leading to slow weeping once the water is turned on.
The Final Cut: Head-to-Head Matrix
[📊 On-Screen Graphic: Data Table overlaying the video feed]
| Metric | Traditional Soldering (Sweat) | Crimping (Viega ProPress) |
|---|---|---|
| Avg. Joint Time | 3 - 5 Minutes | 10 - 15 Seconds |
| Max Operating Temp | 400°F+ (Depends on alloy) | 250°F (EPDM O-ring limit) |
| Max Pressure Rating | 1,000+ PSI (Brazed/Silver) | 200 PSI (Standard residential) |
| Fire Risk | High (Requires heat shields) | Zero (Flameless operation) |
| Concealed Space Code | Universally approved by IPC/UPC | Approved, but requires visual press-indicator |
| Tool Investment | < $150 | $1,300 - $2,500+ |
Director's Notes: Which Should You Choose?
[🎥 Camera Angle: Host speaking directly to the camera, holding a soldered pipe in one hand and a pressed pipe in the other.]
The debate of crimping vs soldering copper pipe ultimately comes down to your specific project parameters:
- Choose Soldering When: You are working on high-temperature steam lines, exposed decorative plumbing where the silver fillet is visually desired, or small residential repairs where the $1,300+ tool investment cannot be justified.
- Choose Crimping When: You are working in tight joist bays where fire-hazard mitigation is a nightmare, doing whole-house repipes where labor-speed dictates profitability, or working on active commercial sites where hot-work permits and fire watches would stall the project.
By mastering both techniques, you equip yourself with the versatility to handle any plumbing scenario the job site throws at you. Keep your torch tips clean, keep your press batteries charged, and always pressure-test before you close up the drywall.