
The Metallurgical Reality: Why Aluminum Rejects Standard Solder
If you have ever tried to join two pieces of aluminum using standard 60/40 tin-lead or SAC305 lead-free solder, you already know the frustration. The solder simply balls up and rolls off, leaving a gray, untouched surface. This is not a failure of your soldering iron; it is a fundamental metallurgical barrier.
Aluminum instantly reacts with oxygen in the air to form a microscopic layer of aluminum oxide (Al2O3). While the base aluminum metal melts at a relatively low 1,220°F (660°C), the aluminum oxide layer has a melting point of over 3,700°F (2,037°C). Standard rosin-core fluxes are entirely incapable of dissolving this ceramic-like shield.
The Oxide Paradox: To solder aluminum, you must mechanically or chemically breach the oxide layer and keep oxygen away from the bare metal while the solder flows. Aluminum soldering wire alone cannot do this; it requires a synchronized combination of aggressive chemistry, mechanical abrasion, and precise thermal management.
In this 2026 beginner walkthrough, we will demystify the process of using aluminum soldering wire, moving past the marketing hype to focus on the actual physics and chemistry required to create a strong, electrically conductive joint.
Decoding 'Aluminum Soldering Wire': True Solder vs. Low-Temp Rods
When shopping for aluminum soldering wire, beginners often fall into a nomenclature trap. The market is flooded with products labeled as 'solder' that are technically low-temperature brazing rods. Understanding the difference is critical for selecting the right heat source and technique.
| Alloy Type | Composition | Melting Point | Heat Source Required | Best For |
|---|---|---|---|---|
| True Sn-Zn Solder Wire | 70% Tin / 30% Zinc (e.g., Indalloy) | 390°F (199°C) | 80W+ Soldering Iron | Electronics, thin foil, delicate PCB traces |
| Zn-Al Low-Temp Rods | 95% Zinc / 5% Aluminum (e.g., Alumiweld) | 716°F (380°C) | Micro-Torch (MAPP/Propane) | Structural repairs, RC car chassis, thick heat sinks |
| Multi-Metal Flux-Cored | Proprietary Sn-Zn-Bi blends with aggressive core | 450°F - 500°F (232°C - 260°C) | 100W Iron or Hot Air Station | General DIY, joining aluminum to copper/steel |
For this walkthrough, we will focus primarily on True Sn-Zn (Tin-Zinc) Solder Wire and Multi-Metal Flux-Cored Wires, as these are the most common entry points for hobbyists working with electronics, RC vehicles, and small appliance repairs.
The Beginner's Tool & Material Checklist
Do not attempt this with a standard 40W hobby iron. Aluminum is an exceptional heat sink; it will pull heat away from your iron tip faster than the iron can replenish it, resulting in cold joints and degraded flux.
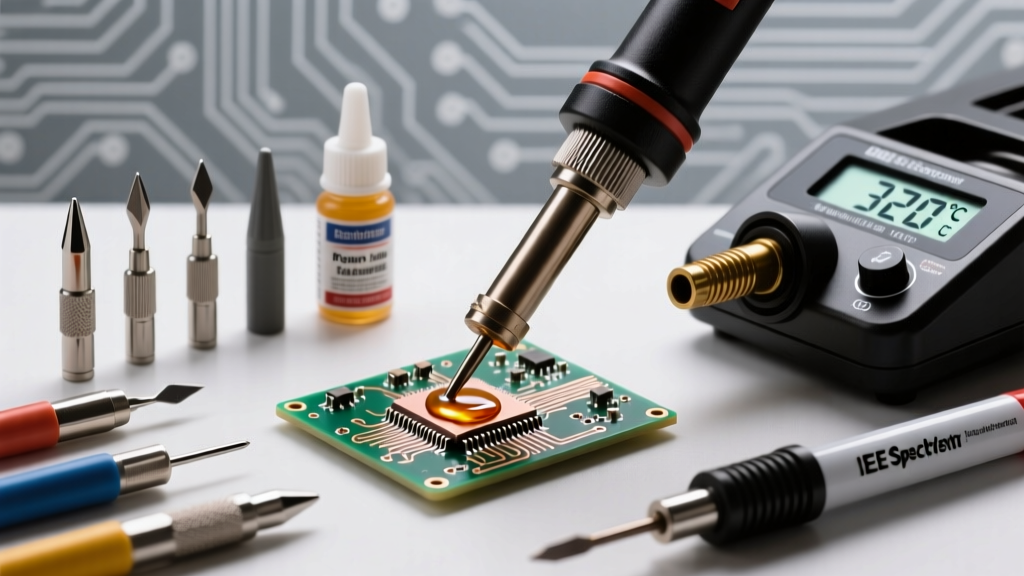
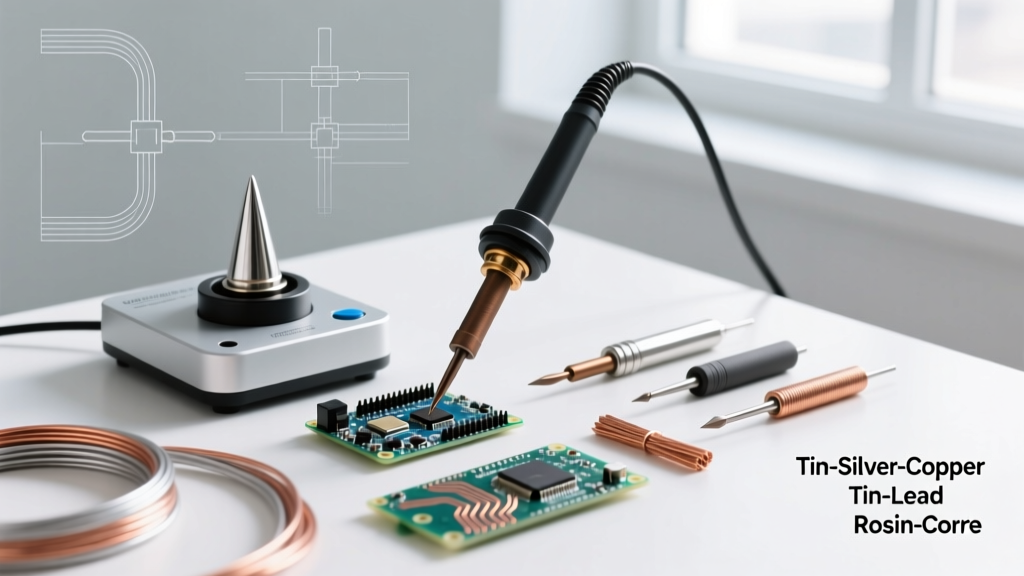
- Heat Source: A temperature-controlled soldering station capable of sustaining 750°F (400°C) at the tip, with a minimum wattage of 80W (e.g., Hakko FX-951 or Weller WE1010NA). For thicker gauge wires or chassis, a Bernzomatic TS4000 micro-torch is mandatory.
- Aluminum Soldering Wire: Sn-Zn alloy (approx. $40-$60 per pound) or a specialized kit like Super Alloy 1 ($85).
- Specialized Flux: Even if your wire is 'flux-cored', you need external liquid or paste flux. Look for Highly Active Organic Acid (OA) or Inorganic Acid (IA) fluxes containing fluoroborates or zinc chloride. Kester's aluminum-specific liquid fluxes or Harris Al-Solder flux are industry standards.
- Mechanical Abrasion: A dedicated stainless-steel wire brush and a titanium or fiberglass scratch pen.
- Neutralizing Agent: Baking soda (sodium bicarbonate) mixed with distilled water.
Step-by-Step Walkthrough: The 'Scratch and Shield' Technique
The secret to soldering aluminum lies in a technique known as 'scratch soldering' or 'ultrasonic simulation.' Since we do not have an ultrasonic soldering iron (which costs upwards of $2,000), we must simulate the cavitation effect manually to break the oxide layer beneath the protective blanket of the flux.
Step 1: Surface Preparation and Flux Flooding
Clean the aluminum surface with isopropyl alcohol to remove oils. Immediately apply a generous pool of your specialized liquid aluminum flux to the joint area. Do not wait; apply the flux to seal the surface from ambient oxygen.
Step 2: The Sub-Flux Scratch
Take your stainless-steel wire brush or titanium pick and scratch the base aluminum metal directly through the pool of flux. You must physically break the Al2O3 layer. The flux instantly fills the microscopic scratches, preventing new oxide from forming. You should see the bright, raw aluminum beneath the liquid.
Step 3: Thermal Soaking (Heating the Base, Not the Wire)
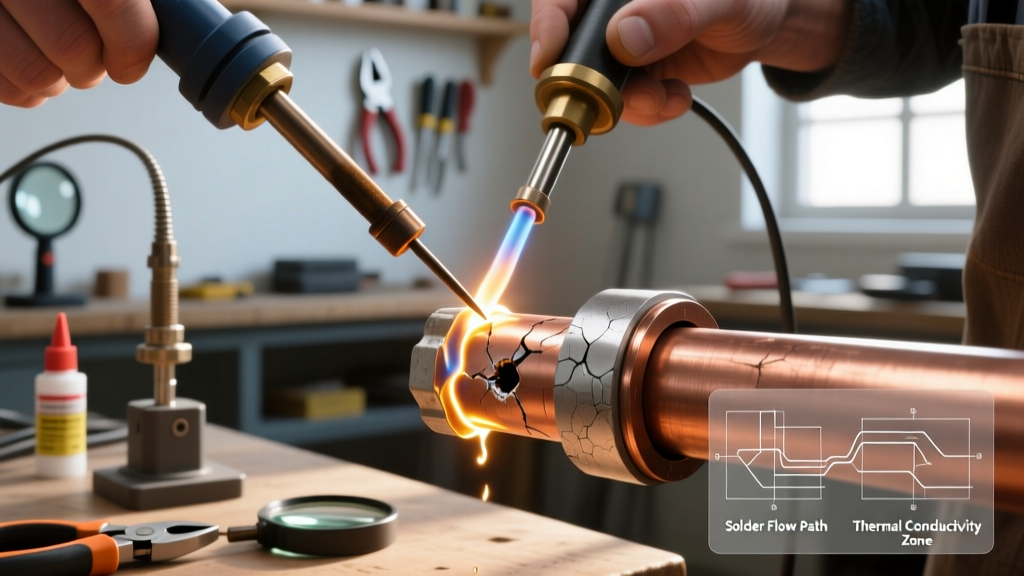
Apply your 80W+ iron tip (use a large chisel or bevel tip for maximum surface area) to the base aluminum, not the solder wire. Aluminum requires a thermal soak. Hold the tip in place for 5 to 10 seconds to allow the heat to penetrate the metal mass. If using a torch, play the flame in a circular motion 2 inches away from the joint until the flux begins to bubble actively.
Step 4: Tinning and Capillary Flow
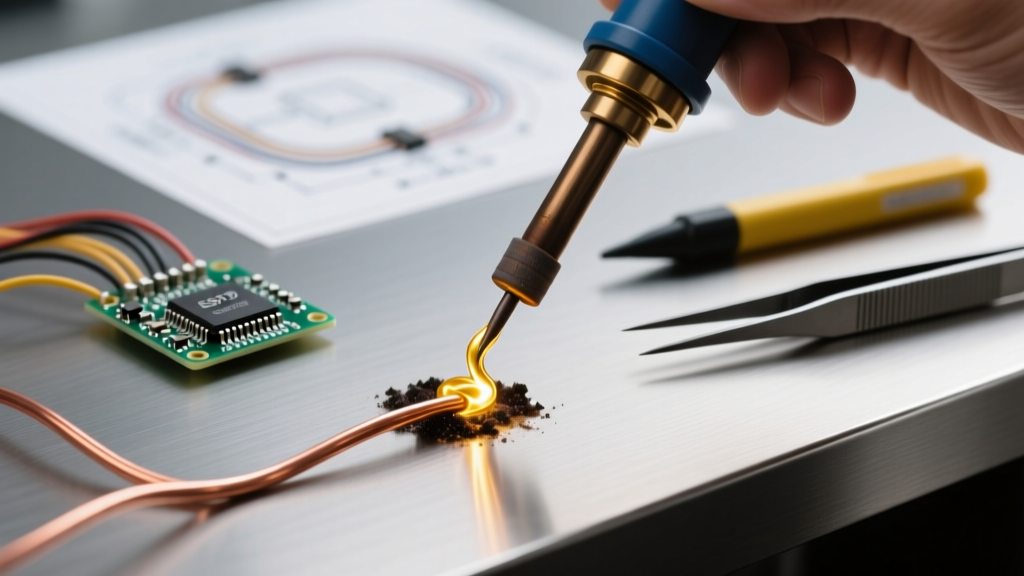
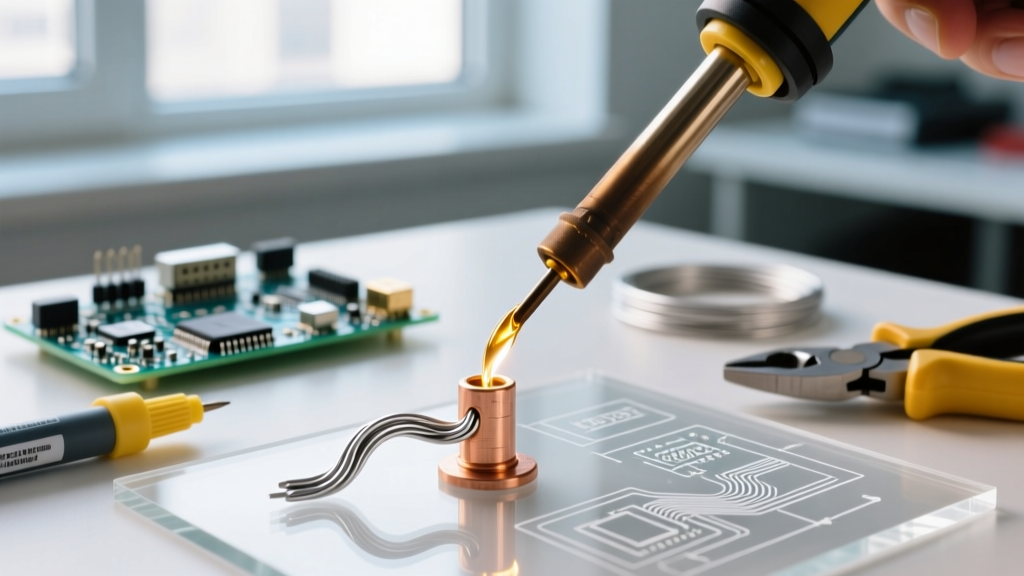
Touch your aluminum soldering wire to the heated base metal (where the flux is pooling). If the temperature is correct, the Sn-Zn solder will melt and immediately wet the scratched surface, drawn into the microscopic grooves via capillary action. Do not melt the solder onto the iron tip and attempt to wipe it onto the aluminum. The iron tip will oxidize the solder instantly. The base metal must melt the solder.
Step 5: Post-Solder Neutralization (Critical)
Aluminum fluxes are highly corrosive. If left on the joint, they will eat through the metal and cause catastrophic failure within weeks. Once the joint cools, scrub the area with a stiff brush dipped in your baking soda and water solution until the fizzing stops. Rinse with distilled water and dry thoroughly.
Troubleshooting Matrix: Diagnosing Failed Aluminum Joints
Even with the right aluminum soldering wire, beginners encounter specific failure modes. Use this diagnostic matrix to correct your technique.
| Visual Symptom | Root Cause | Corrective Action |
|---|---|---|
| Solder rolls into a perfect ball and refuses to stick | Oxide layer is intact; flux failed to penetrate. | Increase mechanical scratching through the flux pool before applying heat. |
| Flux turns black, smokes heavily, and leaves a hard crust | Overheating; the base metal exceeded 800°F, burning the flux chemistry. | Reduce iron temperature or remove torch heat. Apply fresh flux and start over. |
| Solder wets the surface but the joint snaps easily under pressure | Brittle intermetallic compound formation due to excessive zinc migration. | Reduce heating time. Prolonged heat causes the zinc in the solder to alloy too deeply with the aluminum, creating a brittle joint. |
| Solder sticks to one piece but bridges poorly to the second | Thermal imbalance; one piece acted as a massive heat sink. | Pre-heat the larger mass or use a higher wattage iron to ensure both surfaces reach the solder's liquidus temperature simultaneously. |
Critical Warning: Galvanic Corrosion in Mixed-Metal Joints
One of the most common uses for aluminum soldering wire is joining aluminum wires or chassis to copper components. While Sn-Zn and multi-metal wires will successfully bridge these two metals, doing so creates a galvanic cell.
According to the galvanic series documented by the American Welding Society (AWS), aluminum is highly anodic compared to copper. In the presence of any moisture or electrolyte, the aluminum will rapidly corrode and dissolve to protect the copper. If you must solder aluminum to copper for an outdoor or high-humidity application, the joint must be completely encapsulated in a marine-grade heat shrink with adhesive lining, or potted in an epoxy resin to block moisture ingress entirely.
Final Thoughts for the Beginner
Mastering aluminum soldering wire is less about having a steady hand and more about respecting the chemistry of the oxide layer. By investing in a high-wattage temperature-controlled station, utilizing aggressive fluoroborate or chloride-based fluxes, and mastering the sub-flux scratch technique, you can achieve joints that rival TIG welding in tensile strength for small-scale applications. For deeper metallurgical data on Sn-Zn phase diagrams and wetting angles, consult the Indium Corporation's Solder Metallurgy Database. Practice on scrap aluminum heat sinks before attempting repairs on live electronics or structural RC components.