
The Dual Disciplines of Copper Tape Soldering
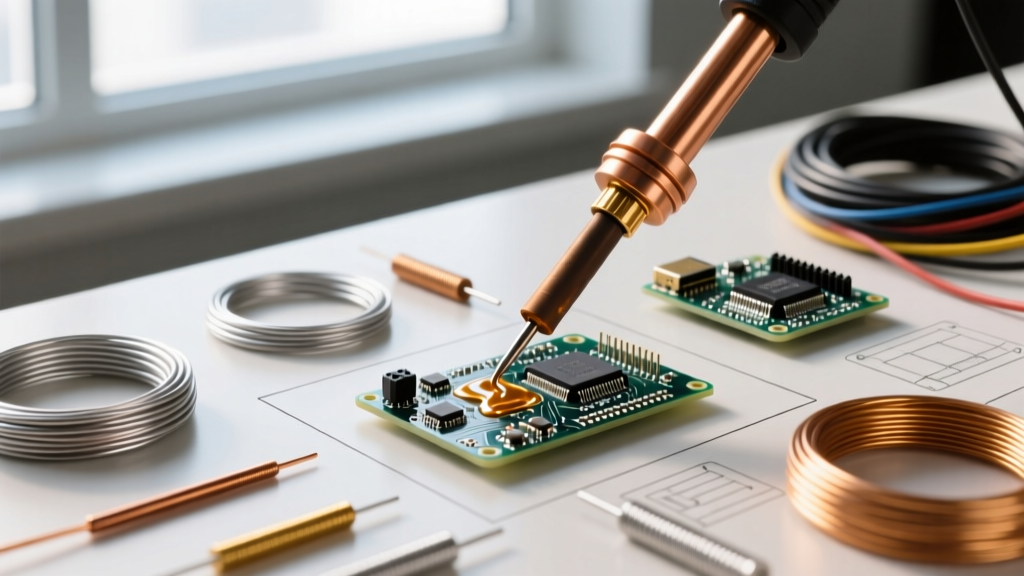
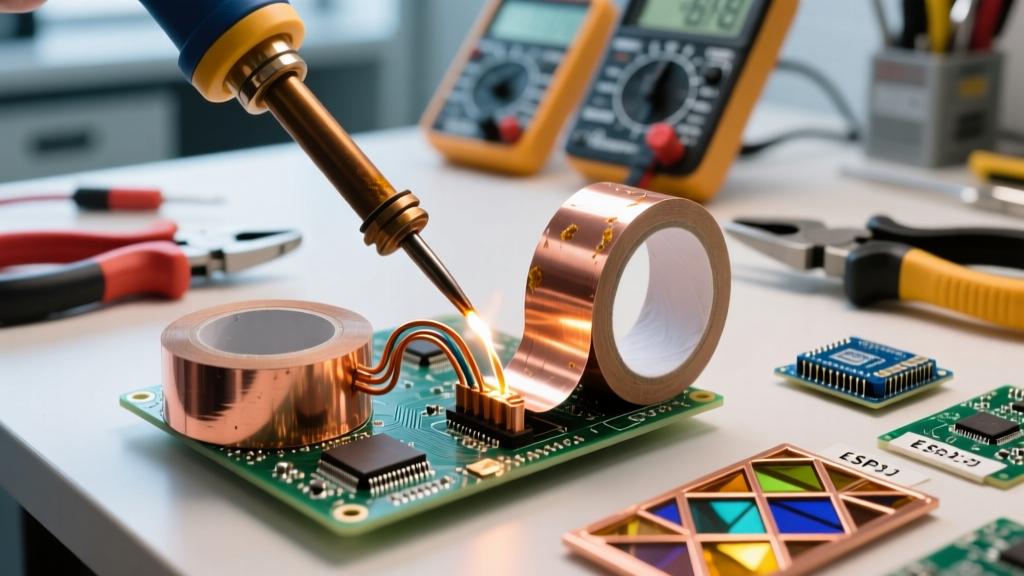
When professionals discuss soldering copper tape, they are typically navigating two entirely different disciplines: high-frequency EMI/RF shielding in aerospace and consumer electronics, and the traditional Tiffany method in stained glass fabrication. While the base metal is identical, the thermal dynamics, flux chemistries, and failure modes are worlds apart. In 2026, with the ongoing miniaturization of RF components in 5G and Wi-Fi 7 devices, precision EMI shielding using copper tape has become a critical rework skill. Simultaneously, the artisanal stained glass market continues to demand flawless structural soldering.
This guide bridges the gap, providing actionable, senior-level techniques for both domains, backed by metallurgical realities and modern thermal profiling.
Material Science: Selecting the Right Tape
The most common mistake novices make is treating all copper tape as a single commodity. The adhesive backing fundamentally changes the thermal transfer and electrical continuity of your work.
| Tape Type | Model / Brand | Adhesive | Primary Use Case | Approx. Cost (2026) |
|---|---|---|---|---|
| Conductive | 3M 1181 | Conductive Acrylic | EMI Shielding, PCB Grounding | $28 / 36yd roll |
| Non-Conductive | 3M 1345 | Insulating Acrylic | Wrap-around shielding, coil forms | $32 / 36yd roll |
| Stained Glass | VentureTape 1504 | Hot Melt / Rubber | Tiffany method foiling, art glass | $14 / 50ft roll |
According to the Copper Development Association, copper's exceptional thermal conductivity (approximately 401 W/(m·K)) means the tape will act as a massive heat sink. The adhesive layer, however, acts as a thermal barrier. When soldering, you must overcome this barrier without boiling the adhesive, which leads to outgassing and catastrophic joint failure.
Domain 1: EMI Shielding and PCB Repair
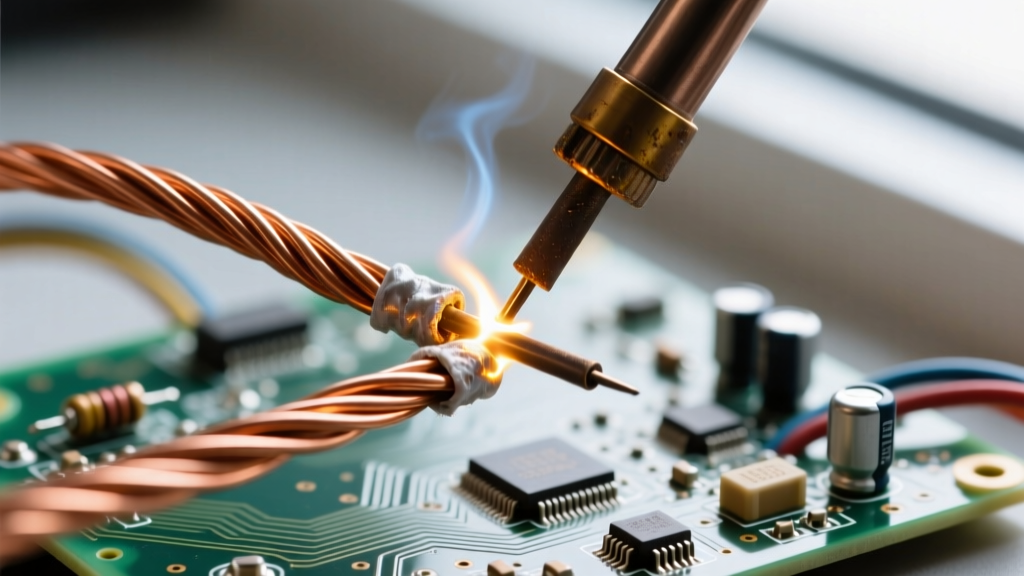
In electronics, copper tape is used to create Faraday cages over sensitive RF traces or to repair lifted ground planes. The goal is a low-impedance, structurally sound bond without damaging the underlying FR-4 substrate or adjacent BGA components.
Temperature Profiling and Tip Selection
Because copper tape dissipates heat rapidly, you need an iron with high thermal recovery. The Hakko FX-951 or Weller WE1010 are industry standards. Avoid cheap, unregulated irons; they will stall when they hit the copper mass, prompting the user to apply excessive pressure, which tears the tape.
- Tip Geometry: Use a chisel or bevel tip (e.g., Hakko T15-D24). The broad surface area maximizes thermal transfer to the tape. Never use a fine conical tip; it lacks the thermal mass to heat the copper quickly.
- Temperature: Set your station to 350°C (662°F) for leaded solder (Sn63/Pb37) and 380°C (716°F) for SAC305 lead-free alloys. As of early 2026, SAC305 wire solder prices have stabilized around $42 per pound, making it accessible for professional RoHS-compliant rework.
- Dwell Time: Limit contact to 2–3 seconds per joint. Prolonged heating will delaminate the tape from the PCB and cause the adhesive to bleed out, contaminating your soldering tip.
Step-by-Step Tinning and Grounding
- Surface Prep: Clean the PCB pad and the copper tape with 99% isopropyl alcohol. If the copper is oxidized, lightly scuff it with a fiberglass scratch pen.
- Flux Application: Apply a high-quality RMA (Rosin Mildly Activated) flux. Never use water-soluble (OA) flux with copper tape. OA flux can wick under the adhesive layer via capillary action and cause galvanic corrosion over time.
- Tinning the Tape: Apply a thin layer of solder to the copper tape before attempting to bond it to the PCB pad. This is called pre-tinning.
- The Bond: Place the pre-tinned tape over the fluxed PCB pad. Apply the iron to the top of the tape. The pre-tinned layers will reflow and fuse in roughly 1.5 seconds.
Pro Tip: Kapton Masking
Always mask the perimeter of your copper tape with Kapton (polyimide) tape before soldering. This prevents accidental solder bridges to adjacent components and protects the delicate edges of the copper from curling up due to thermal expansion.
Domain 2: Stained Glass and the Tiffany Method
Soldering copper tape in stained glass (the Tiffany method) is a structural endeavor. The solder must not only bond the pieces but also provide the structural rigidity for the entire panel. The IPC (Association Connecting Electronics Industries) standards don't apply here; instead, artisans rely on specific alloy melting points and flux chemistries to achieve smooth, rounded beads.
Flux Chemistry and Solder Alloys
Unlike electronics, where we want to minimize the solder volume, stained glass requires building up a "bead."
- 60/40 Solder (Tin/Lead): Melts at 370°F. Ideal for flat seams and general assembly. It flows smoothly and cools relatively quickly.
- 50/50 Solder: Melts at 421°F. Used specifically for "beading" (creating a convex, rounded seam). The higher melting point and lower tin content allow the solder to build up on top of itself without melting through to the other side of the joint.
- Flux: Use a liquid oleic acid or stearic acid-based flux (like Novacan or Oatey). Apply it directly to the copper tape with a flux brush. The acid eats through the copper oxidation, allowing the solder to wet the foil uniformly.
Managing the Heat Sink Effect in Glass
Glass is a poor conductor of heat, but the copper tape wrapping it will absorb heat from your iron. If you move too slowly, the heat transfers through the tape, into the glass, and can cause thermal shock, cracking your expensive art glass. Use a 100W iron (like the Weller 100PG) with a massive 1/4" chisel tip. The high wattage ensures the iron doesn't drop below the solder's liquidus temperature when it touches the copper foil.
Troubleshooting Matrix: Failure Modes and Corrections
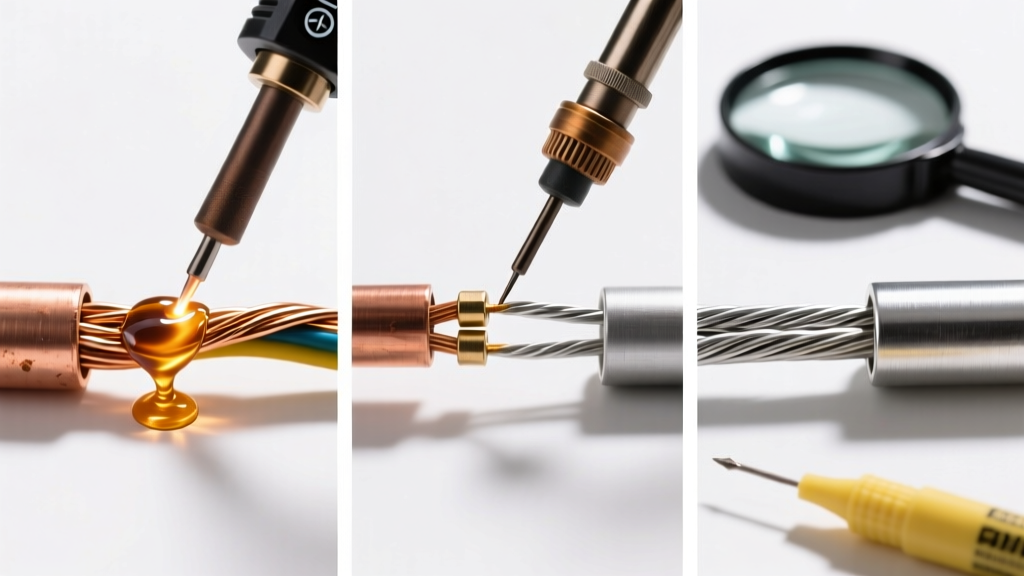
Whether you are building an RF shield or a lampshade, copper tape presents unique failure modes. Use this matrix to diagnose and correct your technique.
| Failure Mode | Visual Symptom | Root Cause | Professional Correction |
|---|---|---|---|
| Adhesive Outgassing | Blowholes, pitting, or splattering in the solder joint. | Iron temperature too high or dwell time too long, boiling the adhesive. | Reduce temp by 15°C. Pre-tin the tape separately to minimize total heat exposure. |
| Cold / Grainy Joints | Solder looks dull, lumpy, or fails to wet the copper. | Insufficient heat reaching the interface; copper acted as a heat sink. | Switch to a broader tip (chisel/bevel). Ensure tip is clean using brass wool, not a wet sponge. |
| Tape Lifting / Curling | Edges of the copper tape peel away from the substrate or glass. | Thermal expansion mismatch or adhesive degradation from flux contamination. | Clean substrate with IPA before application. Burnish tape edges firmly with a fid or plastic spudger before soldering. |
| Galvanic Corrosion | Green/white crust forming under or around the tape weeks later. | Water-soluble acid flux trapped under the conductive adhesive. | Switch to RMA (No-Clean) flux for electronics. Never use aggressive plumbing fluxes on tape. |
Advanced Tip Maintenance for Copper Work
Soldering copper tape accelerates tip degradation. Copper from the tape can leach into the iron plating, and the aggressive fluxes used in stained glass can pit the tip. According to experts at Delphi Glass and major electronics manufacturers, maintaining your tip is non-negotiable.
Always use a dry brass wire sponge to clean your tip. Traditional wet cellulose sponges cause rapid thermal shock to the ceramic heating elements inside modern soldering pencils, leading to micro-fractures and premature heater failure. Furthermore, never file or sand a soldering tip; you will destroy the iron plating that protects the copper core of the tip itself.
Conclusion
Mastering the art of soldering copper tape requires respecting the material's thermal properties and choosing the right chemistry for your specific domain. By selecting the correct adhesive backing, profiling your iron's temperature to overcome copper's heat-sink effect, and avoiding the trap of water-soluble fluxes, you can achieve flawless, professional-grade results in both high-tech EMI shielding and traditional glasswork.