
The Physics of Adhesion: Why Solder Refuses to Wet
When soldering wire metal connections—whether attaching a 12 AWG copper ground wire to a steel chassis lug or tinning stranded wire for a terminal block—the fundamental requirement is metallurgical wetting. Wetting occurs when molten solder dissolves into the base metal, forming an intermetallic compound (IMC). When solder balls up, slides off, or forms a dull, grainy crust, the IMC layer has failed to form. In 2026, with the industry's heavy shift toward lead-free SAC305 (Sn96.5/Ag3.0/Cu0.5) alloys, the thermal and chemical margins for error are significantly tighter than they were with legacy 63/37 SnPb eutectic solders.
This troubleshooting guide dissects the exact failure modes of wire-to-metal solder joints and provides actionable, step-by-step recovery protocols used by IPC-certified technicians.
Diagnostic Matrix: Identifying Your Soldering Failure
Before adjusting your iron's temperature dial, you must correctly identify the visual signature of the failure. Use this diagnostic matrix to pinpoint the root cause.
| Visual Symptom | Technical Root Cause | Immediate Corrective Action |
|---|---|---|
| Solder Balling / Non-Wetting | Heavy oxidation on the wire or metal pad preventing flux activation. | Mechanically abrade the surface; switch to a higher-activity (RA or OA) flux. |
| Dewetting | Solder initially wets but pulls back into islands as it cools. | Surface contamination (silicone, oil). Clean with 99% IPA and re-tin. |
| Grainy / Dull Joint (Cold) | Insufficient thermal mass transfer; joint moved during the plastic phase. | Upgrade to a high-wattage iron (100W+); use a chisel tip for maximum surface contact. |
| Flux Charring / Black Residue | Iron temperature exceeds flux boiling point; thermal damage to the pad. | Drop iron temp by 20°C; apply external liquid flux before heating. |
Failure Mode 1: Thermal Mass Starvation
The most common mistake when soldering wire to thick metal (like a brass terminal or steel grounding point) is underestimating thermal mass. A thick metal lug acts as a massive heat sink. If you use a standard 40W to 60W soldering iron, the moment the tip touches the metal, the tip's temperature plummets below the solder's melting point (217°C for SAC305). The result is a classic cold joint.
Equipment Upgrades and Tip Geometry
To overcome thermal mass starvation, you need an iron with high thermal recovery and the correct tip geometry. Pointed or conical tips are virtually useless for wire-to-metal joints because the contact area is too small to transfer heat efficiently.
- The 100W Standard: The Weller WE1010NA (priced around $155 in early 2026) features a 100W heating element that recovers from thermal drops in under 2 seconds.
- Tip Selection: Always use a wide chisel or bevel tip. For Hakko stations, the T18-D24 (2.4mm chisel) or T18-K (knife tip) provides the necessary surface area to simultaneously heat the wire strands and the metal lug.
- Pre-heating: For massive chassis grounds, use a hot air gun set to 150°C to pre-heat the surrounding metal for 15 seconds before applying the soldering iron.
Expert Rule of Thumb: When soldering wire to metal, the iron's set temperature should be exactly 100°C to 130°C above the melting point of your alloy. For SAC305 (melts at 217°C), set your station to 330°C - 350°C. For 63/37 SnPb (melts at 183°C), set it to 300°C - 320°C.
Failure Mode 2: Oxidation and Surface Passivation
Copper wire oxidizes rapidly when exposed to heat, and metals like steel or nickel-plated terminals possess passive oxide layers that standard rosin flux cannot penetrate. If your solder forms a perfect bead on the iron tip but refuses to transfer to the wire or metal, you are fighting oxidation.
Chemical and Mechanical Preparation
According to the IPC J-STD-001 standard, surface preparation is critical for Class 2 and Class 3 electronic assemblies. You cannot rely solely on the mild rosin core inside your solder wire to break through heavy tarnish.
- Mechanical Abrasion: Use a fiberglass scratch pen (approx. $8) to gently scour the metal lug and the copper wire strands until they are bright and shiny. Do not use standard sandpaper, as the silica particles can embed in the metal and cause future corrosion.
- Chemical Cleaning: Wipe both surfaces with MG Chemicals 422B (99.9% Isopropyl Alcohol) to remove finger oils and manufacturing drawing lubricants.
- External Flux Application: Apply a high-activity liquid flux. For general electronics, Kester 186 RMA (Rosin Mildly Activated) liquid flux is the industry benchmark. For heavily oxidized non-electronic metalwork, a water-soluble organic acid (OA) flux is required, but it must be thoroughly cleaned with distilled water post-soldering to prevent galvanic corrosion.
Failure Mode 3: Flux Chemistry Mismatches
Not all fluxes are created equal. Using a no-clean flux on a heavily oxidized steel chassis ground will result in immediate failure. No-clean fluxes (like those found in Kester 275 wire) are designed for pristine, freshly manufactured PCB pads, not raw wire-to-metal connections.
When selecting your solder wire and external flux, consult the manufacturer's technical data sheets. As noted in the Kester flux product guidelines, matching the flux activity level to the surface oxidization rate is mandatory for reliable wetting. If you are soldering to aluminum or zinc-heavy alloys, standard rosin fluxes are entirely ineffective; you must use a specialized zinc-chloride or fluoroaluminate flux (e.g., Superior No. 30).
Step-by-Step Recovery Protocol: Salvaging a Failed Joint
If you have already attempted to solder a wire to a metal lug and the joint is a dull, bloated, non-wetting mess, do not simply pile more solder on top. Follow this recovery protocol:
- Desolder and Strip: Use a high-capacity solder sucker (like the Edsyn Soldapullt DS017) or desoldering braid to remove all existing solder from the wire and the metal lug.
- Inspect and Trim: If the wire strands are stiff, brittle, or blackened, the copper has been thermally damaged. Cut the wire back by 5mm and re-strip it.
- Re-Prep the Metal: Use the fiberglass pen on the metal lug until it shines. Clean with IPA.
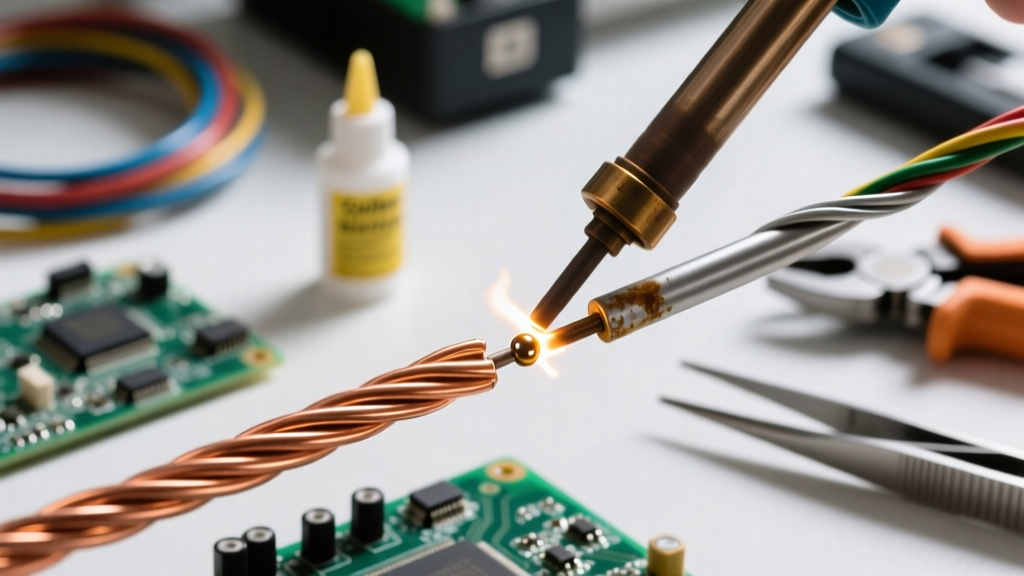
- Pre-Tin Separately: This is the most critical step. Apply liquid flux to the bare wire and tin it with your iron until the strands are fully encapsulated in bright solder. Next, apply flux to the metal lug and pre-tin the surface of the lug.
- The Final Sweat: Place the pre-tinned wire against the pre-tinned metal lug. Apply the iron to the metal lug (not the wire) for 2 to 4 seconds. The pre-tinned surfaces will melt together, forming a flawless, shiny intermetallic bond.
Frequently Asked Questions (FAQ)
Why does my solder stick to the copper wire but not the nickel-plated terminal?
Nickel acts as a diffusion barrier and is notoriously difficult to wet. Standard RMA flux is often too weak. You must use a mildly activated rosin flux with higher halide content, or lightly abrade the nickel plating with a fiberglass pen to expose the base metal, though this compromises the terminal's long-term corrosion resistance.
Can I use plumbing solder for electrical wire-to-metal connections?
Absolutely not. Plumbing solder uses highly corrosive acid cores (zinc chloride or ammonium chloride) designed for copper pipes. If used on electrical wires, the acid residue will rapidly eat through the copper strands, causing high-resistance failures and eventual open circuits within months. Always use electronic-grade solder conforming to J-STD-006 specifications.
My soldering iron tip turns black and won't transfer heat to the metal. How do I fix it?
You have experienced tip oxidation. Never file or sand a modern iron-clad tip. Instead, while the iron is hot (set to 250°C), vigorously rub the tip on a damp cellulose sponge or brass wire wool, then immediately apply a thick layer of 63/37 SnPb solder to re-tin the tip. This restores the thermal transfer layer.