
The Physics of Solder Extraction: Why Pairing Matters
Desoldering is fundamentally more difficult than soldering. When you solder, you are adding material and relying on capillary action to pull molten alloy into a joint. When you desolder, you are fighting surface tension, thermal dissipation, and the mechanical friction of a plated through-hole (PTH) barrel. Knowing how to use desolder pump equipment effectively is not just about pushing a plunger; it is about the precise pairing of thermal mass, flux chemistry, and vacuum timing.
Many hobbyists and even seasoned technicians struggle with lifted pads or half-empty via barrels because they treat the desolder pump as an isolated tool. In reality, a solder sucker is only as effective as the soldering iron tip, temperature profile, and flux paired with it. According to the IPC-7711/7721 Rework Standard, successful component removal requires the solder to reach a complete liquidus state throughout the entire barrel before vacuum extraction is applied. If your tool pairing fails to deliver this thermal equilibrium, the extraction will fail.
Selecting Your Weapon: Manual vs. Electric Desolder Pumps
Before diving into technique, you must select the right extraction tool for your specific PCB architecture. The market is dominated by two primary categories, each requiring a different physical approach.
Manual Spring-Loaded Solder Suckers
The manual pump is a staple on every workbench. The Edsyn Soldapullt (DS017) and the Engineer SS-02 are widely considered the gold standards. The Engineer SS-02 features a replaceable fluororesin (PTFE) nozzle that prevents molten solder from fusing to the tip, a common failure point in cheaper models. Manual pumps offer high instantaneous vacuum pressure but require two-handed coordination or a very well-braced board.
Electric Desoldering Stations
For high-volume rework or heavy ground planes, electric stations like the Hakko FR-301 pair a heating element directly with a continuous vacuum pump. This allows for one-handed operation and maintains the solder in a liquid state inside the nozzle during extraction. However, they require meticulous maintenance to prevent internal clogging and are generally overkill for simple DIP IC removal.
The Core Technique: Step-by-Step Solder Extraction
To master how to use desolder pump tools in a manual setup, you must follow a strict sequence that prioritizes thermal transfer and surface tension reduction.
- Apply Fresh Flux: Never attempt to desolder a dry, oxidized joint. The original factory flux is burned and inactive. Apply a high-quality tacky flux (like Amtech NC-559 or ChipQuik No-Clean) to the joint. This restores wetting action and helps the solder pull away from the pad edges.
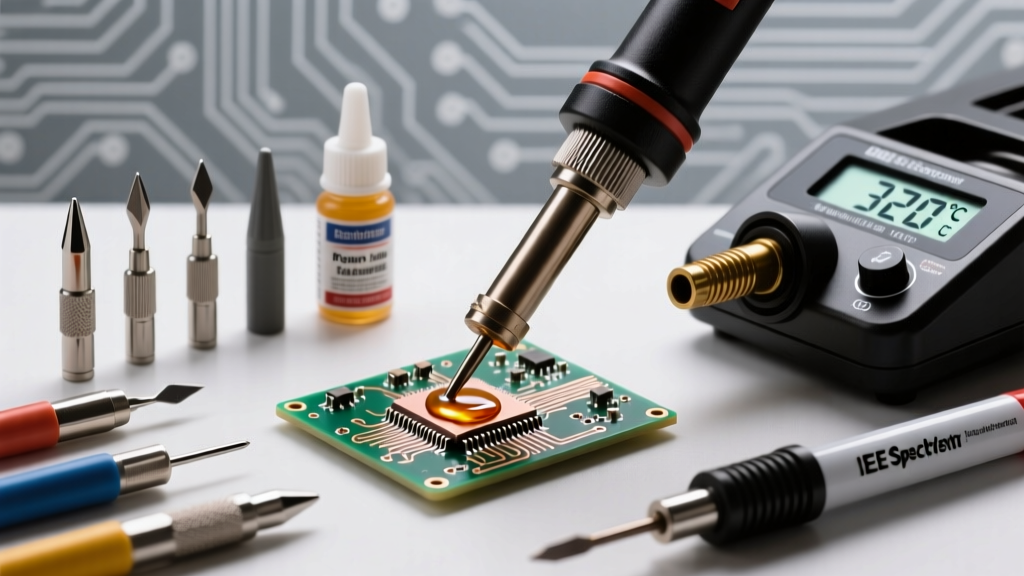
- Select the Proper Tip: Ditch the fine conical tips. You need thermal mass. Pair your pump with a Chisel (e.g., Hakko T18-D24) or Bevel tip. The flat surface area maximizes heat transfer into the component lead and the PTH barrel simultaneously.
- Establish Thermal Equilibrium: Apply the iron to the joint. For standard leaded solder (Sn63/Pb37), set your station to 340°C (644°F). For lead-free (SAC305), push it to 380°C (716°F). Hold for 2 to 4 seconds until the solder flows like liquid mercury. Do not rush this step.
- Nozzle Placement: This is where most fail. Bring the PTFE nozzle of the desolder pump directly into the molten pool. Do not hover above the joint. The nozzle must physically touch the liquid solder to break the surface tension and create an airtight seal with the pad.
- Trigger and Hold: Hit the release button while maintaining firm downward pressure on the nozzle for one full second. This ensures the vacuum pulls the solder entirely through the barrel before the alloy can re-solidify.
Critical Tool Pairings for Flawless Desoldering
The effectiveness of your extraction depends entirely on matching your iron's thermal output and tip geometry to the specific PCB topology you are working on. Refer to the matrix below to optimize your setup.
| PCB Architecture | Optimal Iron Tip Pairing | Target Temperature (Lead-Free) | Pump Nozzle Size | Flux Chemistry |
|---|---|---|---|---|
| Standard FR-4 (Single/Double Layer) | 2.4mm Chisel (T18-D24) | 360°C - 380°C | 2.0mm PTFE | Rosin (RMA) Gel |
| Heavy Copper / Internal Ground Planes | 3.0mm+ Bevel or Spoon | 380°C - 400°C | 3.0mm PTFE | High-Activity No-Clean |
| Dense Multilayer (High Thermal Mass) | Preheater + Chisel | 350°C (Iron) + 100°C (Board) | 2.5mm PTFE | Tacky Flux Syringe |
| Delicate / Vintage Phenolic Boards | Micro Spatula | 300°C - 320°C | 1.5mm PTFE | Liquid Flux Pen |
As noted by Adafruit's Guide to Excellent Soldering, using a board preheater for multilayer PCBs is a game-changer. It reduces the delta-T (temperature difference) between the iron and the board, preventing pad delamination while allowing the manual pump to clear the via completely.
Troubleshooting Common Desolder Pump Failures
Even with the right technique, rework can go wrong. Here is how to diagnose and fix the most common extraction failures using tool-pairing adjustments.
The 'Cold Solder' Vacuum Fail
Symptom: The pump triggers, but only a fraction of the solder is removed. The joint remains stubbornly locked.
Diagnosis: Insufficient thermal mass. The solder cooled below its plastic state before the vacuum wave hit.
Solution: Switch to a larger chisel tip, increase your iron temperature by 20°C, and ensure you are adding fresh flux to prolong the liquidus window. If dealing with a massive ground plane via, use a hot air rework station at 350°C to pre-heat the barrel from the opposite side before applying the iron and pump.
Lifted Pads and Thermal Shock
Symptom: The copper pad tears away from the FR-4 substrate, ruining the PCB trace.
Diagnosis: Prying the component while the solder is semi-solid, or applying excessive downward force with a dirty iron tip, causing localized overheating.
Solution: Never use the desolder pump nozzle as a lever to pry components. If the pin is stuck after pumping, apply more flux, reflow with the iron, and gently push the pin out with a wooden toothpick or a specialized Hakko desoldering tool. Always keep your iron tip tinned and clean to ensure rapid heat transfer, minimizing the time the iron must dwell on the pad.
Maintenance: Clearing the PTFE Nozzle
A desolder pump is a mechanical device that requires strict maintenance. Over time, microscopic solder beads and carbonized flux will build up inside the PTFE sleeve and the internal O-ring chamber, degrading vacuum pressure.
- Daily Cleaning: Use the stainless steel cleaning pin included with most premium pumps (like the Soldapullt) to clear the nozzle orifice while the PTFE is still warm from the iron.
- Weekly Teardown: Unscrew the nozzle cap, remove the PTFE sleeve, and wipe the internal chamber with isopropyl alcohol (IPA). Inspect the rubber O-ring for micro-tears. A compromised O-ring will leak air, destroying the vacuum differential required to pull solder through high-aspect-ratio vias.
- Nozzle Replacement: PTFE degrades under high heat. If the tip becomes brittle or misshapen, replace it immediately to avoid scratching delicate copper pads.
Expert Insight: The secret to mastering how to use desolder pump equipment isn't brute force; it's thermal patience. Let the iron and the flux do 90% of the work. The pump is merely the cleanup crew. If you have to pump the same via three times, your thermal pairing is wrong, not your vacuum pressure.
By treating your desolder pump as part of a holistic thermal system—pairing it with the correct tip geometry, aggressive fluxing, and precise temperature control—you will achieve factory-clean through-holes and preserve the structural integrity of your PCBs for years to come.