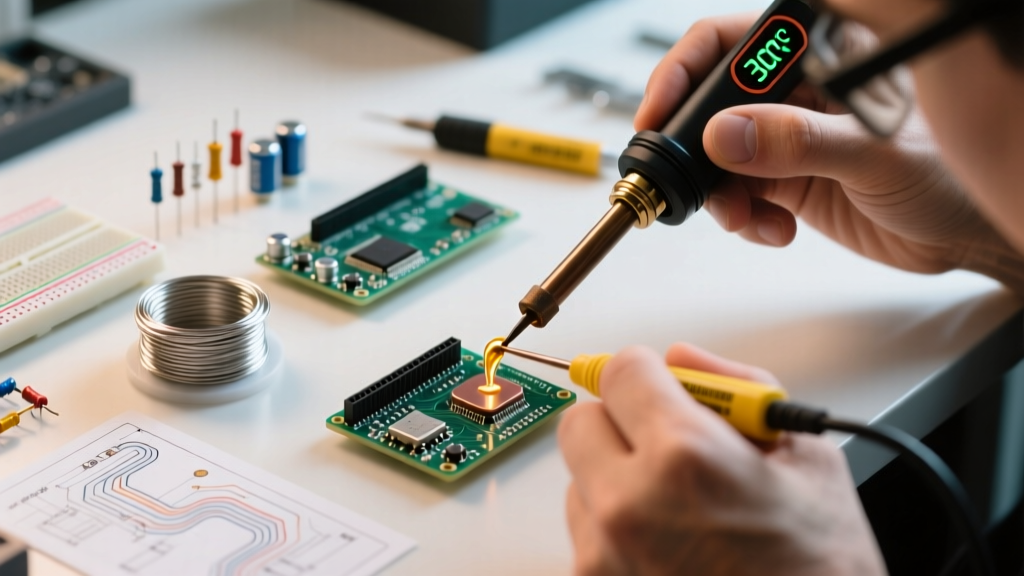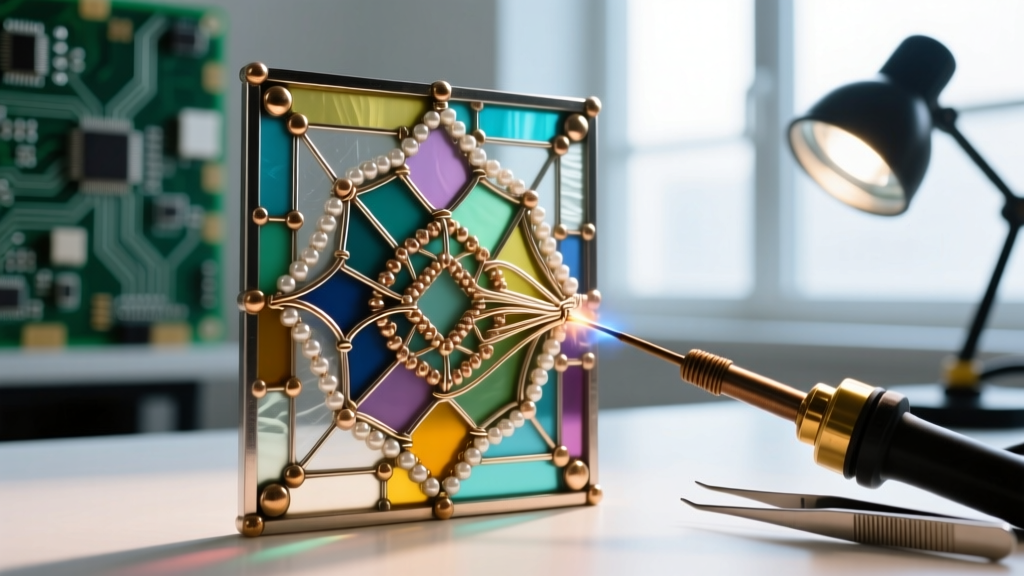

Moving beyond flat, utilitarian seams into the realm of advanced decorative soldering stained glass requires a fundamental shift in how you manage thermal dynamics, alloy metallurgy, and flux chemistry. While beginner stained glass work focuses simply on joining copper foil or lead came, advanced decorative techniques—such as high-convex beading, 3D wire overlays, and structural armatures—demand precise temperature control and an intimate understanding of solder flow states. In this comprehensive guide, we break down the exact methodologies, tool requirements, and failure-mode troubleshooting needed to execute museum-quality decorative glasswork in 2026.
The Metallurgy of Decorative Stained Glass Alloys
Choosing the correct solder alloy is the most critical decision in decorative work. The ratio of tin to lead (or lead-free alternatives) dictates the alloy's solidus and liquidus temperatures, which in turn defines the 'pasty range'—the temperature window where the solder is semi-solid. For advanced beading, a narrow or non-existent pasty range is mandatory to prevent the bead from slumping before it freezes.
| Alloy Composition | Solidus / Liquidus | Pasty Range | Best Decorative Application | Approx. 2026 Cost (per lb) |
|---|---|---|---|---|
| 60/40 (Tin/Lead) | 361°F / 374°F | 13°F (Narrow) | Standard convex beading, smooth seams | $38 - $45 |
| 63/37 (Tin/Lead) | 361°F (Eutectic) | 0°F (None) | Precision overlay, instant-freeze 3D joints | $42 - $50 |
| 50/50 (Tin/Lead) | 361°F / 413°F | 52°F (Wide) | Lead came work (Avoid for decorative beading) | $32 - $38 |
| SAC305 (Lead-Free) | 423°F / 428°F | 5°F (Narrow) | Child-safe decorative panels, high-temp environments | $60 - $75 |
For the highest quality decorative beading, 63/37 eutectic solder is the industry secret. Because it transitions from liquid to solid instantly at 361°F (183°C) without passing through a plastic state, it allows you to build steep, high-convex beads on vertical or angled edges without gravity-induced slumping.
Thermal Dynamics: Why 40W Irons Fail at Beading
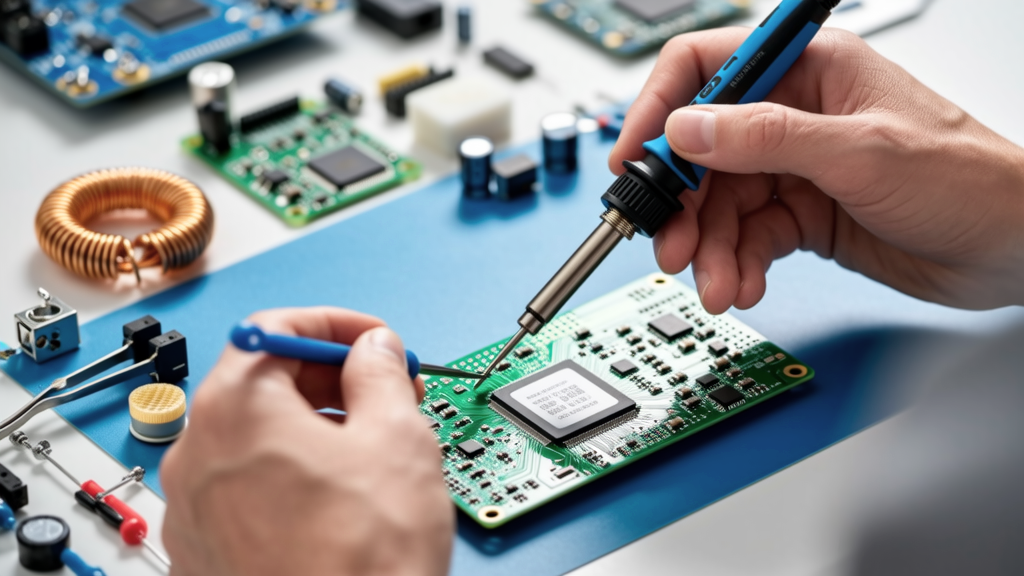
A common failure point for intermediate artists is attempting decorative beading with standard 40W to 60W craft irons. Building a thick, convex bead requires melting a high volume of solder continuously. When a low-wattage iron transfers its heat into a massive solder bead, the tip temperature plummets below the alloy's liquidus point, resulting in cold, lumpy, and oxidized joints.
Pro-Tip on Thermal Recovery: According to engineering specifications from Hakko USA, thermal recovery is just as critical as raw wattage. A 67W iron with a high-density ceramic heating element and a thick copper core (like the Hakko FX-601) will outperform a cheap 100W mica-wound iron because it transfers heat to the tip surface exponentially faster during continuous draw.
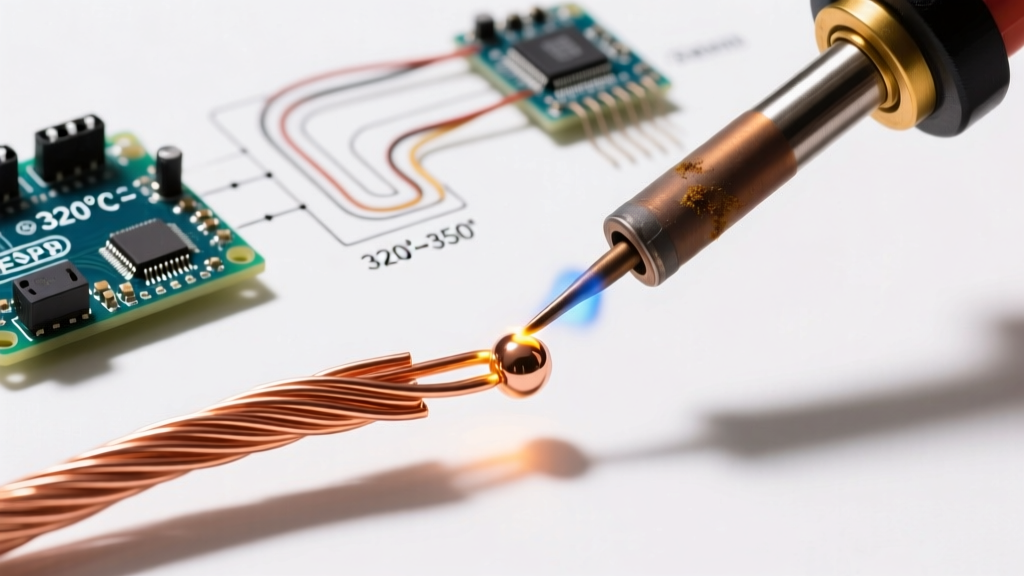
For heavy decorative beading and wire overlays, you need an iron capable of sustaining a tip temperature of 380°F to 410°F under continuous load. The Weller 100PG (100W) and the Hakko FX-601 (67W with advanced thermal recovery) remain the top-tier choices for professional glass artists.
Advanced Convex Beading: The Continuous Feed Method
Achieving a perfectly rounded, high-convex bead requires abandoning the 'drop and drag' method in favor of the 'continuous feed' technique. This method ensures a uniform thermal profile across the entire seam.
Step-by-Step Execution
- Pre-Tinning the Seam: Apply a thin, flat layer of 60/40 solder over the entire copper foil seam. This anchors the subsequent decorative bead and prevents the copper foil from lifting.
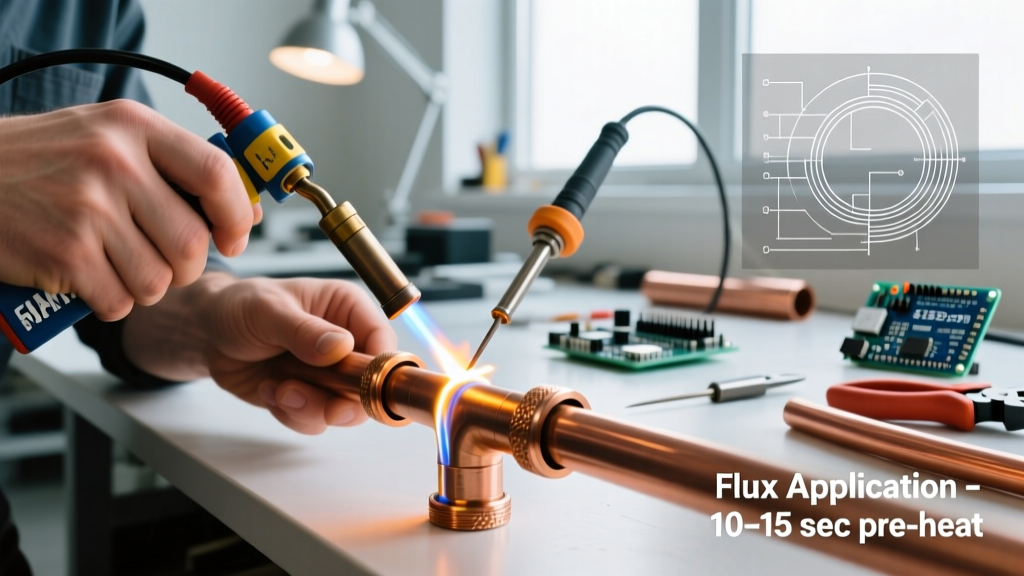
- Flux Selection: For horizontal beading, use a high-quality liquid zinc chloride flux (like Novacan Super Pro). For vertical or overhead decorative seams, switch to a thick gel flux (like Gryphon Flux) to prevent acidic runoff from etching the glass or pooling at the bottom of the panel.
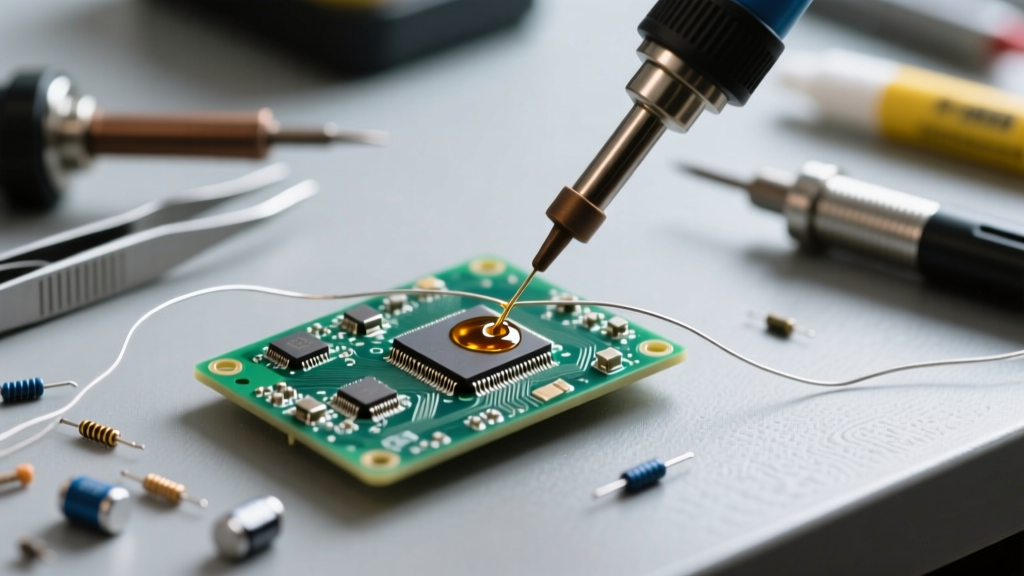
- The Continuous Feed: Hold your 100W iron at a 45-degree angle to the seam. Feed the solder wire directly into the intersection of the iron tip and the pre-tinned seam, not onto the tip itself. Move the iron at a steady pace of roughly 1 inch per 3 seconds.
- Thermal Tailoring: As you approach the end of a seam or a tight corner, lift the iron slightly and reduce your feed rate. Corners act as heat sinks; lingering too long will scorch the flux and cause pitting.
Wire Overlay and 3D Armatures
Wire overlay involves soldering copper or brass wire (typically 14 AWG to 18 AWG) directly onto the foiled glass to create structural borders, vines, or 3D geometric elements. The primary edge case in this technique is adhesive burn-through. The heat required to fuse a thick wire to copper foil can easily melt the foil's acrylic adhesive, causing the wire to detach once the panel cools.
The 'Pre-Tin and Flash' Technique
To prevent adhesive failure, never attempt to melt raw solder onto the wire while it is sitting on the glass. Instead, use the Pre-Tin and Flash method:
- Step 1: Remove the wire from the glass. Coat it in flux and heavily pre-tin the entire length of the wire with 60/40 solder using a brass sponge to wipe away excess.
- Step 2: Bend the wire to your desired decorative shape using a jig or mandrel.
- Step 3: Apply a minimal amount of gel flux to the copper foil on the glass.
- Step 4: Place the pre-tinned wire onto the foil. Using a wide chisel tip (like a 1/4" or 3/8" delta) set to 400°F, press the iron directly onto the wire. The pre-existing solder on the wire and the foil will instantly reflow and fuse. Remove the iron within 2 to 3 seconds to prevent heat from soaking through the copper and melting the adhesive below.
Troubleshooting Advanced Decorative Failures
Even seasoned professionals encounter metallurgical anomalies. Here is how to diagnose and correct the most common advanced failures:
- Pitting and Pinholes: Caused by trapped flux gases or oxidized solder. Fix: Lower your iron temperature by 15°F and ensure you are not using expired or contaminated flux. Always wipe your tip on a damp cellulose sponge, never a dry brass wire ball, when working with decorative beads to maintain a pristine tinning layer on the tip.
- Scorching (Blackened Flux Residue): Occurs when the iron dwells too long in one spot, carbonizing the zinc chloride. Fix: Increase your iron's wattage or thermal recovery speed so you can move faster while still achieving full reflow. Clean the area with a 50/50 white vinegar and water solution before re-fluxing.
- Slumping on Vertical Edges: The solder melts and runs down the side of the glass. Fix: Switch to 63/37 eutectic solder. Its zero-degree pasty range ensures the bead freezes the millisecond you remove the heat source.
Patina Chemistry for Decorative Seams
The final step in decorative soldering is applying a chemical patina to alter the color of the solder bead. The two industry standards are Cupric Nitrate (for a copper/bronze finish) and Selenium Dioxide (for a deep, matte black finish). According to safety guidelines outlined by the Stained Glass Association of America and CDC occupational health standards, selenium dioxide is highly toxic and requires rigorous ventilation and nitrile gloves.
For a flawless black patina, the solder bead must be chemically pristine. Any residual oil from your fingers or unneutralized acid flux will cause the patina to react unevenly, resulting in a mottled, grayish finish that flakes over time. After soldering, scrub the panel with a neutralizing detergent (like Novacan Flux Remover), rinse with distilled water, and apply the patina within 12 hours before natural oxidation forms a barrier on the lead/tin surface. Finish by buffing with a carnauba-based stained glass polish to seal the decorative bead against environmental moisture.