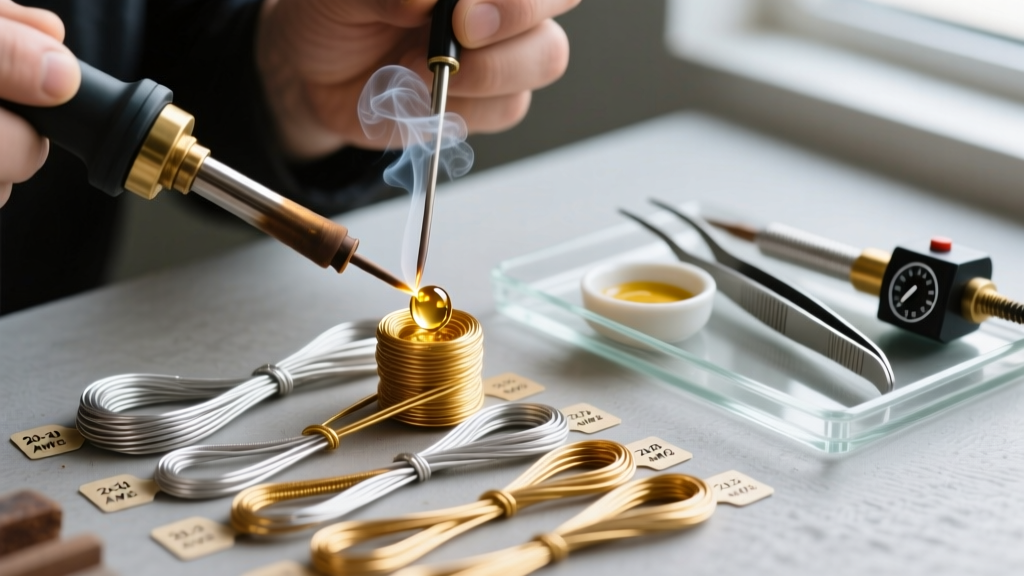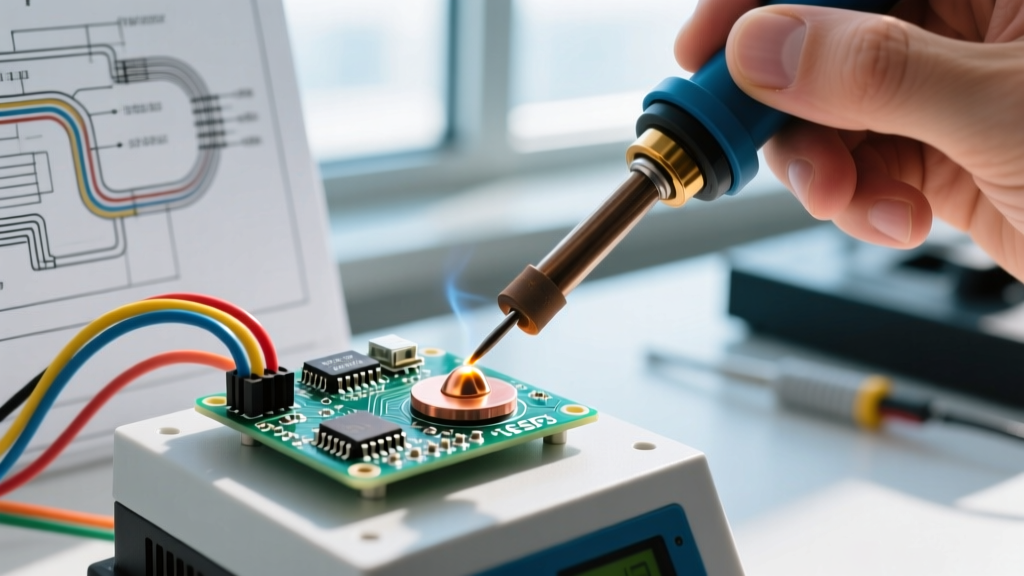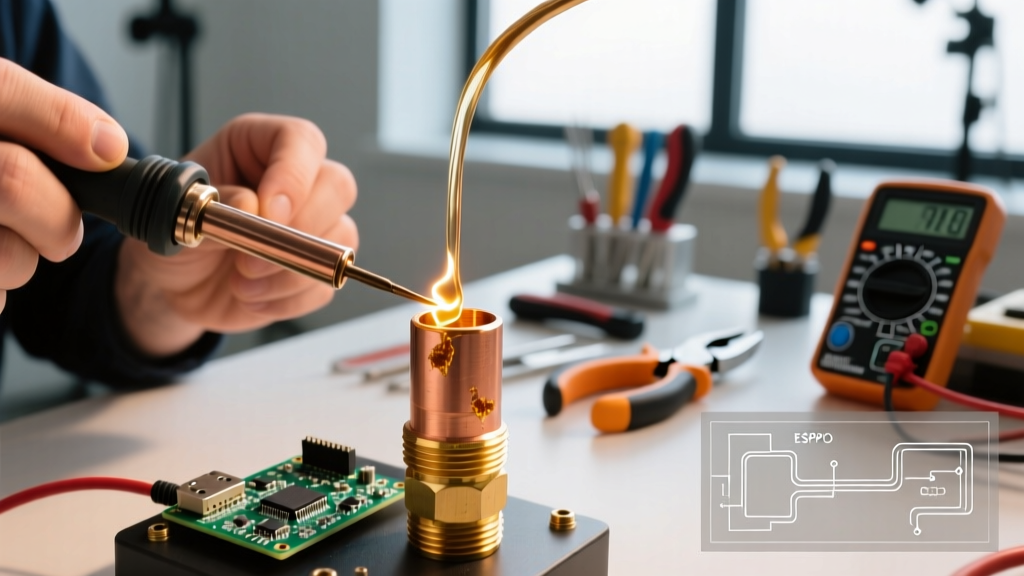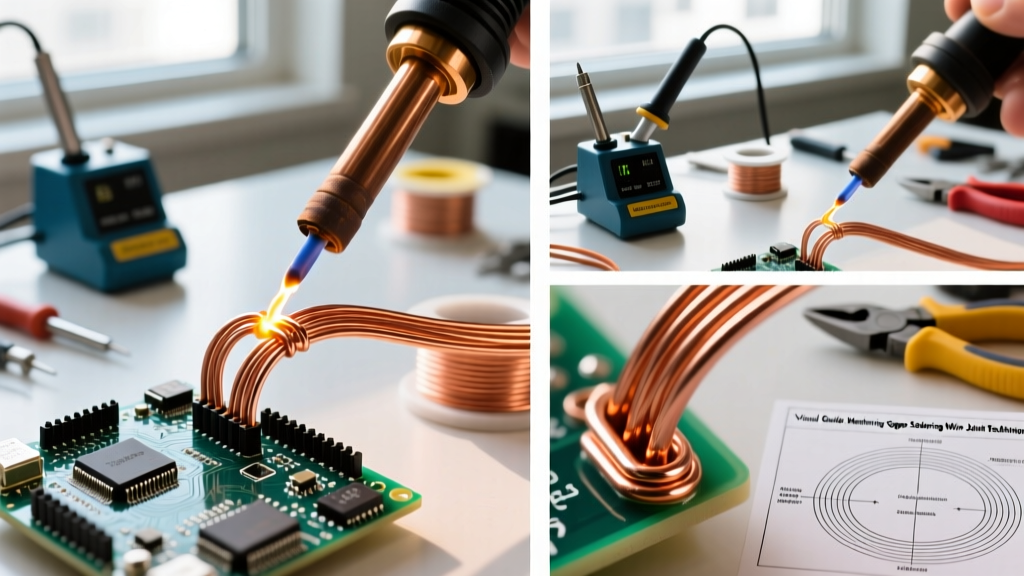

The 450°C Threshold: Why Confusing These Processes Ruins Projects
Whether you are building a high-draw LiPo battery pack, repairing copper refrigeration lines, or fabricating a custom steel chassis, misunderstanding the boundaries of your joining process will lead to catastrophic joint failure. The debate of welding vs soldering vs brazing is not just academic; it dictates the structural integrity, electrical conductivity, and thermal resilience of your work.
According to the American Welding Society (AWS), the fundamental dividing line is the 450°C (840°F) threshold. Below this temperature, you are soldering. Above it, you are brazing. If the base metal itself melts and fuses, you are welding. In 2026, with the proliferation of high-density PCBs and thin-gauge automotive EV conversions, applying the wrong thermal process is easier—and more costly—than ever. Below, we break down the most critical mistakes DIYers and junior technicians make across all three disciplines, and exactly how to fix them.
Definitive Comparison Matrix
| Process | Base Metal State | Filler Melt Temp | Typical Filler Alloy | Joint Strength (PSI) | Primary Application |
|---|---|---|---|---|---|
| Soldering | Solid (Does not melt) | < 450°C (840°F) | Sn63Pb37, SAC305 | 3,000 - 6,000 | PCBs, low-stress electronics, stained glass |
| Brazing | Solid (Does not melt) | > 450°C (840°F) | BCuP-5, BAg-24 (Silver) | 40,000 - 70,000 | HVAC, structural steel, heavy power cables |
| Welding | Liquid (Melts & fuses) | > 1,500°C (2,700°F) | ER70S-6, ER308L | 60,000 - 90,000+ | Chassis, pressure vessels, heavy fabrication |
Soldering Mistakes: Thermal Mass and Chemical Disasters
Mistake 1: Using Acid-Core Plumbing Flux on Electronics
One of the most destructive errors in DIY electronics is grabbing plumbing solder (often containing highly corrosive zinc chloride or ammonium chloride flux) to tin heavy-gauge battery wires or PCB pads. While acid flux excels at stripping oxidation from copper pipes, it leaves behind ionic residues that cause dendritic growth and short circuits when exposed to ambient humidity.
- The Fix: Always use Rosin-based (R, RMA, or RA) or No-Clean fluxes for electrical work. For heavy 8 AWG to 4 AWG XT90 or AS150 connectors, use a high-tack RMA paste like Kester 186 or Chip Quik SMD291AX. These activate at 180°C, safely clearing oxidation without eating your copper traces.
Mistake 2: Thermal Mass Miscalculation (The 'Cold Joint' Trap)
Attempting to solder large ground planes or thick motor leads with a standard 40W ceramic heater iron results in cold, grainy joints. The iron's tip temperature drops instantly upon contact with the high-thermal-mass copper, preventing the solder from reaching its liquidus phase.
2026 Gear Check: To handle modern high-current drone and EV battery builds, upgrade to an active-tip station. The Weller WE1010NA (approx. $120) or the Hakko FX-951 (approx. $260) utilize direct cartridge heating, delivering 70W+ of instantaneous thermal recovery to keep SAC305 lead-free solder flowing smoothly at 350°C.
Brazing Mistakes: Capillary Starvation and Flux Vitrification
Brazing relies entirely on capillary action to draw the filler metal into the joint. Unlike welding, you are not melting the base metals. The Harris Products Group emphasizes that improper heat application is the leading cause of brazing failure in HVAC and structural tubing.
Mistake 3: Flux Vitrification (Burning the Flux)
When using an oxy-acetylene or MAP-Pro torch on copper-to-brass fittings, many beginners heat the joint until it glows bright cherry red before applying the filler rod. At temperatures exceeding 1,400°F, standard white paste flux (like Harris Stay-Clean) boils off or vitrifies into a hard, glassy barrier that completely blocks the filler metal from entering the capillary space.
- The Solution: Heat the fitting, not the pipe, and keep the torch moving. When the base metal reaches roughly 1,150°F, touch the brazing rod (e.g., Lucas-Milhaupt Braze 505, which contains 15% silver and melts at ~1,200°F) to the joint edge. If the metal is hot enough, the rod will instantly flash-melt and be violently sucked into the joint via capillary action.
Mistake 4: Ignoring Joint Clearance Tolerances
Brazing requires precise gaps. If your slip-fit joint is too loose (greater than 0.006 inches), capillary action fails, and the filler metal simply drips out or pools at the bottom, resulting in a joint with virtually zero tensile strength. Always machine or sand tubing to ensure a uniform 0.002 to 0.005-inch radial clearance before brazing.
Welding Mistakes: When You Should Have Brazed Instead
Welding creates a metallurgical bond by melting the base metal. However, high heat input causes severe distortion, warping, and burn-through on thin materials. As noted in Lincoln Electric's technical resources, knowing when to step down from fusion welding to brazing is a hallmark of an expert fabricator.
Mistake 5: Blowing Through Thin-Gauge Sheet Metal
When repairing 20-gauge or 22-gauge automotive body panels or custom battery enclosures, using standard MIG welding with ER70S-6 steel wire at 90+ amps will instantly melt a hole through the metal. The heat-affected zone (HAZ) becomes brittle, and the warping ruins the panel's geometry.
- The Fix (MIG Brazing): Swap your steel wire for Silicon Bronze (ER CuSi-A) wire. Because silicon bronze melts at roughly 1,950°F (compared to steel's 2,700°F), you can fuse thin steel panels together with minimal heat input. The base metal remains solid, drastically reducing warping and eliminating burn-through. Run your MIG machine at roughly 18 volts and 300 IPM wire speed with 100% Argon shielding gas.
Mistake 6: TIG Welding Galvanized Steel (Toxic & Porous)
Welding galvanized steel vaporizes the zinc coating, creating highly toxic zinc oxide gas (causing 'metal fume fever') and resulting in a weld full of porosity and micro-cracks due to zinc embrittlement.
- The Fix: Never fusion-weld galvanized steel if it can be avoided. Instead, grind away the zinc in the joint area, or switch to TIG brazing using a Silicon Bronze filler rod. The lower heat of the bronze braze minimizes zinc vaporization while providing a corrosion-resistant, structurally sound joint.
Troubleshooting Flowchart: Diagnosing Joint Failures
When your joint fails, the fracture surface tells the story. Use this diagnostic guide to correct your technique:
- Symptom: Filler metal balls up and rolls off the base metal.
Diagnosis: Oxidation or insufficient heat. The base metal never reached the flow temperature of the filler.
Action: Increase heat, clean the base metal with 120-grit sandpaper and acetone, and apply fresh, active flux. - Symptom: Joint snaps cleanly under light torsion; filler metal looks grainy and dull.
Diagnosis: Cold joint (Soldering) or capillary starvation (Brazing). The joint was moved before solidification, or thermal mass was too high for the iron/torch.
Action: Upgrade to a higher-wattage active-tip station or use a larger torch tip. Clamp the workpiece securely to prevent micro-movements during the cooling phase. - Symptom: Base metal cracks adjacent to the weld bead.
Diagnosis: HAZ (Heat Affected Zone) embrittlement or rapid cooling (quenching) of high-carbon steel.
Action: Pre-heat the base metal to 300°F before welding, and use a ceramic blanket to slow the cooling rate post-weld.
Final Verdict: Match the Process to the Stress
Mastering the nuances of welding vs soldering vs brazing comes down to understanding your operational environment. Soldering is strictly for electrical conductivity and low-stress mechanical anchoring. Brazing is your go-to for high-strength, leak-tight joints on dissimilar metals or thin-walled tubing where fusion welding would cause collapse. Welding is reserved for maximum structural load-bearing applications where the base metal's integrity must be continuous. Respect the temperature thresholds, invest in proper flux chemistry, and your joints will outlast the equipment they hold together.