
The Thermal Challenge of Copper Metallurgy
Soldering copper jewelry presents a unique set of metallurgical and safety challenges that differ vastly from working with sterling silver or gold. Copper possesses an exceptionally high thermal conductivity (approximately 398 W/m·K). This means heat dissipates away from your joint almost as quickly as your torch applies it. To achieve the flow point of silver-bearing brazing alloys, you must saturate the entire thermal mass of the copper piece rapidly before the flux burns out or the metal oxidizes beyond repair.
Furthermore, copper oxidizes aggressively when heated. It first forms cuprous oxide (a red or pink scale), which quickly converts to cupric oxide (a thick, black scale) at temperatures above 1000°F. Solder will absolutely not flow over cupric oxide. Therefore, the safety and best practices for soldering copper jewelry revolve around aggressive chemical fluxing, high-BTU heat application, and stringent fume management.
Hazard Mitigation: Fumes, Flux, and Fire
The primary safety hazard in copper jewelry fabrication is not the metal itself, but the fluoride compounds found in the high-temperature fluxes required to dissolve copper oxides. When heated, fluoride-based fluxes release hydrogen fluoride gas and particulate fluorides, which can cause acute respiratory irritation and, over time, contribute to skeletal fluorosis.
CRITICAL SAFETY WARNING: Never use cheap, imported silver solders of unknown origin for jewelry. Some low-grade brazing alloys contain up to 20% cadmium to lower the melting point. Cadmium vaporizes at soldering temperatures and is highly toxic, causing severe lung damage and metal fume fever. Always purchase cadmium-free solders from reputable refiners like Harris or Hoover & Strong.
Essential 2026 Safety Gear Setup
- Respiratory Protection: A standard N95 mask is useless against chemical vapors. You must use a half-face respirator like the 3M 6200 ($35-$45) equipped with 6006 Multi-Gas Cartridges ($30/pair), which are specifically rated for acid gases and fluorides.
- Local Exhaust Ventilation (LEV): According to OSHA's official ventilation guidelines, fumes must be captured within 6 inches of the source. A benchtop extractor like the Hakko FA-400 ($130) or a flex-arm ducted system pulling 300+ CFM is mandatory for daily use.
- Optical Protection: The bright orange/yellow flare of an air/acetylene torch on copper can cause eye strain. Didymium glasses (Shade 3.0 to 5.0, approx. $60) filter out the harsh sodium flare, allowing you to see the exact moment the solder flows without squinting.
Material Matrix: Solders and Fluxes for Copper
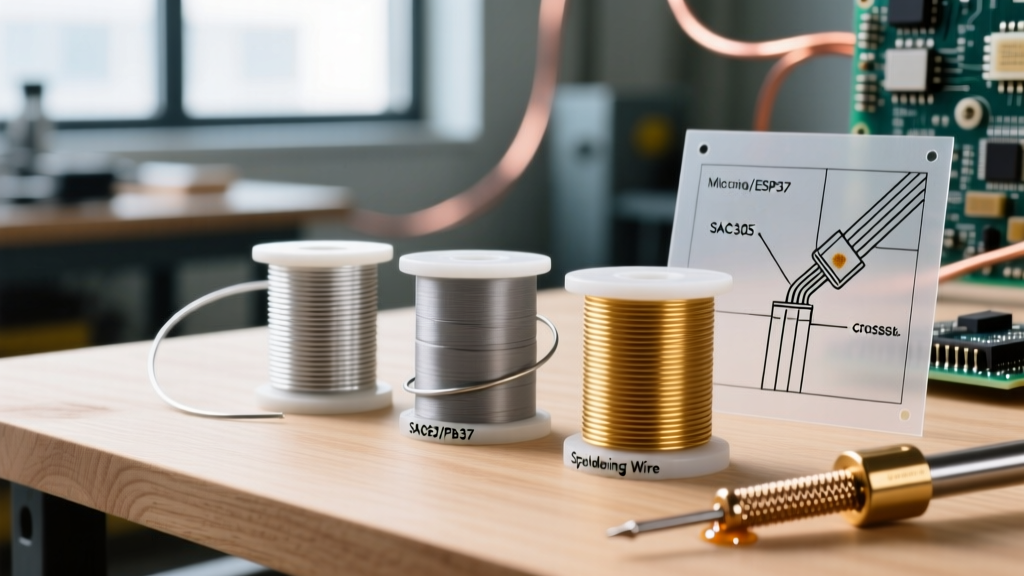
Because copper requires higher heat to achieve capillary action, standard electronics tin/lead solder is structurally inadequate for jewelry. You must use silver brazing alloys (often called 'silver solder' in the jewelry trade). Below is the definitive matching matrix for copper fabrication, based on current Rio Grande jewelry safety protocols and material data sheets.
| Solder Grade | Silver Content | Flow Point | Required Flux Match |
|---|---|---|---|
| Hard Silver | 75% | 1450°F (788°C) | Stay-Silv Black Flux |
| Medium Silver | 70% | 1390°F (754°C) | Stay-Silv White Flux |
| Easy Silver | 65% | 1325°F (718°C) | Stay-Silv White Flux |
| Phos-Copper (HVAC) | 0% (15% Phos) | 1300°F (704°C) | Self-Fluxing (No flux needed) |
Note on Phos-Copper: While Phos-Copper is self-fluxing on pure copper, it creates brittle joints and has a dull, coppery color that is difficult to polish to a high jewelry finish. For fine jewelry, stick to 65%+ Easy Silver solder with a fluoride-based white flux.
The 5-Step Protocol for Flawless Copper Joints
Following a strict procedural workflow prevents the most common failure modes in copper soldering. Here is the professional sequence:
- Mechanical & Chemical Prep: Copper must be surgically clean. Sand the joint area with 400-grit silicon carbide paper, then drop the piece into a heated pickle pot. The ideal pickle for copper is Sparex #2 (sodium bisulfate), mixed at a ratio of 1 cup per gallon of distilled water, and heated to 140°F–160°F in a dedicated ceramic slow cooker. This removes all organic oils and pre-existing oxides.
- Flux Application: Using a natural hair brush (synthetic bristles will melt), apply a thick, even paste of Stay-Silv White Flux over the entire joint area, extending 1/4 inch past the seam. The flux will bubble, turn white, then become clear and glassy as it reaches its active temperature (approx. 1100°F).
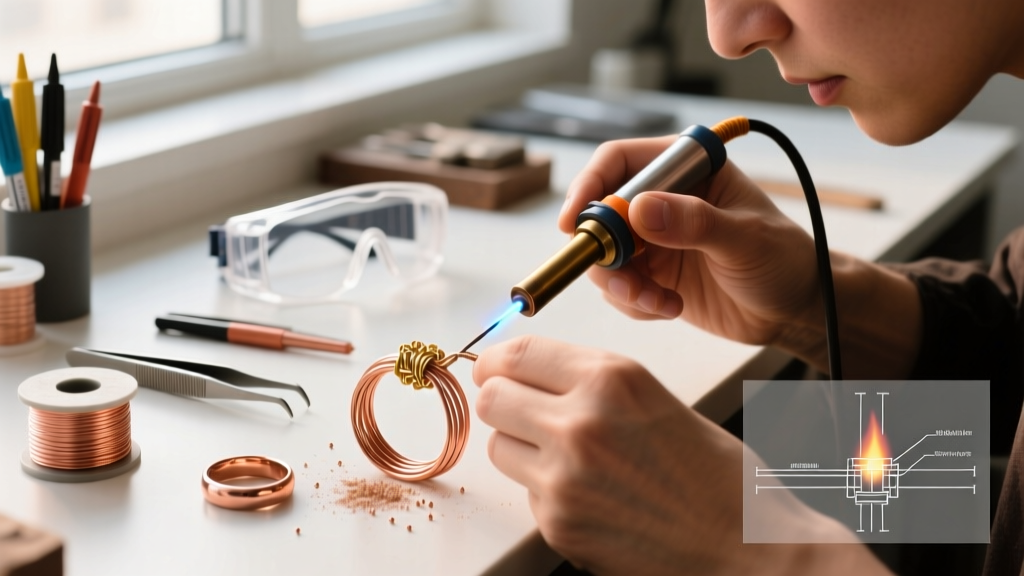
- Thermal Saturation (Heating): Because of copper's thermal conductivity, a standard butane micro-torch will fail. You need an Air/Acetylene torch (like the Smith Air/Acetylene) or an Oxy-Propane setup. Use a sweeping, circular motion with a bushy, slightly reducing flame (excess fuel) to heat the entire piece, not just the seam. Heating only the seam will cause the flux to burn out before the surrounding metal reaches flow temperature.
- Solder Introduction: Once the flux turns clear and the copper glows a dull cherry red in dim lighting, touch your fluxed silver solder wire to the seam. Capillary action will instantly draw the molten solder through the joint. Remove the torch immediately to prevent melting the base metal.
- Quench and Pickle: Allow the piece to air cool until the red glow fades, then quench in water. Immediately transfer to the warm Sparex #2 pickle for 5-10 minutes to dissolve the glassy flux residue and any surface firescale.
Troubleshooting Matrix: Copper Soldering Failures
Even experienced jewelers encounter issues when transitioning to copper. Use this diagnostic matrix to correct your technique, referencing data compiled from the CDC NIOSH workplace safety database and metallurgical best practices.
| Failure Mode | Root Cause | Corrective Action |
|---|---|---|
| Solder Balls Up | Solder oxidized before flowing; flux was exhausted or insufficient. | Increase flux volume. Heat the base metal faster using a larger torch tip to beat the flux burnout window. |
| Heavy Black Firescale | Cupric oxide embedded into the copper matrix due to prolonged, low-heat exposure. | Use a hotter, faster flame. Ensure your reducing flame envelope is shielding the copper from ambient oxygen. |
| Pitted or Spongy Joint | Trapped moisture in the pickle turned to steam, or solder overheated past its boiling point. | Ensure the piece is 100% dry before applying flux. Remove heat the exact second the solder flashes liquid. |
Final Thoughts on Studio Safety
Mastering the art of soldering copper jewelry requires respecting the metal's aggressive oxidation rate and the chemical hazards of the fluxes used to tame it. By investing in proper local exhaust ventilation, utilizing fluoride-rated respiratory protection, and strictly adhering to thermal saturation techniques, you can produce flawless, structurally sound copper jewelry while maintaining a safe, compliant studio environment in 2026 and beyond.