
The Metallurgical Conflict: Chromium Oxide vs. Thermal Conductivity
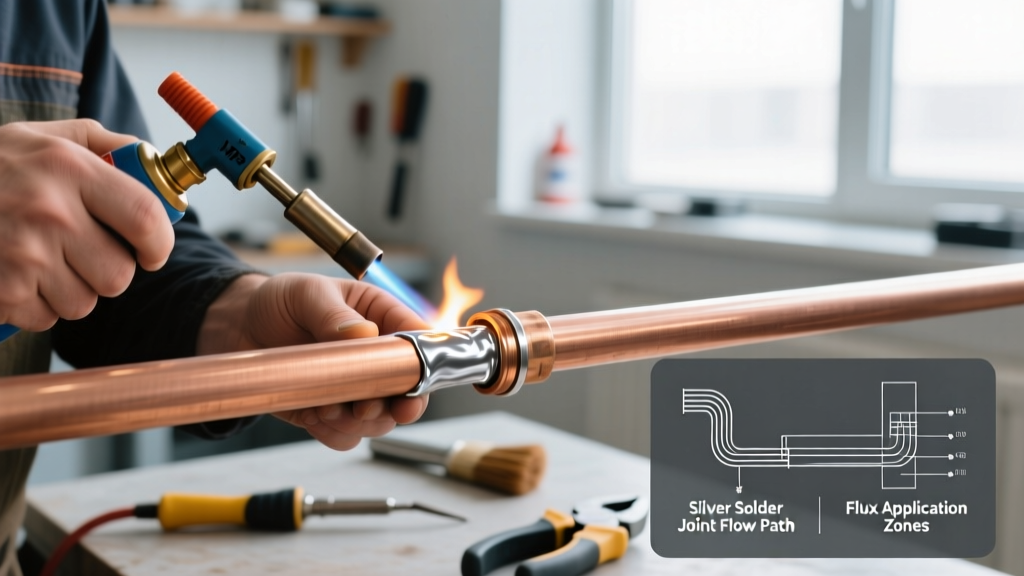
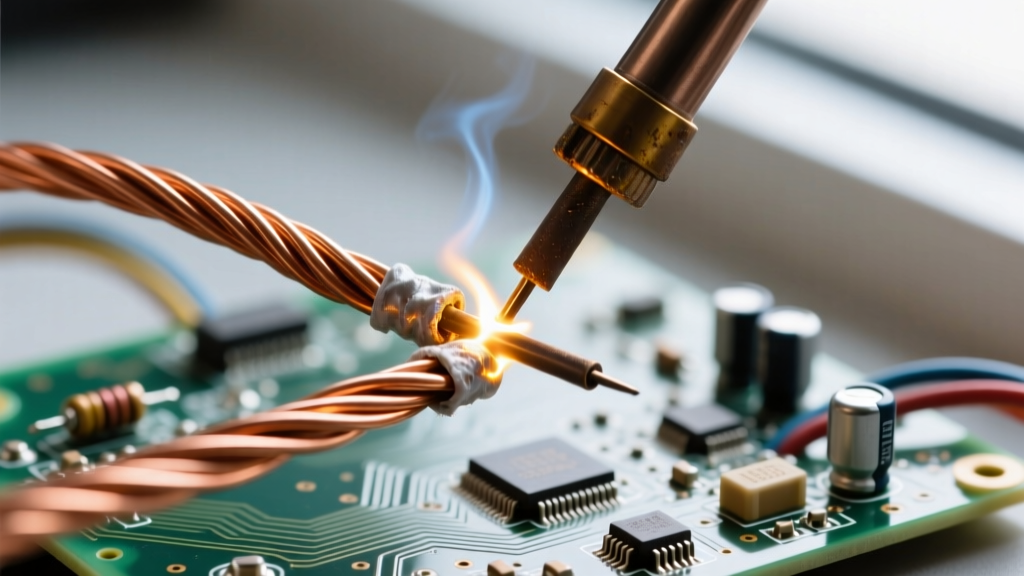
Soldering copper to stainless steel represents one of the most demanding challenges in advanced electronics and plumbing fabrication. You are essentially fighting a two-front metallurgical war. On one side, stainless steel (typically 304 or 316 grades) relies on a passive, invisible layer of chromium oxide (Cr2O3) that actively repels standard rosin-based fluxes and prevents molten solder from wetting the surface. On the other side, copper possesses a thermal conductivity roughly 25 times greater than stainless steel. When you apply heat to the joint, the copper acts as a massive heat sink, rapidly drawing thermal energy away from the stainless steel interface before your specialized flux can reach its activation temperature.
According to the British Stainless Steel Association, overcoming the passive oxide layer requires aggressive chemical disruption combined with precise thermal staging. Standard 60W ceramic-element irons and mild organic acid (OA) fluxes will invariably result in cold, non-wetting joints that fail under minimal mechanical stress. To achieve a reliable intermetallic compound (IMC) layer between these dissimilar metals, we must deploy industrial-grade active fluxes, high-recovery active-tip soldering stations, and specific silver- or antimony-bearing filler alloys.
Flux Chemistry: Breaking the Passive Layer
For soldering copper stainless steel assemblies, standard RMA (Rosin Mildly Activated) or no-clean fluxes are entirely useless. You must use inorganic acid (IA) fluxes, specifically those based on zinc chloride (ZnCl2) or phosphoric acid. These fluxes chemically etch the chromium oxide layer at temperatures between 200°C and 250°C, exposing the raw iron/nickel matrix for the solder to wet.
As of 2026, Superior Flux #30 remains the industry benchmark for this application, utilizing a heavily concentrated zinc chloride base. Another excellent alternative is Harris Stay-Clean Liquid Flux. However, these fluxes are highly corrosive and mandate rigorous post-soldering cleaning protocols.
Flux Selection Matrix for Dissimilar Joints
| Flux Type | Brand / Model | Active Chemistry | Activation Temp | Best Use Case |
|---|---|---|---|---|
| Inorganic Acid (IA) | Superior Flux #30 | Zinc Chloride (ZnCl2) | 200°C - 280°C | Heavy structural joints, thick SS gauge |
| Inorganic Acid (IA) | Harris Stay-Clean | Zinc Chloride / Ammonium | 180°C - 260°C | Plumbing, RF shielding, general SS to Cu |
| Organic Acid (OA) | Indium #5RMA | Lactic / Citric Acid | 150°C - 220°C | Light-gauge SS foil to thin Cu wire (less corrosive) |
Filler Alloy Selection
While standard Sn63/Pb37 eutectic solder can technically wet properly fluxed stainless steel, modern RoHS-compliant environments and high-reliability applications demand lead-free alternatives with superior shear strength and creep resistance.
- SAC305 (Sn96.5/Ag3.0/Cu0.5): The standard lead-free alloy. Melts at 217°C–220°C. The silver content improves wetting on difficult substrates like stainless steel. Expect to pay $55–$75 per 1lb spool for high-quality wire (e.g., Kester or Indium Corp). Limitation: Prone to tin-whisker growth if not conformally coated.
- Sn95/Sb5 (Tin-Antimony): Melts at 235°C–240°C. This is the superior choice for high-temperature operating environments (e.g., automotive engine bays or aerospace). Antimony provides exceptional creep resistance and joint stability when bridging the coefficient of thermal expansion (CTE) mismatch between copper and steel.
- Sn96.5/Ag3.5 (Indalloy 121): Excellent for cryogenic applications, maintaining ductility at extreme low temperatures where standard SAC alloys become brittle.
Advanced Thermal Staging & Execution Protocol
Because copper will steal your heat, you cannot rely on a standard soldering iron. You need a high-wattage, active-cartridge tip system (such as the JBC CD-2BQE or Weller WX2) capable of instant thermal recovery. A heavy chisel tip (e.g., JBC C245-945 or Weller RT4) is mandatory to maximize surface area contact.
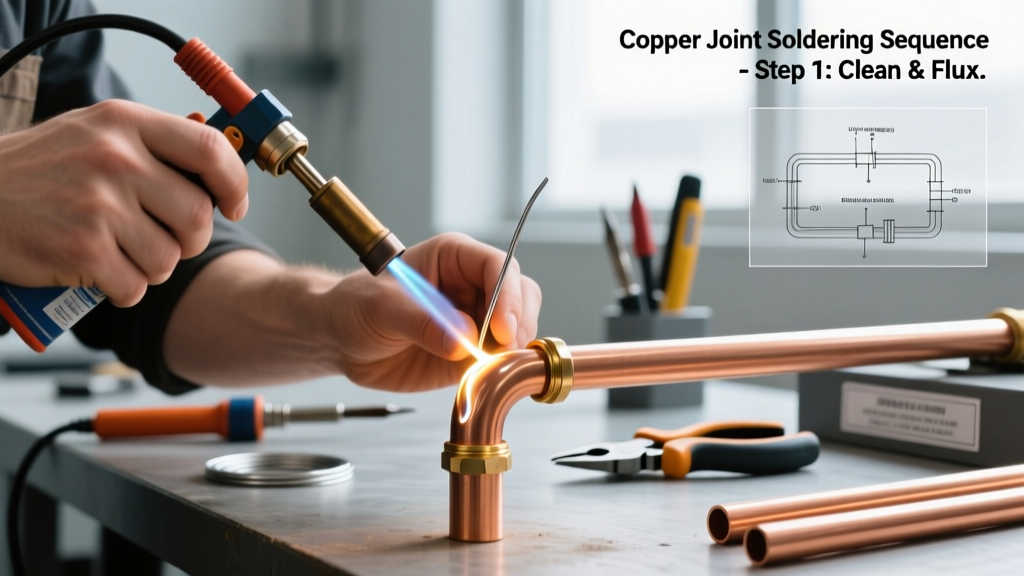
- Mechanical Preparation: Abrade the stainless steel joint area with 220-grit aluminum oxide sandpaper to physically disrupt the thickest part of the passive layer. Clean both the Cu and SS surfaces with 99% isopropyl alcohol (IPA).
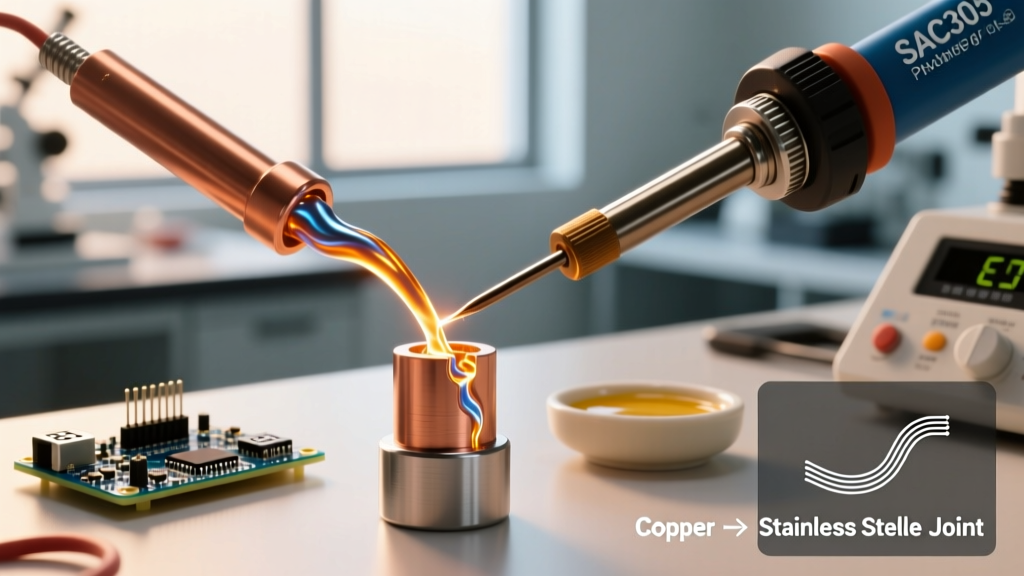
- Pre-Tinning the Stainless Steel: Apply a generous drop of Zinc Chloride flux to the SS. Set your active-tip station to 320°C (higher than normal to compensate for the copper heat sink). Touch the iron to the SS and feed the SAC305 wire directly into the joint, not the tip. The flux will boil and smoke as it etches the oxide. Once the solder pools and wets the steel, remove the heat. You have now created a solderable 'island' on the stainless steel.
- Cooling and Inspection: Allow the pre-tinned SS to cool. Inspect the wetting. If the solder beads up (high contact angle), the oxide layer was not fully breached. Re-abrade and repeat.
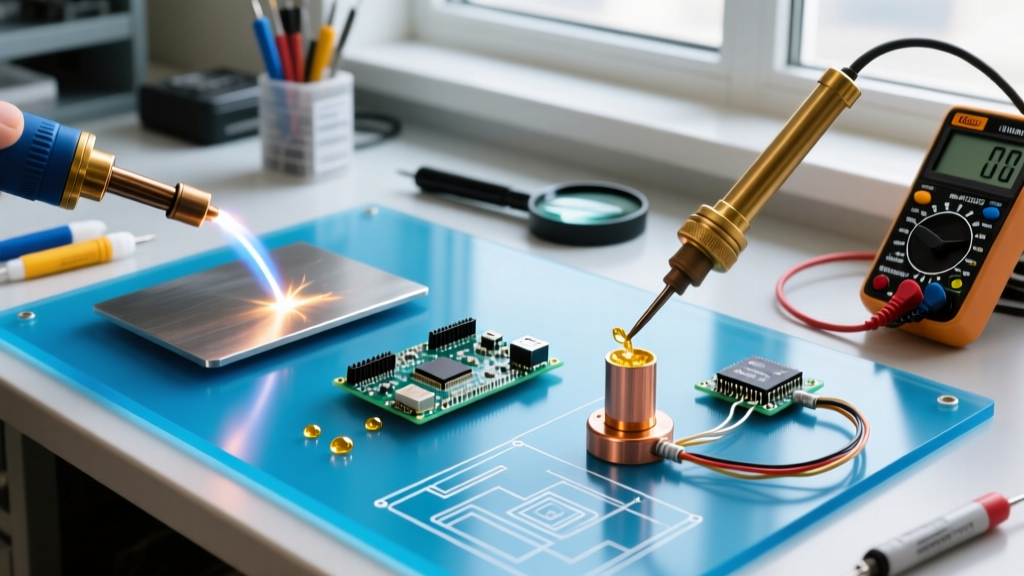
- Final Bridging: Position the copper component against the pre-tinned SS island. Apply a small amount of standard no-clean or mild OA flux to the copper side (do not mix massive amounts of ZnCl2 into the final bridge if avoidable, to limit corrosion). Set your iron to 360°C. Apply the tip to the copper to rapidly transfer heat through the copper and into the pre-tinned SS island. The existing solder will reflow, bridging the gap. Dwell time should not exceed 3–4 seconds to prevent thermal damage to surrounding components.
Expert Insight: Never apply the soldering iron directly to the flux pool on the stainless steel without a pre-tinned tip or simultaneous solder feed. The ZnCl2 will rapidly oxidize and destroy the iron plating on your soldering tip within minutes. Always keep a wet brass sponge nearby and re-tin your tip immediately after working with inorganic acids.
Post-Soldering: Mitigating Galvanic Corrosion
The most frequently overlooked failure mode in soldering copper stainless steel assemblies is galvanic corrosion. In the galvanic series, passive 316 stainless steel is highly cathodic (noble), while copper is anodic. If this joint is exposed to an electrolyte (humidity, condensation, or salt spray), a galvanic cell is formed, and the copper will rapidly corrode and dissolve at the joint interface.
Furthermore, the residual zinc chloride flux is highly hygroscopic and acidic. If left on the board or joint, it will eat through the copper trace or wire within weeks.
Mandatory Cleaning and Passivation Steps
- Step 1: Hot DI Water Rinse. Immediately after the joint cools, scrub the area with a stiff brush and hot (60°C) deionized water to dissolve and flush the zinc chloride salts. Standard tap water will leave mineral deposits that complicate the corrosion process.
- Step 2: IPA Displacement. Flood the joint with 99% IPA to displace the water and accelerate drying.
- Step 3: Galvanic Isolation. Once completely dry, encapsulate the dissimilar metal joint with a high-dielectric, moisture-resistant conformal coating (e.g., MG Chemicals 832C epoxy or a silicone-based HumiSeal). This starves the galvanic cell of the electrolyte, permanently halting the corrosion mechanism. For a deep dive into the electrochemical mechanics of this process, refer to the Corrosionpedia guidelines on galvanic cells.
Troubleshooting Edge Cases & Failure Modes
| Failure Mode | Visual Symptom | Root Cause | Corrective Action |
|---|---|---|---|
| Non-Wetting on SS | Solder forms a perfect sphere and rolls off the steel. | Chromium oxide layer intact; flux burned off before activation. | Reduce iron temp slightly, increase flux volume, use mechanical abrasion prior to fluxing. |
| Cold Joint / Delamination | Dull, grainy appearance; joint snaps under light torque. | Copper heat sink dropped joint temp below liquidus before solidification. | Pre-heat the entire assembly to 100°C using a hotplate; use a larger chisel tip. |
| Tip Pitting / Destruction | Soldering tip develops black craters and refuses to tin. | Zinc chloride flux left on tip at high temperatures. | Use dedicated 'beater' tips for SS work; clean on wet brass sponge immediately. |
| Post-Assembly Copper Rot | Green/white crusty buildup on copper near the joint weeks later. | Galvanic corrosion + residual IA flux salts. | Implement strict DI water cleaning and apply conformal encapsulation. |
Mastering the art of joining these two vastly different metals requires abandoning standard electronics assembly habits. By respecting the thermal mass of copper, aggressively attacking the stainless steel's passive layer with the correct inorganic chemistry, and sealing the joint against galvanic decay, you can fabricate dissimilar metal assemblies that will survive decades of harsh environmental stress.