
The Thermodynamics of Soldering Tinning the Tip
In the world of electronics assembly, the phrase soldering tinning the tip refers to the critical process of coating your soldering iron’s working end with a fresh layer of molten solder. This is not merely a preparatory chore; it is a vital thermal bridge that prevents oxidation, maximizes heat transfer, and dictates the lifespan of your equipment. However, the methodology and success rate of this process vary wildly depending on whether you are wielding a budget-friendly hobbyist kit or a high-end professional station.
As of 2026, the gap between consumer and industrial soldering gear has narrowed in terms of digital temperature control, but the fundamental physics of thermal mass and tip metallurgy remain unchanged. Understanding how different kits handle the tinning process is the key to achieving flawless, IPC-compliant solder joints.
Hobbyist Kits: Overcoming Thermal Lag and Flux Burnout
Hobbyist setups—ranging from the ubiquitous $26 Pine64 Pinecil V2 to generic 60W transformer-based irons—rely on separate ceramic heating elements that transfer heat to the tip via conduction. While modern smart irons boast rapid PWM (Pulse Width Modulation) heating, they still suffer from a physical gap between the heater and the working face of the tip.
The Oxidation Trap
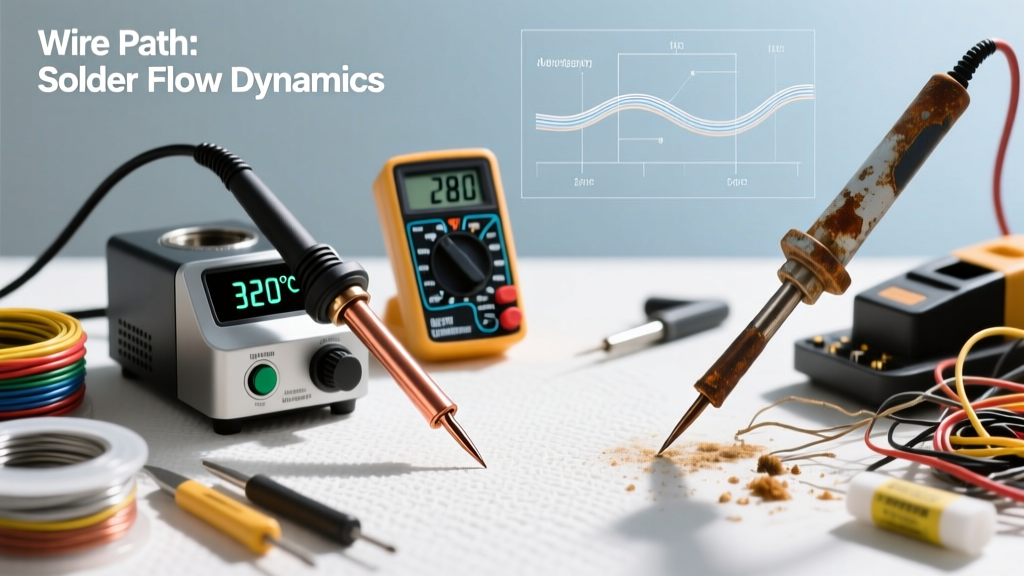
When hobbyists attempt soldering tinning the tip at high temperatures (above 380°C) to compensate for thermal lag on large ground planes, the rosin core of the solder instantly vaporizes. Without active flux to strip away surface oxides, the iron plating on the tip reacts with ambient oxygen, forming a stubborn black crust of iron oxide. Once this 'black tip syndrome' sets in, solder will ball up and roll off, rendering the iron useless until chemically treated.
- Common Hobbyist Failure Mode: Using a soaking wet cellulose sponge for cleaning. The sudden thermal shock drops the tip temperature by up to 100°C in a fraction of a second, micro-fracturing the iron plating and accelerating corrosion.
- The Hobbyist Fix: Switch to a dry brass wire sponge (like the Hakko 599B) and lower your baseline temperature to 300°C when using Sn63/Pb37 eutectic solder.
Professional Kits: Active Tips and Instant Thermal Recovery
Professional environments demand zero downtime, which is why industrial stations like the $550 JBC CD-2BQE or the Weller WX2021 utilize active cartridge tips. In these systems, the heating element and thermocouple are integrated directly inside the copper core of the tip itself.
Why Pro Kits Excel at Tinning
When a technician performs soldering tinning the tip on a JBC C245 cartridge, the station detects the thermal load instantly and dumps up to 130 watts of power directly into the working face. The recovery time is measured in milliseconds, not seconds. This means the flux in high-quality solder (such as Kester 44 or Alpha Metals SAC305) remains active long enough to properly wet the iron plating before it can burn away.
Expert Insight: Professional technicians working with aggressive lead-free alloys like SAC305 (which melts at 217°C-220°C) often use heavy-duty tips with 12-mil iron plating rather than the standard 7-mil. The higher tin content in lead-free solder literally dissolves the iron plating over time, a phenomenon known as 'tip leaching.' Tinning the tip immediately after every joint creates a sacrificial barrier that stops the leaching process.
Head-to-Head Matrix: Pro vs. Hobbyist Tinning Variables
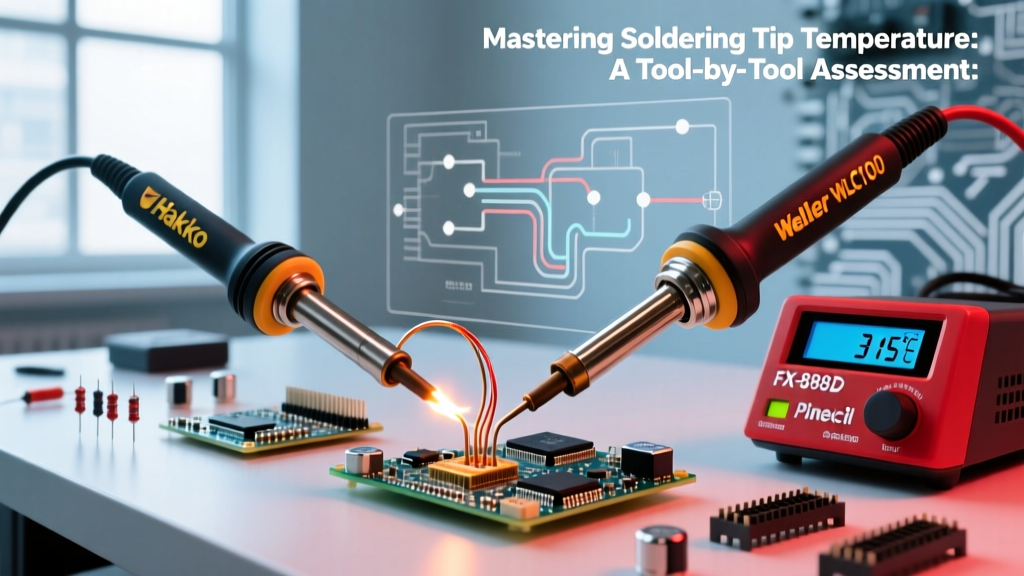
To visualize how equipment tiers dictate your approach to tip maintenance, review the comparison matrix below:
| Variable | Hobbyist Kit (e.g., Pinecil, WLC100) | Professional Kit (e.g., JBC, Weller WX) |
|---|---|---|
| Heater Location | Separate ceramic rod (conduction) | Integrated into tip core (direct transfer) |
| Ideal Tinning Temp (Leaded) | 300°C - 320°C | 280°C - 300°C |
| Ideal Tinning Temp (Lead-Free) | 360°C - 380°C (High oxidation risk) | 340°C - 360°C (Managed by rapid recovery) |
| Recommended Cleaning | Brass wool sponge | Brass wool or specialized dry wipers |
| Tip Replacement Cost | $2 - $8 per tip | $40 - $65 per cartridge |
The Universal Protocol for Soldering Tinning the Tip
Whether you are using a $30 starter kit or a $500 industrial station, following a strict metallurgical protocol will extend your tip life by up to 400%. According to industry standards outlined by Hakko's official tip maintenance guidelines, proper tinning requires a specific sequence.
- Pre-Heat and Flux: Turn on your station. As the tip reaches 150°C, apply a small amount of extra liquid or gel flux (e.g., Amtech NC-559) to the working end. This pre-cleans any microscopic oxidation before the main solder is introduced.
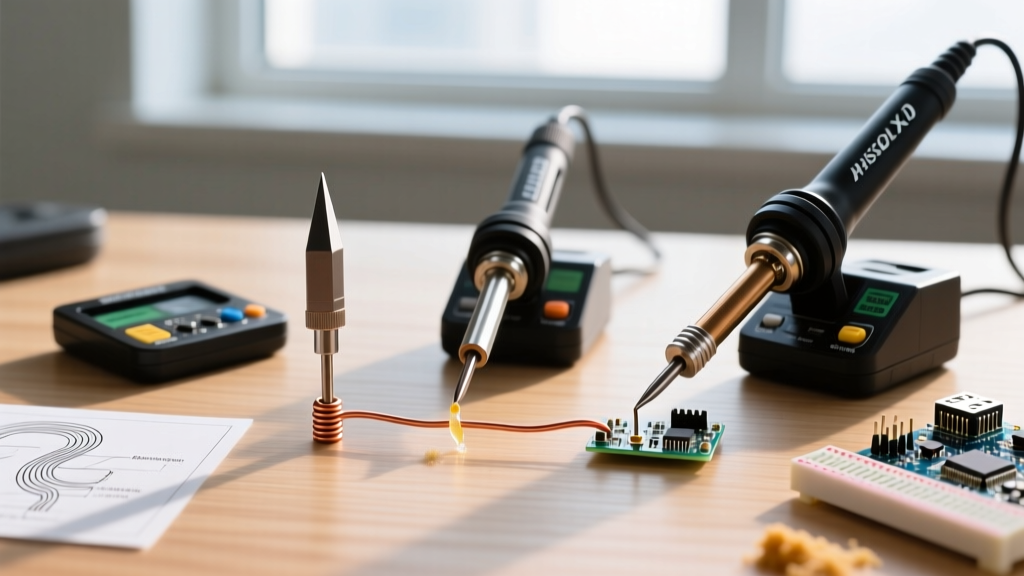
- The Initial Wetting: Once at your target temperature (320°C for Sn63/Pb37), feed 2-3mm of fresh solder wire directly onto the bevel or chisel edge. Rotate the iron to coat all working surfaces.
- The Wipe: When making a joint, wipe the tip once on your brass sponge. Do not scrub. Scrubbing removes the protective solder layer and exposes raw iron to the air.
- The Re-Tin (Crucial Step): Immediately after completing your solder joint and returning the iron to its holder, feed another 2mm of solder onto the tip. Never put a bare, clean iron back into its holster. The fresh blob of solder will oxidize instead of the tip's iron plating.
- Power Down: If your kit lacks auto-sleep, turn it off. If using a smart iron, ensure the standby temperature drops below 150°C to halt oxidation kinetics.
Rescuing Oxidized Tips: When Tinning Fails
If you inherit a poorly maintained hobbyist kit or accidentally leave your iron on overnight, the tip will turn a dull, crusty black. At this stage, standard soldering tinning the tip techniques will fail; the solder will simply roll off like water on a hot skillet.
Do not use sandpaper or a file. Modern soldering tips are constructed from a copper core coated in a microscopic layer of iron. Filing away the black crust will expose the copper, destroying the tip permanently.
The Chemical Rescue Method
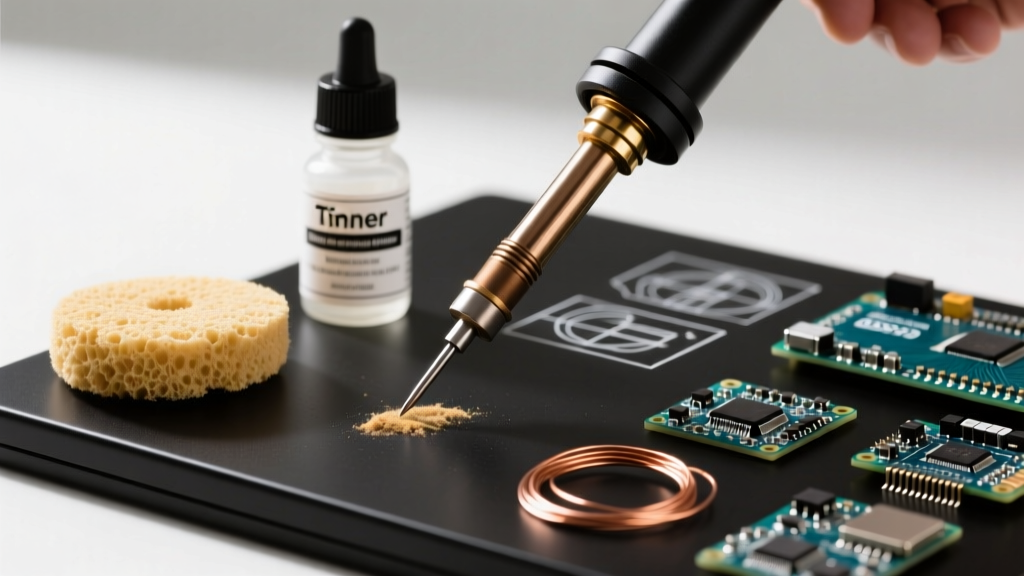
To restore a dead tip, you need a chemical reducing agent. Products like the Hakko 599B Tip Tinner contain a mixture of phosphoric acid and powdered solder.
- Heat the oxidized iron to 250°C (lower than normal to prevent the tinner from boiling off instantly).
- Dip the blackened tip into the tinner compound for 2-3 seconds. The acid strips the iron oxide, while the embedded solder powder immediately wets the newly exposed iron.
- Wipe gently on brass wool and apply a thick coat of standard rosin-core solder.
For a deeper understanding of how flux chemistry interacts with copper and iron during the wetting process, the SparkFun Guide to Through-Hole Soldering provides excellent foundational metallurgy concepts that apply to both hobbyist and professional workflows.
Final Thoughts on Kit Selection and Tip Longevity
Mastering the art of soldering tinning the tip is less about raw skill and more about understanding the thermal limitations of your specific kit. Hobbyists can achieve professional-level results by respecting the thermal lag of their equipment, utilizing low-temperature alloys like SnBiAg (which melts at a mere 138°C and virtually eliminates oxidation), and strictly adhering to the 're-tin before holstering' rule. Conversely, professionals rely on active-tip technology to brute-force through heavy thermal loads while maintaining a pristine, tinned working surface. Treat your tip's tinning layer as a consumable shield, and your soldering kits will reward you with years of flawless performance.