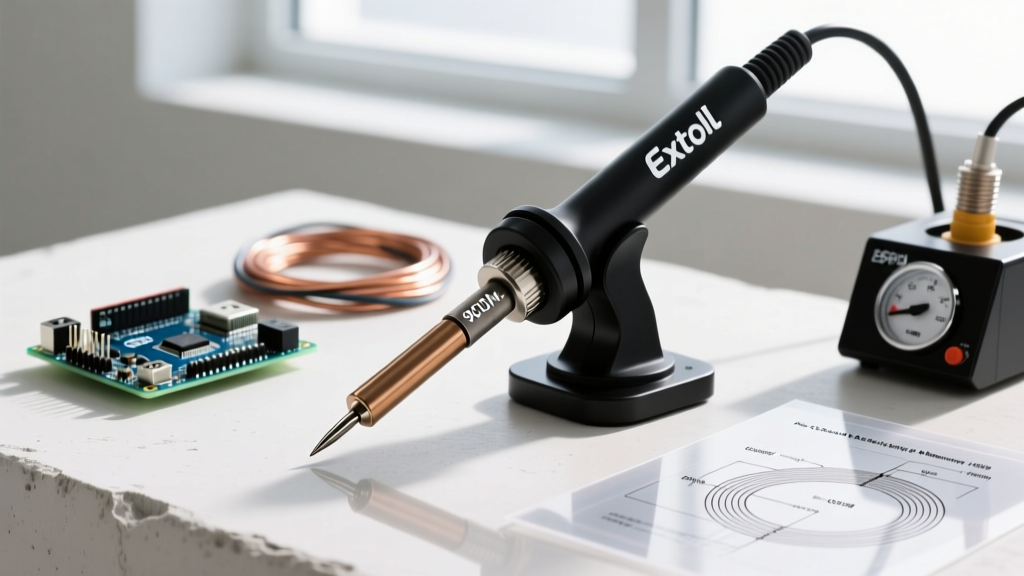

The Hidden Value in Your Soldering Kit: Evaluating the Tip Assortment
When unboxing a new electronics workbench setup in 2026, most beginners focus entirely on the heating element, the digital display, or the wattage of the iron itself. However, the true functional bottleneck of any DIY electronics kit is the soldering tip assortment included in the box. While a high-end station like the Hakko FX-888D or a modern USB-C PD iron like the Pine64 Pinecil V2 can deliver exceptional thermal recovery, that thermal energy is entirely useless if the physical interface between the heater and the solder joint is poorly designed, incorrectly shaped, or metallurgically deficient.
This comprehensive breakdown dissects the typical soldering tip shapes found in modern starter kits, evaluates their real-world utility for through-hole (THT) and surface-mount (SMD) work, and exposes the hidden costs of relying on generic, unbranded tips.
The Metallurgy of a Kit-Included Soldering Tip
Before analyzing shapes, it is critical to understand what is actually inside the tip. According to Hakko's technical documentation, a high-quality tip is not just a piece of metal; it is a complex, multi-layered composite engineered for thermal transfer and chemical resistance.
- Copper Core: Provides rapid thermal conductivity from the ceramic heater to the working end.
- Iron Plating: The working surface. Premium tips feature an iron layer between 0.15mm and 0.25mm thick to resist erosion from aggressive fluxes.
- Chromium Barrier: A microscopic layer applied to the shaft to prevent solder from creeping up and alloying with the copper core.
- Tinning Layer: A factory-applied coat of solder to prevent oxidation during storage.
2026 Market Reality: Many sub-$40 generic kits found on major marketplaces include tips with iron plating as thin as 0.05mm. When subjected to the 350°C+ temperatures required for modern SAC305 lead-free solder alloys, these thin-plated tips suffer from rapid iron dissolution, exposing the copper core to molten solder and destroying the tip in a matter of hours.
Breakdown of Standard Soldering Tip Shapes Included
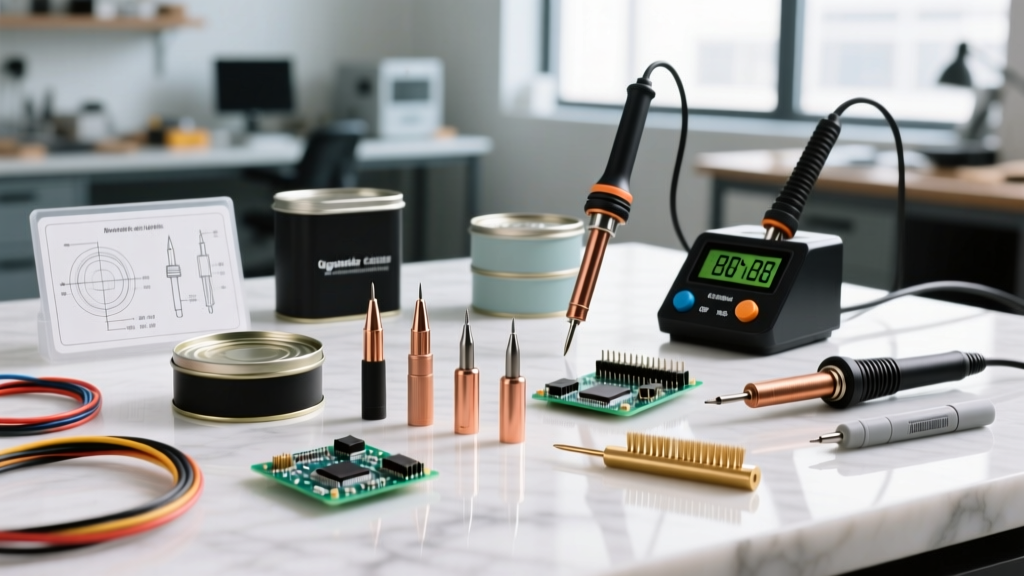
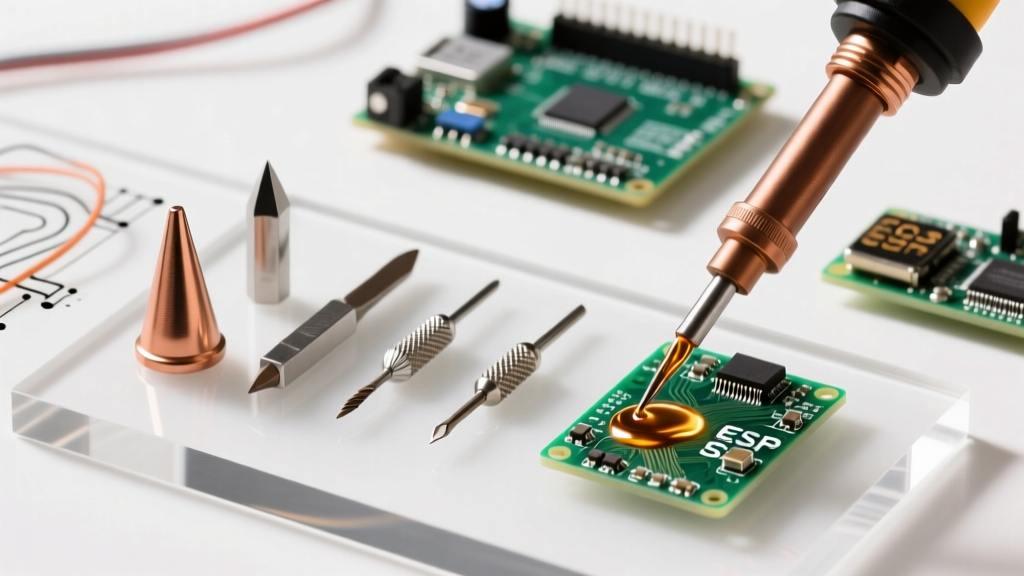
Most starter kits include a generic 5-piece or 7-piece assortment. Here is a breakdown of what those shapes actually are, and whether you should use them.
1. The Conical Tip (B-Type / Pointed)
Almost every beginner kit includes a needle-like conical soldering tip. Manufacturers include it because it looks precise to the untrained eye. In reality, the conical tip is a thermal bottleneck. Because the surface area touching the pad is microscopic, it transfers heat incredibly slowly. Furthermore, molten solder tends to ball up on the point due to surface tension, refusing to flow onto the PCB pad. Verdict: Discard or repurpose for extremely rare, fine-pitch rework. It is a trap for beginners.
2. The Standard Chisel (D-Type)
The chisel is the undisputed workhorse of the electronics bench. Kits usually include a narrow (1.6mm) and a wide (2.4mm or 3.2mm) chisel. The flat face provides maximum surface area contact with both the component lead and the PCB pad simultaneously, ensuring rapid, even heating. The Hakko T18-D24 (2.4mm chisel) remains the gold standard for general-purpose THT soldering. Verdict: Your primary tool for 90% of all DIY wiring and through-hole component assembly.
3. The Bevel / Hoof Tip (C-Type)
Shaped like a slanted cylinder or a scoop, the bevel tip is designed to hold a small reservoir of molten solder. This shape is specifically engineered for 'drag soldering' across the pins of SOIC or TQFP surface-mount integrated circuits. If your kit includes a 2C or 3C bevel tip, it is a massive asset for SMD work. Verdict: Essential for microcontrollers and SMD ICs; useless for standard through-hole wiring.
4. The Knife Tip (K-Type)
The knife tip features an angled, blade-like edge. It is highly versatile: you can use the sharp point for precision tack-soldering 0603 resistors, and the flat blade edge for drag-soldering or cleaning up bridged pins. Pine64’s TS-BC2 and generic K-tips are frequently included in modern USB-C kits. Verdict: The ultimate hybrid tip for mixed-technology boards.
Real-World Kit Breakdown: What You Actually Get
Let us compare the included soldering tip assortments across three popular 2026 kit tiers to see where the value truly lies.
| Kit Tier / Model | Price Range (2026) | Included Tip Shapes | Metallurgical Quality | Replacement Cost per Tip |
|---|---|---|---|---|
| Generic Amazon 60W Kit | $25 - $35 | 5x Assorted (Conical, Chisel, Bevel) | Poor (Thin plating, no Cr barrier) | $4.00 (Often sold in 10-packs) |
| Pine64 Pinecil V2 Kit | $45 - $55 | 2x (TS-BC2 Bevel, TS-D25 Chisel) | Good (Compatible with T18 ecosystem) | $8.00 - $12.00 (OEM Pine64) |
| Hakko FX-888D Digital | $110 - $130 | 1x (T18-B Conical included by default) | Excellent (Thick iron, robust barrier) | $8.50 - $11.00 (OEM Hakko T18) |
Notice a critical flaw in the professional tier: Hakko notoriously ships their premium FX-888D station with a single, nearly useless T18-B conical tip. This forces professionals to immediately purchase a T18-D24 chisel. Conversely, modern DIY-focused kits like the Pinecil V2 provide highly practical shapes out of the box, even if the base station lacks the thermal mass of a traditional transformer-based AC unit.
Failure Modes: When the Included Tip Degrades
Understanding how a soldering tip fails is crucial for maintaining your workspace. The IPC J-STD-001 standard for soldered electrical and electronic assemblies strictly dictates that soldering tools must maintain proper wetting characteristics to form reliable metallurgical bonds. A degraded tip will fail to transfer heat, leading to cold solder joints—a primary cause of field failures in DIY electronics.
Common Edge Cases and Failure Mechanisms
- Flux Carbonization: Leaving an iron at 400°C with rosin-based flux on the tip causes the flux to burn into a hard, black crust. This crust acts as a thermal insulator. Solution: Never use abrasive sandpaper or steel wool to clean a tip. Use a damp brass wire sponge and a specialized tip tinner compound.
- Iron Plating Erosion (Pitting): When using high-activity lead-free fluxes, the flux chemically attacks the iron plating. Once the iron is breached, the molten solder dissolves the copper core, creating a concave crater in the tip. Solution: Retin the tip immediately after every joint to create a sacrificial solder barrier against the flux.
- Thermal Cracking: Quenching a hot tip in water or liquid flux causes rapid thermal contraction, micro-fracturing the iron layer. Solution: Always allow the station to execute its automated cool-down cycle.
How to Upgrade Your Kit's Arsenal Immediately
If your starter kit included subpar tips, do not throw the iron away. The heater core is likely fine. Instead, invest $25 into upgrading your soldering tip arsenal. According to expert guidelines from SparkFun's comprehensive soldering tutorials, matching the tip geometry to the pad size is the single most important factor in achieving a glass-smooth, volcano-shaped solder joint.
The Essential 3-Tip Upgrade Path:
- For THT and Wiring (14-20 AWG): Buy a 3.2mm to 5.0mm wide Chisel (D-type). The mass is required to overcome the heat-sinking effect of thick copper wires and large ground planes.
- For Standard SMD (0805 to SOIC-8): Buy a 1.0mm to 1.5mm Mini-Wave or small Bevel (C-type). This allows for precise solder dragging without bridging adjacent 0.65mm pitch pins.
- For Precision Rework: Buy a genuine OEM Knife tip (K-type). The sharp edge can slice through solder bridges on QFN packages that a chisel tip would merely smear across.
Frequently Asked Questions
Can I use a generic replacement tip on a name-brand station?
While third-party clones (often sold in bulk for under $1 each) physically fit into stations like the Hakko FX-888D or Weller WES51, they frequently suffer from poor internal tolerances. A gap of just 0.5mm between the heater cartridge and the clone tip's internal cavity will cause a massive drop in thermal transfer efficiency, forcing you to raise the station temperature and accelerate tip degradation.
Why does my new soldering tip turn blue and purple?
Discoloration (bluing) on the non-working shaft of the tip is a normal result of oxidation caused by high heat over time. As long as the working face remains silver and easily accepts molten solder (wets properly), the tip is still functional. Do not attempt to scrub the blued shaft, as you may damage the chromium anti-wicking barrier.
What temperature should I set for the chisel tip included in my kit?
For traditional 60/40 or 63/37 leaded solder, set your station to 315°C (600°F). If you are using modern lead-free SAC305 wire solder, increase the temperature to 350°C - 360°C (660°F - 680°F). Never exceed 380°C for prolonged periods, as the rosin core in the solder wire will instantly vaporize and carbonize upon contact with the iron.