
The Thermal Reality of Heavy Copper Connections
When building custom lithium battery packs, EV conversions, or high-current solar arrays, standard 40W electronics irons inevitably fail. Soldering thick-gauge copper wire (8 AWG to 2 AWG) or large copper PCB ground planes requires overcoming a massive thermal sink. Copper boasts a thermal conductivity of approximately 401 W/(m·K), meaning it dissipates heat away from the joint interface faster than most budget heaters can replenish it. To achieve the 360-degree wetting and proper fillet formation mandated by IPC J-STD-001 for Class 2 and Class 3 electrical assemblies, you need a specialized copper soldering kit optimized for high thermal mass.
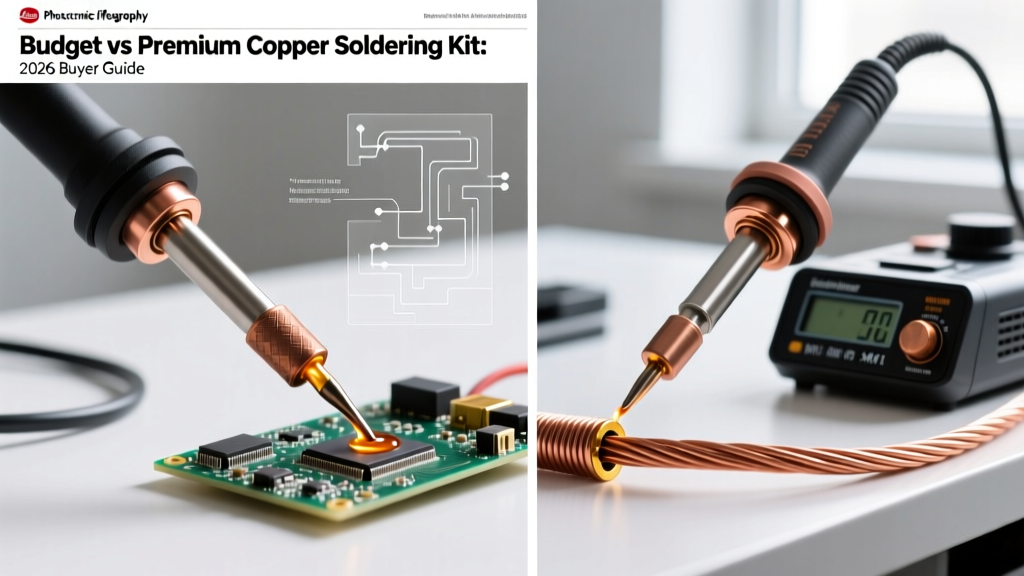
But does achieving professional-grade thermal recovery require a $400+ investment, or can modern smart-irons bridge the gap? In this 2026 guide, we dissect the metallurgy, PID tuning, and real-world performance of budget versus premium copper soldering setups.
Defining the Contenders: Budget vs. Premium
For this comparison, we are evaluating two distinct configurations optimized for heavy electrical copper work:
- The Budget Contender: Pine64 Pinecil V2 paired with a 65W USB-C GaN power supply and a high-mass copper-cored heavy chisel tip. (Total Cost: ~$45)
- The Premium Contender: Weller WE1010NA 70W digital station equipped with an XTLB extra-large solid copper-cored chisel tip. (Total Cost: ~$394)
The Budget Route: Pinecil V2 High-Mass Configuration
The Pinecil V2 utilizes a RISC-V processor running advanced PID (Proportional-Integral-Derivative) algorithms. When paired with a 65W Power Delivery (PD) charger, it offers unprecedented temperature control for the price. The heavy chisel tip features a solid copper core wrapped in a thin iron plating, designed to shuttle heat rapidly from the ceramic heater to the joint. However, the hard physical limit is the 65W power ceiling. When applied to a 4 AWG copper lug, the temperature drops rapidly, and the PID maxes out the PWM duty cycle, resulting in a 4 to 6-second thermal recovery window.
The Premium Route: Weller WE1010NA with X-Series Cores
Weller’s WE1010NA operates at 70W, but the raw wattage is only half the story. The premium advantage lies in the heater cartridge design and the X-Series tip metallurgy. The XTLB tip features a massive, precision-machined solid copper core with a thicker, more resilient iron sleeve. Furthermore, Weller’s active tip sensing technology measures the thermal load at the very edge of the tip, triggering a high-torque thermal surge the millisecond it detects the heat sink effect of thick copper wire. Recovery on 4 AWG wire drops to under 1.5 seconds.
Head-to-Head Performance Matrix
The following table illustrates real-world performance metrics when soldering 6 AWG silicone-jacketed copper wire to a heavy-duty XT90 anti-spark connector using Sn63Pb37 eutectic solder.
| Metric | Pinecil V2 (Budget / 65W PD) | Weller WE1010NA (Premium / 70W) |
|---|---|---|
| Base Tip Cost | $3.50 | $14.00 |
| Heat-Up Time (Room to 350°C) | 8 Seconds | 22 Seconds |
| Thermal Recovery (on 6 AWG Cu) | 4.5 - 6.0 Seconds | 1.2 - 1.5 Seconds |
| Max Stable Temp Under Load | 310°C (Drops from 350°C) | 345°C (Minimal Drop) |
| Tip Plating Thickness | ~70 microns (Standard) | ~120 microns (Heavy Duty) |
| Joint Quality (IPC Class 2) | Pass (Requires pre-heating) | Pass (Single-pass application) |
Metallurgy and Failure Modes: Where Budget Kits Burn You
When working with high-thermal-mass copper, the primary enemy is not just a lack of heat, but the degradation of the soldering tip itself. Understanding tip metallurgy is crucial for evaluating long-term kit viability.
The Iron Plating Micro-Crack Phenomenon
Modern soldering tips are not solid copper; they are solid copper cores electroplated with a layer of iron to prevent the molten solder from dissolving the copper (a process known as pitting). Budget tips typically use a thinner iron layer to cut costs. When a user attempts to compensate for the budget iron's thermal drop-off by cranking the temperature to 400°C, the extreme thermal expansion differential between the copper core and the iron sleeve causes micro-cracking in the plating. Once cracked, flux acids and molten solder penetrate the sleeve, dissolving the copper core from the inside out. A budget tip used exclusively for heavy copper work may develop cratering and fail within 30 to 40 joints.
Premium tips, like the Weller X-Series, utilize a thicker iron plating and a specialized chrome-coated shaft that resists solder creep, extending tip life by a factor of four to six under high-thermal-stress conditions.
Expert Insight: Never judge a copper soldering kit by its peak idle temperature. A budget iron reading 400°C on its digital display is useless if it cannot deliver the necessary joules of thermal energy into a heavy copper joint without the tip temperature collapsing below the solder's liquidus point.
Flux and Alloy Selection for High Thermal Mass
No copper soldering kit—budget or premium—can overcome poor chemical preparation. Bare copper oxidizes almost instantly when exposed to soldering temperatures, forming a cupric oxide layer that solder will not wet.
- The Alloy: For heavy copper electrical work, always use Sn63Pb37 (Eutectic) solder if lead is permitted in your application. Its sharp 183°C liquidus/solidus transition prevents "disturbed joints" (grainy, unreliable connections) that occur when a budget iron struggles to keep a large copper mass above the melting point during the cooling phase. If you must use lead-free, SAC305 (Sn96.5Ag3Cu0.5) requires a minimum 217°C melting point, exacerbating the thermal sink problem.
- The Flux: Standard no-clean flux pens often lack the activators required to break through heavy copper oxidation. Use a high-activity Rosin Mildly Activated (RMA) flux, such as Kester 186, or a high-solids tacky flux like Amtech NC-559-V2-TF. Apply the flux directly to the copper strands before the iron ever touches the wire.
Step-by-Step: Prepping and Soldering 4 AWG Copper
To achieve reliable joints with either kit, follow this strict thermal-management workflow:
- Mechanical Prep: Strip the wire and gently twist the strands. Do not over-twist, as this reduces the surface area for solder wicking.
- Chemical Prep: Flood the bare copper with Kester 186 RMA flux.
- Pre-Tinning (Crucial for Budget Kits): Apply a small amount of solder to the iron tip to create a thermal bridge. Transfer this molten bead to the copper wire. Move the iron in a circular motion to tin the wire completely before attempting to mate it to the connector.
- The Mating: Insert the pre-tinned wire into the pre-fluxed connector lug. Apply the iron to the thickest part of the lug (not the wire). Feed additional solder into the joint opposite the iron until it wicks fully into the strands.
- Cooling: Remove the heat and hold the assembly perfectly still for 4 seconds. Blowing on the joint can cause rapid, uneven cooling and micro-fractures in the solder crystalline structure.
The Final Verdict: Which Kit Earns Your Bench Space?
The choice between a budget and premium copper soldering kit ultimately depends on your production volume and the cost of failure.
Choose the Budget Setup (Pinecil V2) if you are a hobbyist building occasional battery packs, repairing solar charge controllers, or working on personal EV projects. The Pinecil V2 is a marvel of 2026 open-source engineering. By utilizing pre-tinning techniques and allowing for slightly longer dwell times, you can achieve IPC-compliant joints on heavy copper for a fraction of the cost. Just be prepared to replace the $3.50 tips more frequently.
Choose the Premium Setup (Weller WE1010NA) if you are running a professional custom cable shop, manufacturing aerospace/automotive harnesses, or if a failed high-current joint poses a severe fire risk. The active thermal recovery, superior tip metallurgy, and single-pass soldering capability eliminate operator fatigue and guarantee consistent, high-reliability joints on massive copper thermal sinks, paying for itself in reduced rework and scrap.