
The Critical First Step: Why You Must Properly Tin a Soldering Tip
Unboxing a new soldering station—whether it is a budget-friendly Pine64 Pinecil V2 or an industry-standard Hakko FX-888D—is an exciting moment for any electronics hobbyist or professional. However, simply plugging in the iron, cranking the dial to maximum heat, and touching it to a circuit board is the fastest way to destroy your equipment. Learning how to tin a soldering tip correctly during the initial setup is the single most important factor in determining the lifespan and thermal efficiency of your tools.
According to the NASA Electronic Parts and Packaging (NEPP) Program, proper tip maintenance and initial wetting are mandatory for achieving the strict soldering standards required in aerospace electronics. When you fail to properly tin a new tip, the microscopic iron plating oxidizes instantly upon heating, creating an insulating barrier that ruins thermal transfer. This complete setup tutorial will walk you through the metallurgy, the exact temperatures, and the proprietary 'cold-flux' method to guarantee your soldering kit is ready for flawless joints.
The Metallurgy of Modern Soldering Tips
To understand the setup process, you must understand what your tip is actually made of. Modern soldering tips are not solid copper. Solid copper would dissolve into liquid solder within hours due to a process called leaching. Instead, high-quality tips (like the Hakko T18 series or Weller ET series) feature a complex multi-layer construction:
- Copper Core: Provides rapid thermal conductivity from the heating element to the workpiece.
- Iron Plating: A microscopically thin layer of iron that protects the copper from dissolving into the solder alloy.
- Chrome Plating: Applied to the non-working areas of the tip to prevent solder from creeping up the shaft.
- Factory Pre-Tinning: The working end is coated with a thin layer of solder at the factory to prevent oxidation during shipping.
The danger arises because this factory tinning layer degrades, oxidizes, and collects environmental contaminants while sitting in a warehouse. If you apply high heat directly to this degraded layer without refreshing it, the underlying iron plating will oxidize, turning black and completely rejecting new solder.
Essential Setup Materials and Kit Specifications
Before applying power to your soldering iron, gather the following materials. Using the correct chemistry during setup prevents irreversible damage.
| Item | Recommended Specification / Model | Est. Price (2026) | Purpose in Setup |
|---|---|---|---|
| Solder Wire | Kester 44 (63/37 Sn/Pb) 0.8mm or SAC305 for Lead-Free | $35 - $45 / lb | Provides the initial wetting alloy. 63/37 is eutectic (melts sharply at 183°C). |
| Flux | MG Chemicals 8341 No-Clean or Amtech NC-559 | $12 - $18 | Removes factory oxidation before the iron reaches critical temperatures. |
| Tip Tinner (Optional but Recommended) | Hakko 599B Tip Tinner | $11 - $14 | Contains phosphoric acid and solder powder for aggressive re-tinning. |
| Cleaning Media | Hakko 599B Brass Wire Sponge | $8 - $12 | Removes excess carbon without causing thermal shock to the iron plating. |
Note: Avoid using damp cellulose sponges during the initial setup. As noted in Adafruit's Excellent Soldering Guide, the sudden temperature drop from a wet sponge can cause micro-fractures in the iron plating, drastically shortening the tip's life.
Step-by-Step: How to Tin a Soldering Tip from Cold
This methodology deviates from standard 'heat it and touch it' advice. By using the Cold-Flux Method, you protect the tip during the vulnerable heat-up phase.
Step 1: The Cold-Flux Application
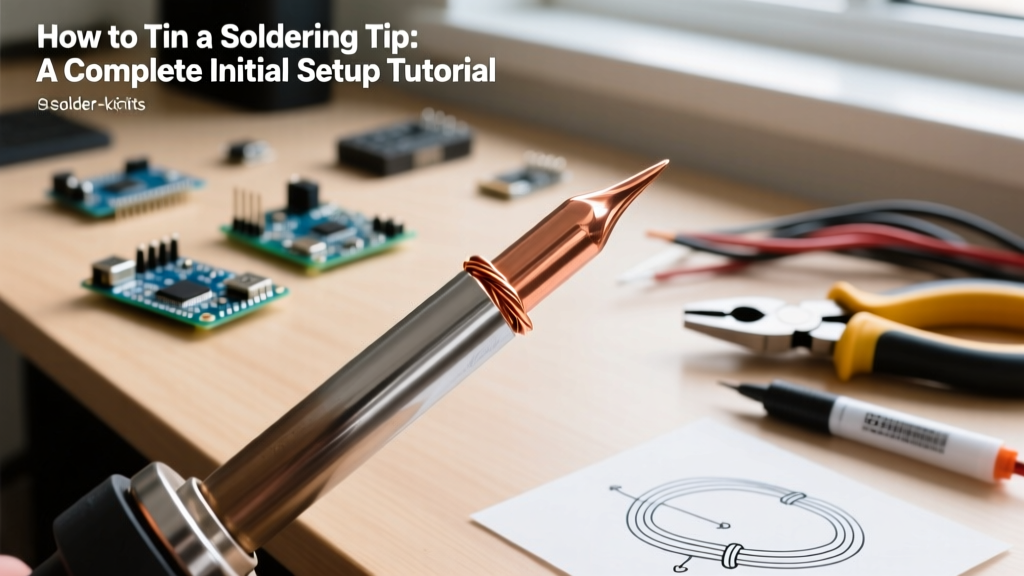
Before turning on your soldering station, take your new tip (at room temperature) and dip the working end directly into your rosin-based flux paste or liquid. Coat the entire working surface. Next, take your solder wire and physically wrap a small coil of it around the fluxed tip. This ensures that the exact moment the tip reaches the solder's melting point, fresh, oxygen-free alloy is already in direct contact with the iron plating.
Step 2: Controlled Thermal Ramp-Up
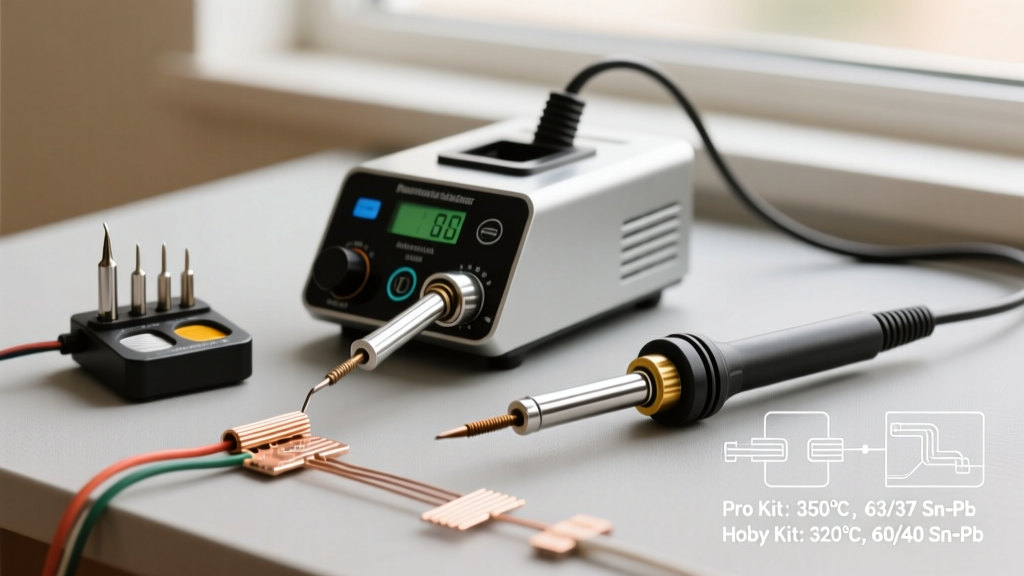
Insert the tip into the iron's heating element and turn on the station. Do not set the temperature to your working maximum. If you are using standard 63/37 leaded solder, set the dial to 250°C (482°F). If you are using SAC305 lead-free solder, set it to 280°C (536°F).
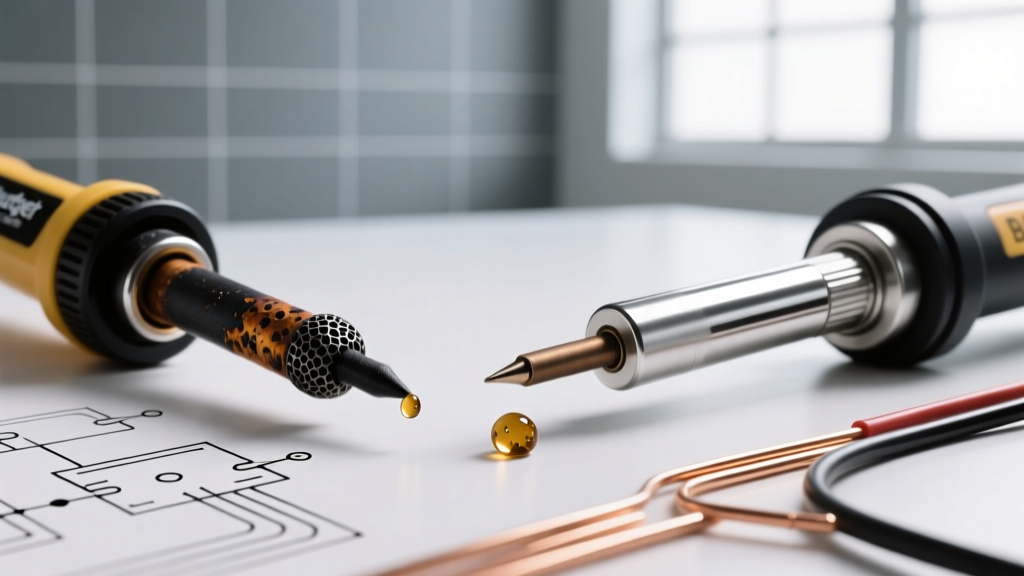
Allow the iron to heat up slowly. As the tip crosses the 183°C threshold, you will see the pre-wrapped solder wire suddenly melt and flash into a liquid, silver puddle, pulled tightly against the metal by the flux. This is the 'wetting' phase. The flux has boiled off the oxides, and the fresh solder has bonded metallurgically to the iron plating.
Step 3: The Working Temperature Transition
Once the tip is fully coated in a shiny, silver layer of molten solder, you can now increase the station temperature to your standard working range (typically 320°C - 350°C for through-hole components). Wipe the tip gently once in your brass wire sponge to remove the carbonized flux residue, and immediately apply a fresh coat of solder. Your tip is now properly tinned and ready for use.
Choosing the Right Tip Geometry for Your Kit
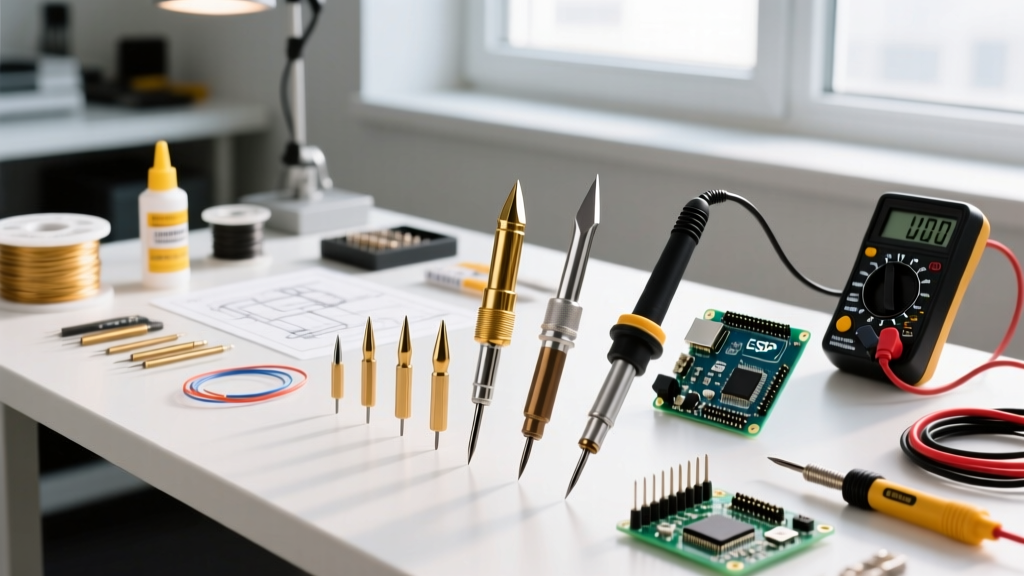
Part of the initial setup is ensuring you have installed the correct tip geometry for your intended projects. Most starter kits ship with a narrow conical tip (like the Hakko T18-B), which is actually the worst choice for beginners due to its low thermal mass.
- Chisel (e.g., T18-D24): The flat edge provides maximum surface area contact, ensuring rapid heat transfer to large ground planes. Highly recommended for general kit assembly.
- Bevel (e.g., T18-C2): Features a flat, angled face that acts as a small scoop, excellent for drag-soldering surface mount (SMD) IC pins.
- Conical (e.g., T18-B): Only use for extremely fine-pitch 0402 SMD components. It lacks the thermal mass to heat standard through-hole joints efficiently, leading to prolonged dwell times and damaged pads.
Common Tinning Failure Modes and Recovery
Even with careful setup, mistakes happen. If your tip fails to accept solder, consult this diagnostic matrix before throwing the tip away.
| Symptom | Root Cause | Corrective Action |
|---|---|---|
| Tip turns black/blue; solder rolls off in balls. | Dry oxidation. The iron was heated without flux or solder present. | Apply a generous amount of flux, dip into Hakko 599B Tip Tinner while hot, and wipe on brass wool. Repeat 3 times. |
| Visible pitting or cratering on the working surface. | Chemical corrosion from using highly active, acidic plumbing flux, or prolonged exposure to SAC305 at >400°C. | Irreversible damage. The iron plating is breached. Discard the tip and replace it. Never use plumbing flux on electronics. |
| Solder creeps up the non-working shaft. | Chrome plating defect or mechanical scratching with a steel file. | Lightly clean the shaft with isopropyl alcohol. Never use abrasives or steel wool on any part of the tip. |
The 'Put Away Wet' Maintenance Protocol
Knowing how to tin a soldering tip during setup is only half the battle; maintaining that tinning layer requires strict adherence to the 'Put Away Wet' rule. According to industry guidelines outlined in SparkFun's Through-Hole Soldering Tutorial, the most common cause of tip death occurs at the end of a soldering session.
The Golden Rule of Soldering: Never wipe your tip clean and turn off the iron. As the iron cools from 350°C down to room temperature, it passes through the exact temperature range where rapid oxidation occurs. If the tip is bare, the iron plating will burn and oxidize. Always leave a massive, protective blob of fresh solder on the tip before cutting the power. This sacrificial blob oxidizes instead of your tip, and will melt right off the next time you power on.
By treating your soldering tip as a consumable chemical tool rather than a simple piece of metal, you will reduce your annual accessory costs, eliminate cold solder joints, and build professional-grade electronics with confidence.