
The Ultimate Troubleshooting Guide for the Yihua 853AAA Rework Station
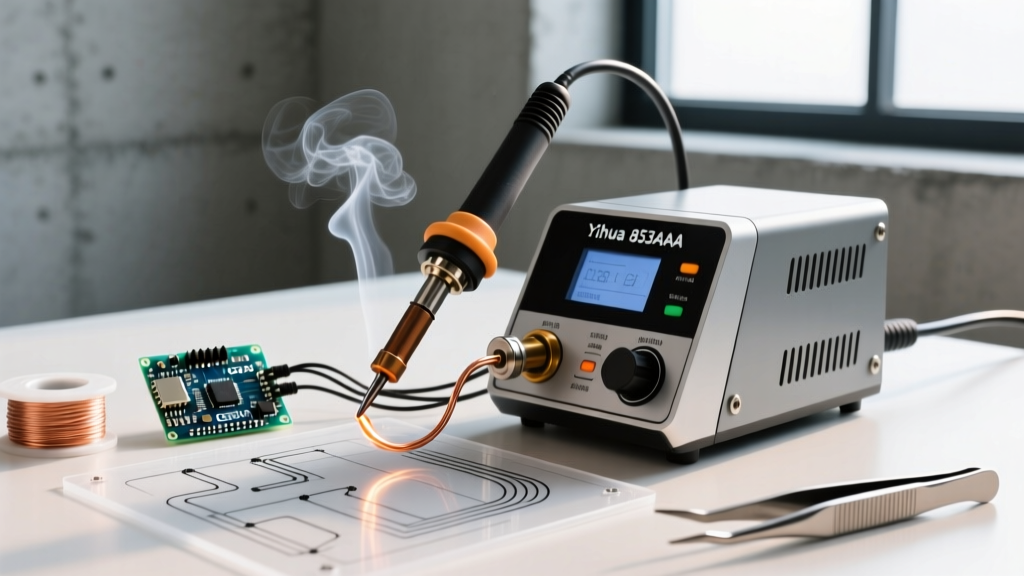
When hobbyists and repair technicians search for the soldering station yiahu 853aaa, they are almost always referring to the widely popular Yihua 853AAA SMD rework station. The 'Yiahu' misspelling has become a common search artifact, but the hardware in question is a staple in electronics labs worldwide. Combining a 700W hot air rework gun and a 50W temperature-controlled soldering iron, the 853AAA offers immense versatility for through-hole and surface-mount work. However, like all high-thermal-stress equipment, it requires precise maintenance and occasional troubleshooting.
As of 2026, the Yihua 853AAA remains a budget-friendly powerhouse, typically retailing between $75 and $95. But when the hot air gun blows cold air or the soldering iron throws an 'H-E' (Heater Error) code, you need a systematic diagnostic approach. This guide dives deep into the electrical architecture of the 853AAA, providing actionable multimeter tests, component-level troubleshooting, and calibration protocols to keep your station performing to industry soldering standards.
Diagnostic Matrix: Symptoms and Solutions
Before opening the chassis, use this diagnostic matrix to isolate the failure domain. Always ensure the station is unplugged before performing continuity or resistance tests.
| Symptom | Probable Cause | Multimeter Test / Action | Estimated Repair Cost |
|---|---|---|---|
| Hot air gun blows air, but no heat | Failed heating element or blown TRIAC | Measure element resistance (Pins 4 & 5 on aviation plug). Expect ~20-25Ω. | $8 (Element) / $2 (TRIAC) |
| Iron display reads 'H-E' or 'S-E' | Open thermocouple circuit or broken ceramic core | Check continuity on thermocouple pins. Infinite resistance indicates a broken sensor. | $7 (Replacement Iron) |
| Temperature fluctuates wildly (+/- 50°C) | Oxidized tip or loose aviation connector | Inspect 5-pin DIN/Aviation plug for bent pins or carbon tracking. | $0 (Cleaning) / $3 (Cable) |
| Hot air fan is loud or rattling | Bearing wear or debris in centrifugal blower | Open base chassis, inspect brushless fan blades and lubricate sleeve bearing. | $12 (Replacement Fan) |
Deep Dive: Hot Air Gun Heating Failures
The hot air module of the 853AAA relies on a 700W nichrome heating coil housed inside a quartz tube within the handpiece. When the gun fails to produce heat, the issue is almost always localized to the handpiece or the mainboard's switching component.
Testing the Heating Element
Disconnect the hot air gun from the main unit. Using a digital multimeter set to the Ohms (Ω) range, probe the heating element pins on the handpiece connector. A healthy 700W element operating on a 24V AC secondary winding should read between 15Ω and 25Ω at room temperature. If your meter reads 'OL' (Open Loop), the internal nichrome wire has snapped, usually near the ceramic terminal block due to repeated thermal expansion and contraction. Replacing the heating core is a straightforward $8 repair that requires only a Phillips screwdriver and high-temperature silicone sleeve tubing.
The Mainboard TRIAC
If the heating element tests perfectly, the fault lies on the mainboard. The 853AAA uses a TRIAC (typically a BTA16 or similar 16A bidirectional triode thyristor) to switch the 24V AC to the heating coil based on the microcontroller's PWM-like zero-crossing signals. A shorted TRIAC will cause the gun to heat uncontrollably, while an open TRIAC results in no heat. Safety Note: Always follow OSHA electrical safety guidelines when probing live mains circuits, though TRIAC testing should always be done with the unit unplugged using the multimeter's diode test mode.
Soldering Iron Troubleshooting: The 'H-E' Error Code
The soldering iron module utilizes a 50W ceramic heating element with an integrated K-type thermocouple. The 'H-E' (Sensor Error) code is the station's failsafe mechanism, triggered when the microcontroller detects an open circuit in the thermocouple loop.
- Step 1: Check the Tip Seating. A loose or heavily oxidized tip can cause poor thermal transfer, leading the microcontroller to push maximum voltage to the heater. If the thermocouple degrades under this stress, it will snap. Ensure the tip is fully seated and the retaining nut is hand-tightened.
- Step 2: Inspect the Aviation Connector. The 5-pin connector on the base unit is a known wear point. Pin 2 and Pin 3 typically carry the microvolt signal from the K-type thermocouple. Even a 0.5Ω increase in contact resistance due to oxidation can throw off the temperature reading by 20°C or trigger an error code. Clean the pins with 99% isopropyl alcohol and a fiberglass scratch pen.
- Step 3: Ceramic Heater Fragility. The white ceramic rod extending from the iron handle is incredibly brittle. If the iron was dropped, the internal thermocouple wire likely sheared. Unlike older nichrome-wound irons, you cannot repair a cracked ceramic core; the entire handpiece must be replaced.
Warning: Mains Isolation
While the 853AAA uses a step-down transformer to provide 24V AC to the handpieces, the mainboard primary side operates at lethal mains voltage (110V/220V). Never attempt to probe the TRIAC or transformer primary windings while the unit is plugged in. Capacitors on the DC logic rail can also hold a charge after power-off.
Advanced Calibration Protocol
Over time, the thermal mass of replacement tips and the natural drift of the thermocouple can cause the digital display to deviate from the actual tip temperature. According to major equipment distributors, maintaining strict temperature accuracy is vital for preventing thermal shock to sensitive SMD components like MLCCs and BGA chips.
How to Calibrate the 853AAA
- Preparation: You will need a high-accuracy K-type thermocouple probe, a trusted multimeter (like a Fluke 87V), and a small flathead screwdriver. Allow the station to warm up for 15 minutes.
- Access Trimpots: Remove the four screws on the top chassis cover. Locate the calibration potentiometers on the main PCB. They are usually labeled 'VR1' (Hot Air) and 'VR2' (Soldering Iron).
- Measure Actual Temp: Clamp your Fluke's K-type probe directly to the side of the soldering iron tip using a small brass alligator clip. Set the station to 350°C.
- Adjust: If the Fluke reads 340°C, gently turn the VR2 trimpot clockwise while monitoring the Fluke. Stop adjusting once the external meter reads exactly 350°C, regardless of what the station's LED display says. The display is secondary to the actual thermal output.
Preventative Maintenance Schedule for 2026
To maximize the lifespan of your rework station, implement this maintenance schedule. Proper care bridges the gap between budget equipment and professional-grade reliability.
Weekly Maintenance
- Tip Tinning: Never leave the soldering iron tip bare. Before powering down, apply a thick layer of 63/37 rosin-core solder to the tip. This sacrificial layer prevents oxidation of the iron plating.
- Brass Wool Cleaning: Avoid using wet sponges. The thermal shock of a wet sponge drops the tip temperature by up to 100°C instantly, causing micro-fractures in the iron plating over time. Use a dry brass wire sponge instead.
Bi-Annual Maintenance
- Hot Air Nozzle Care: Flux vaporizes and carbonizes inside the hot air nozzles, restricting airflow and causing the internal fan to work harder. Soak nozzles in a 50/50 mix of distilled white vinegar and hot water for 30 minutes, then clear the apertures with a dental pick.
- Hose Inspection: The silicone air hose connecting the base to the hot air gun degrades near the grommets due to repeated bending. Inspect for micro-tears. A leaking hose will cause the station to overwork the heating element to compensate for lost thermal mass, drastically shortening the element's life.
Repair vs. Replace Economics
Because the Yihua 853AAA is an entry-level station, users often wonder if component-level repair is worth the effort. From a purely financial standpoint, replacing a $7 heating element or a $12 brushless fan is highly economical compared to buying a new $85 unit. Furthermore, repairing your own tools builds the exact diagnostic intuition required for PCB-level micro-soldering. However, if the main transformer begins to buzz loudly (indicating laminated core delamination) or the primary-side PCB shows severe carbon tracking, it is time to safely recycle the unit and invest in a higher-tier station with brushless handle-integrated fans and digital PID control loops.