
Why Use a Soldering Iron for Plastic Welding?
While dedicated hot air stations and ultrasonic welders are the industry standard for high-volume manufacturing, learning how to weld plastic with a soldering iron remains one of the most valuable, cost-effective skills for DIY electronics enclosures, automotive trim repair, and 3D print post-processing in 2026. A standard 60W to 70W temperature-controlled soldering station provides intense, localized heat that is perfect for 'stitch' welding and spot-tacking amorphous polymers like ABS and PLA.
However, plastic welding is fundamentally different from joining copper traces with tin-lead or SAC305 solder. You are not melting a filler metal to bond two solid substrates; you are bringing the substrates themselves past their glass transition and melting points to fuse their polymer chains. This requires precise thermal calibration. If your iron runs 20°C hotter than the dial indicates, you will scorch the plastic, releasing toxic volatile organic compounds (VOCs) and creating a brittle, carbonized joint. If it runs too cold, you will experience cold-lapping, where the plastic merely smears rather than fusing.
Essential Gear and Tip Selection
Not all soldering tips are created equal, and the standard conical (B-type) tip included with most stations is virtually useless for plastic welding. The small contact area leads to rapid heat sinking and uneven melting.
- The Station: You need a digitally controlled station with high thermal recovery. As of 2026, the Hakko FX-888D (retailing around $115-$120) and the Weller WE1010NA (around $130) remain the gold standards for hobbyists and prototypers. Their ceramic heaters recover heat fast enough to maintain a steady melt pool when dragging through thick ABS.
- The Tip: Switch to a wide chisel or spade tip. The Hakko T18-D24 (2.4mm chisel) or a specialized T18-series plastic welding spade tip provides the necessary surface area for friction welding. For cutting and trimming flash, a T18-K (knife) tip is indispensable.
- Filler Material: Never use solder wire. Use 1.75mm 3D printing filament (matching your substrate) or standard nylon/HDPE zip-ties as filler rods.
- Reinforcement: 0.25mm stainless steel wire mesh for structural joints.
Polymer Thermal Matrix: Melting Points vs. Dial Settings
Understanding the thermal properties of your specific polymer is critical. Amorphous plastics (ABS, PLA, PETG) soften gradually over a temperature range, making them highly forgiving for soldering iron welding. Semi-crystalline plastics (HDPE, PP, Nylon) have a sharp melting point and tend to warp or snap from crystallization stress if cooled unevenly.
| Polymer | Type | Approx. Melt Temp | Iron Target Setting | Recommended Filler |
|---|---|---|---|---|
| PLA | Amorphous | 170°C - 180°C | 200°C (392°F) | 1.75mm PLA Filament |
| ABS | Amorphous | 210°C - 240°C | 260°C (500°F) | 1.75mm ABS Filament |
| PETG | Amorphous | 230°C - 250°C | 255°C (491°F) | PETG Filament / Strips |
| HDPE | Semi-Crystalline | 130°C - 145°C | 190°C (374°F) | HDPE Zip-Ties / Milk Jugs |
| PP | Semi-Crystalline | 160°C - 170°C | 210°C (410°F) | PP Living-Hinge Strips |
Note: Always reference the Omnexus Polymer Database for exact melting points of specialized commercial blends, as additives and UV stabilizers can shift thermal thresholds by 10-15°C.
Step-by-Step Station Calibration Tutorial
Factory calibration on budget and mid-tier stations can drift by up to 15°C. Before welding critical ABS enclosures, you must verify your tip temperature. Here is the definitive calibration workflow:
- Prepare the Measurement Tool: Use a Type-K contact thermocouple designed for surface temperatures. If you only have an infrared (IR) thermometer, apply a strip of high-emissivity electrical tape (emissivity ~0.95) to the flat face of your chisel tip, as bare metal reflects IR and gives wildly inaccurate readings.
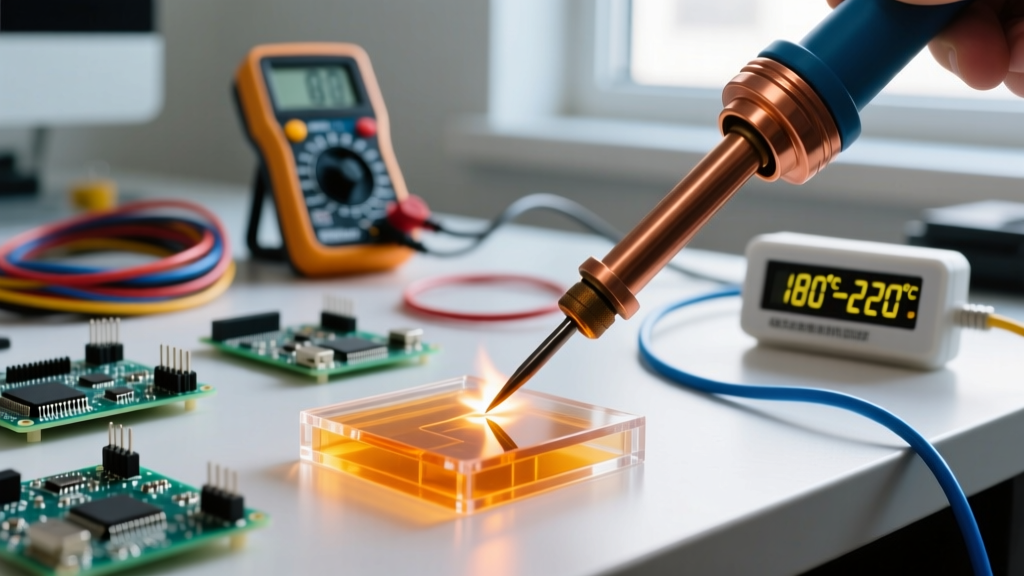
- Heat and Soak: Set your station to 260°C (the standard ABS welding temperature). Allow the iron to heat up, then let it soak for 3 full minutes to ensure the internal ceramic core and the outer copper tip are in thermal equilibrium.
- Measure: Press the thermocouple bead firmly against the tinned face of the tip. Wait 10 seconds for the reading to stabilize.
- Calculate Offset: If your station dial reads 260°C but the thermocouple reads 248°C, you have a -12°C variance.
- Apply Calibration: On the Hakko FX-888D, turn the station off. Hold the 'UP' button while turning the power back on to enter the calibration menu. Use the UP/DOWN arrows to input your offset (+12 in this scenario), then press and hold the 'UP' button to save. Your iron is now accurately calibrated for plastic welding.
Pro-Tip: Tip Maintenance for Plastics
Never use brass wool or wet sponges to clean your tip while plastic welding. Oxidation is less of a threat than carbonized plastic buildup. Instead, keep a wooden block or a piece of untreated cardboard nearby. Drag the hot tip through the wood to mechanically scrape off burnt polymer residue without stripping the iron plating. For deep cleaning, follow the official Hakko tip care guidelines using specialized tip tinner only when the iron is cool.
Execution: The Stitch, Melt, and Filler Techniques
Once your station is calibrated, the physical technique dictates the strength of the weld. There are three primary methods when using a soldering iron:
1. The Friction Stitch (For Tacking and Seams)
Align your two plastic pieces. Press the flat face of the chisel tip directly into the seam line. Do not drag it like a pen. Instead, use a 'stitching' motion: press down to melt both sides simultaneously, push the molten plastic together, lift the iron, move forward 3mm, and repeat. This creates a series of overlapping spot-welds that prevent warping.
2. The Fillet Melt (With 1.75mm Filler Rod)
For corner joints or gaps, you need a filler rod. Hold your 1.75mm ABS filament in your non-dominant hand. Touch the soldering iron to the joint to create a base melt pool, then feed the filament into the leading edge of the iron tip—not directly into the pool. The iron will melt the filament as it deposits it into the joint, creating a smooth, continuous fillet similar to TIG welding metal.
3. Mesh Reinforcement (For Structural Load)
If you are repairing a broken load-bearing bracket (like an automotive interior clip or a drone chassis), plastic alone will snap under torsion. Cut a piece of 0.25mm stainless steel wire mesh slightly smaller than the joint. Hold the mesh over the crack, and press the hot soldering iron tip directly onto the metal. The iron will conduct heat through the mesh, melting the plastic underneath and allowing the mesh to sink flush into the substrate. Remove the iron and hold a cold, wet rag over the mesh for 5 seconds to instantly lock it in place.
Troubleshooting Common Failure Modes
- Stringing and Cobwebs: Your iron is too hot, or you are lifting it too quickly. Lower the temperature by 10°C and use a twisting motion when lifting the tip to break the molten bridge cleanly.
- Delamination / Cold Lapping: The filler rod is not fusing to the base material. This happens when you feed the rod into the air instead of the melt pool. Ensure the base plastic is glossy and fully molten before introducing filler.
- Warping and Shrinkage Cracks: Semi-crystalline plastics like HDPE shrink significantly as they cool. To combat this, weld in short 1-inch segments, alternating sides of the workpiece to distribute thermal stress evenly.
- Black Soot / Burn Marks: You are exceeding the thermal degradation threshold of the polymer. Carbonized plastic loses all structural integrity. Scrape away all black material, recalibrate your station, and drop the temperature by 15°C.
Fume Management and Safety Protocols
Welding plastics with a soldering iron generates hazardous fumes, particularly when working with ABS, which releases styrene gas upon melting. According to the National Institute for Occupational Safety and Health (NIOSH), styrene exposure can cause respiratory irritation, central nervous system depression, and long-term health complications.
Never weld plastics in an unventilated room. At a minimum, use a desktop HEPA and activated carbon fume extractor (such as the Hakko FA-400) positioned exactly 4 inches from the weld pool. For extended sessions or when welding PVC (which releases highly corrosive hydrogen chloride gas and should generally be avoided with standard soldering irons), a properly vented spray booth or an exterior exhaust system is mandatory. Always wear nitrile gloves to prevent molten plastic burns, which adhere to the skin and cause severe, deep-tissue thermal injuries.