
When Beginners Ask: How Do I Use a Soldering Iron?
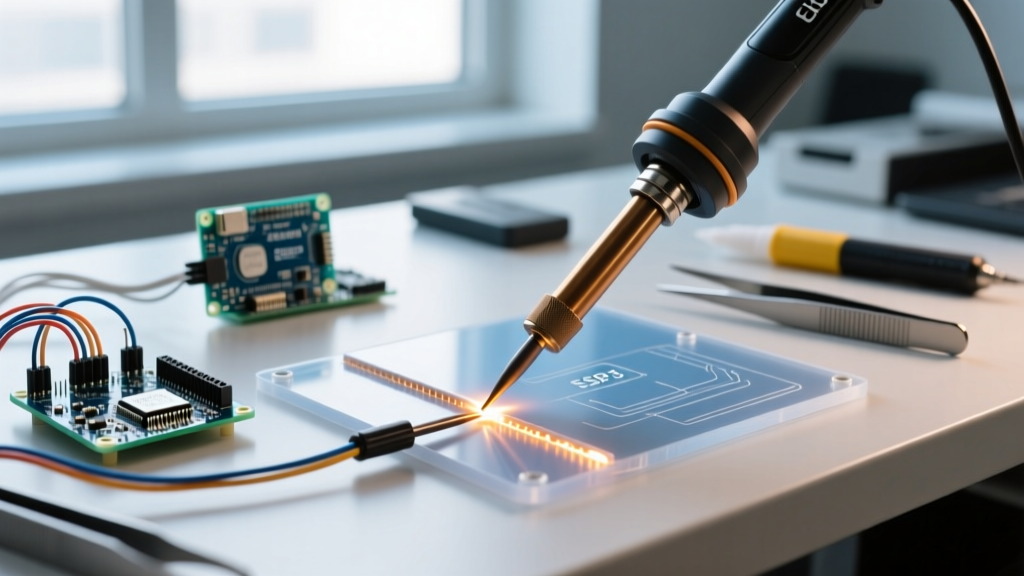
When newcomers to electronics ask, "how do i use a soldering iron," they are frequently handed a cheap, ungrounded 40W plug-in stick from a generic hardware kit. This is a critical mistake. The secret to mastering through-hole and basic surface-mount (SMD) soldering is not just hand-eye coordination; it is thermal management. A poorly designed iron will oxidize its tip, refuse to melt solder, and teach the beginner terrible habits like "painting" the joint with molten solder instead of using proper heat transfer.
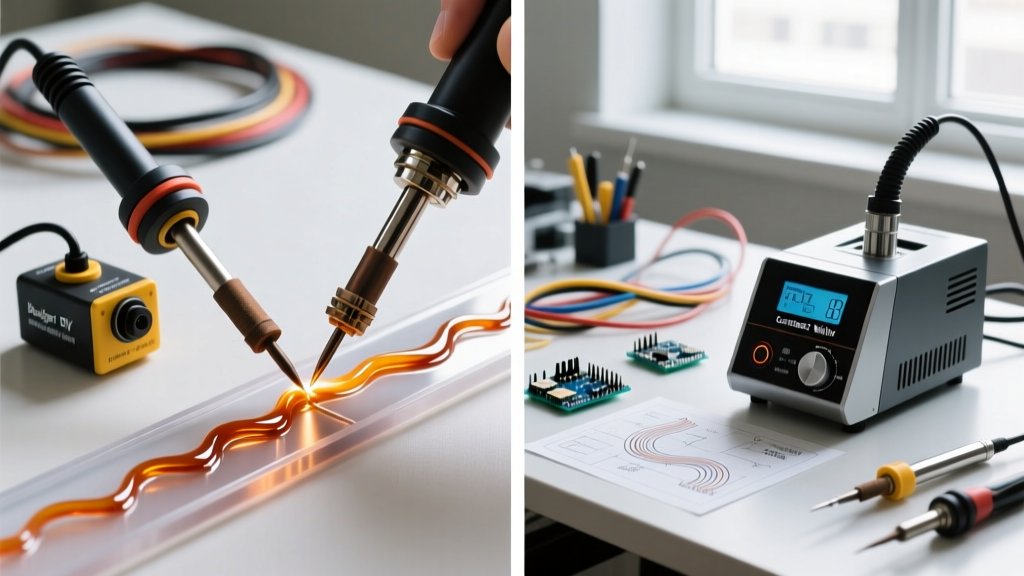
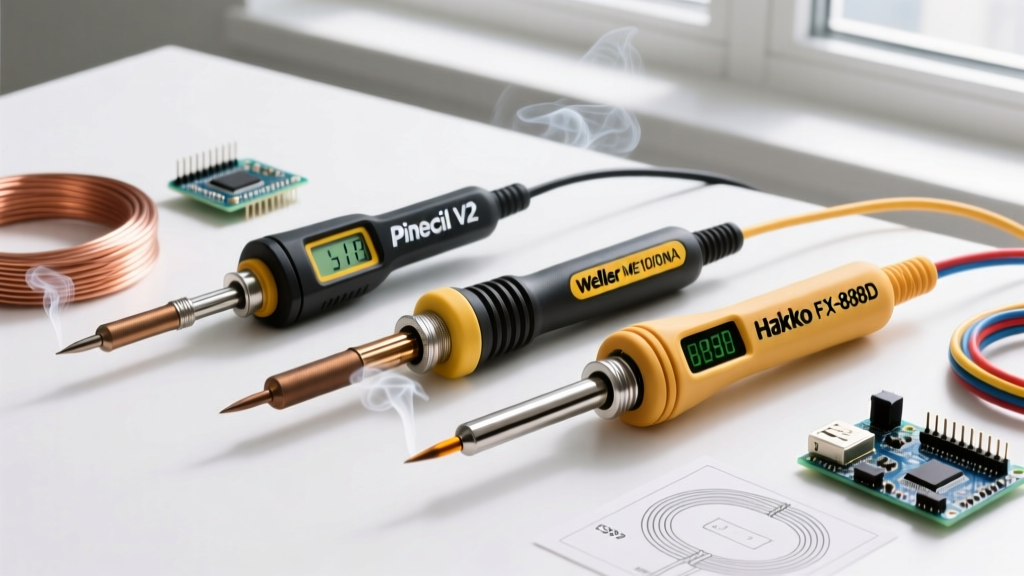
To truly understand how to use a soldering iron, you must pair the correct technique with a tool capable of maintaining thermal equilibrium. In this 2026 guide, we break down the universal IPC-approved soldering sequence and compare three distinct classes of starter stations—the smart disruptor (Pinecil V2), the digital workhorse (Weller WE1010NA), and the industry-standard hybrid (Hakko FX-888D)—to help you choose the right platform for your learning curve.
The Universal Soldering Sequence (IPC-Approved)
Before comparing tools, we must establish the baseline technique. According to SparkFun's Through-Hole Soldering Guide and the broader electronics manufacturing community, a perfect solder joint relies on capillary action and proper wetting, not on melting solder on the iron and carrying it to the pad.
- Prep and Flux: Ensure the pad is clean. Apply a small amount of rosin flux if not using a high-quality rosin-core wire.
- Heat the Masses: Place the tinned iron tip so it touches BOTH the component lead and the copper pad simultaneously. Hold at a 45-degree angle for 1 to 2 seconds.
- Feed the Solder: Touch the solder wire (e.g., 0.031" / 0.8mm diameter) to the pad and lead, not the iron tip. The heat from the components should melt the solder instantly.
- Form the Fillet: Allow the solder to flow into a concave volcano shape. This takes roughly 1.5 to 3 seconds depending on the thermal mass.
- Withdraw: Remove the solder wire first, then swiftly pull the iron away along the lead to avoid leaving a sharp spike.
For detailed visual criteria on what constitutes an acceptable joint versus a defective one, refer to the IPC-A-610 Standard for Acceptability of Electronic Assemblies, which dictates that a proper joint must exhibit a smooth, shiny, concave fillet with visible wetting angles.
Starter Tool Comparison Matrix
The tool you learn on dictates your frustration level. Below is a 2026 comparison of the three best platforms for learning proper thermal management.
| Feature | Pinecil V2 (Smart) | Weller WE1010NA (Digital) | Hakko FX-888D (Hybrid) |
|---|---|---|---|
| Approx. Price | $26 - $30 | $105 - $115 | $110 - $120 |
| Max Wattage | 65W (via USB-C PD) | 70W | 65W |
| Heat-Up Time | ~6 seconds | ~40 seconds | ~20 seconds |
| Tip Ecosystem | TS100 / Pine64 | ETA (Active Sensor) | T18 (Passive) |
| Temp Control | PID (RISC-V Chip) | Digital Push-Button | Digital (Locked UI) |
| Best For | Tinkerers, SMD, Travel | Heavy Through-Hole, Labs | Repair Shops, Production |
Deep Dive: Pinecil V2 (The Smart Disruptor)
The Pinecil V2 has entirely upended the entry-level market. Powered by a Bouffalo Lab RISC-V microcontroller, it runs IronOS, an open-source firmware that provides PID temperature control previously reserved for $300+ JBC stations.
Specs & Learning Curve
Because it heats up in under 6 seconds, beginners using the Pinecil V2 learn the importance of "iron discipline" immediately. You cannot leave it resting on a board, or you will scorch the FR4 fiberglass. It uses standard USB-C Power Delivery (PD) at 20V/3.25A to achieve its full 65W output. For a beginner learning how to use a soldering iron on delicate Arduino or ESP32 projects, the ability to set exact temperatures (e.g., 300°C for 63/37 leaded solder, or 340°C for SAC305 lead-free) via the OLED screen is invaluable.
- Pros: Unbeatable price-to-performance ratio, instant heat-up, highly customizable firmware, portable.
- Requires: A dedicated 65W USB-C PD power brick (not included in the base $26 kit).
- Cons: The short physical length of the iron can feel cramped for users with large hands.
Deep Dive: Weller WE1010NA (The Digital Benchmark)
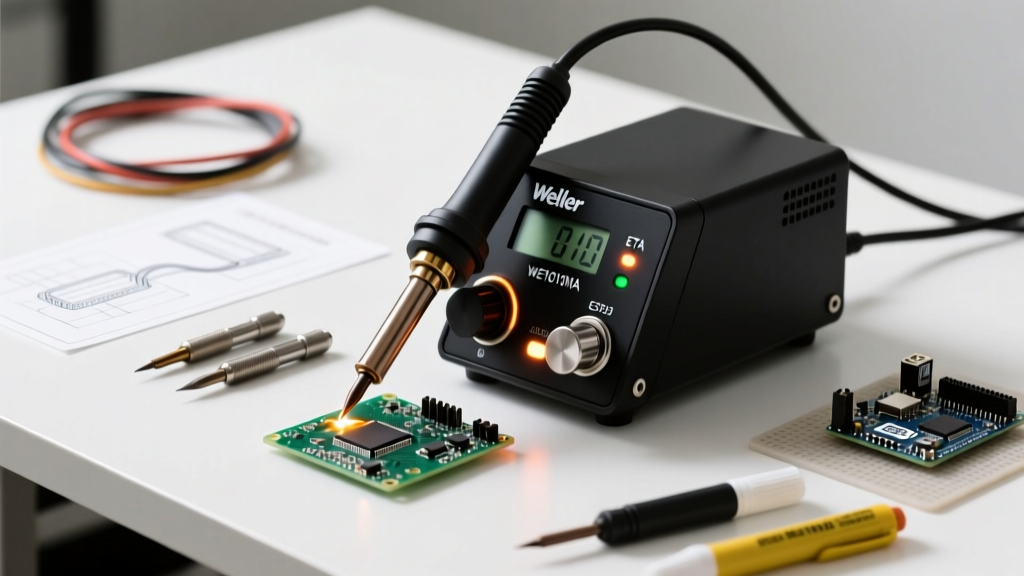
If you are transitioning from breadboards to soldering large through-hole components, power supply terminals, or thick 12AWG silicone wires, you need thermal mass. The Weller WE1010NA is a 70W digital station that excels in high-heat-recovery scenarios.
Specs & Learning Curve
Weller uses the ETA tip series. Unlike passive tips where the thermocouple sits at the base of the heating element, ETA tips house the sensor and heater directly inside the tip barrel. This means the iron reads the exact temperature of the tip's edge, not the core. When a beginner touches a large ground plane, the WE1010NA detects the temperature drop instantly and pumps 70W into the joint to prevent a cold joint.
- Pros: Incredible thermal recovery, intuitive UI (no menu diving, just up/down arrows), robust ESD-safe grounding.
- Requires: Standard 120V/240V AC desk space.
- Cons: ETA tips are expensive ($12-$15 each) compared to passive alternatives.
Deep Dive: Hakko FX-888D (The Analog-Digital Hybrid)
Walk into any professional repair depot, and you will likely see a Hakko FX-888D. It is the undisputed workhorse of the electronics repair industry, bridging the gap between analog simplicity and digital precision.
Specs & Learning Curve
The FX-888D uses the legendary T18 tip series. These are passive tips; a ceramic heater slides into them, and a thermocouple at the base monitors the heat. While it lacks the instant response of Weller's active tips, Hakko's 65W heater is oversized and heavily insulated, providing excellent sustained heat. The learning curve here involves mastering the clunky two-button digital interface. To change the temperature, you must hold a button, enter a PIN-like code, and adjust. This is a feature, not a bug: it prevents beginners from accidentally bumping the temp to 450°C and destroying their PCB pads.
- Pros: Massive T18 tip selection (over 30 shapes), extremely durable, industry-standard calibration.
- Requires: Patience to learn the UI menu system.
- Cons: Slower thermal recovery on massive ground planes compared to the Weller; UI is not beginner-friendly.
Critical Failure Modes for Beginners
Knowing how to use a soldering iron is equally about knowing what not to do. Here are the most common edge cases and failure modes beginners encounter when using the tools above.
The Oxidation Trap: If you set your Pinecil or Hakko to 380°C and walk away for five minutes without tinning the tip, the copper core will oxidize through the iron plating. The tip will turn black and crusty. Solder will ball up and fall off. Fix: Always leave a blob of cheap, heavily fluxed solder on the tip before putting it in the stand. The flux boils off, protecting the metal from oxygen.
Cold Joints vs. Disturbed Joints
A cold joint occurs when the iron fails to transfer enough heat to the pad and lead before the solder is applied. The solder melts against the iron, forms a ball, and sticks to the pad without actually wetting the copper. It looks grainy, dull, and bulbous. This is common when using underpowered irons on large ground planes.
A disturbed joint happens when the component lead is moved while the solder is in its semi-solid "plastic" phase (the 1.5 seconds after you remove the iron). This results in a fractured, crystalline-looking joint that will cause intermittent electrical failures. To avoid this, use a "third hand" tool or PCB vise to secure the board before applying heat.
Flux Core Depletion
Beginners often use the solder wire like a glue stick, melting it onto the iron tip and carrying it to the joint. By the time the solder reaches the pad, the internal rosin flux has burned away and vaporized. Without flux to strip away microscopic oxidation on the copper pad, the solder will not bond, resulting in a weak, high-resistance joint. Always feed the solder directly into the heated joint, not the iron tip.
Final Verdict: Which Iron Should You Learn On?
If your primary goal is to learn SMD soldering, build custom mechanical keyboards, or work on small microcontrollers like the Raspberry Pi Pico, the Pinecil V2 is the undisputed champion. Its $26 price point and RISC-V precision make it the ultimate educational tool.
If you are building audio amplifiers, soldering thick XT60 battery connectors for drones, or doing heavy through-hole prototyping, invest the $110 in the Weller WE1010NA. Its active ETA tips will forgive beginner mistakes by aggressively maintaining thermal equilibrium.
Finally, if you want the exact tool used in professional repair shops and plan to eventually do board-level rework, the Hakko FX-888D remains a lifetime investment. Master the tool, respect the thermal dynamics, and your solder joints will consistently meet IPC Class 2 and Class 3 standards.