
The Physics of a Cold Solder Joint: Why Your Iron is Failing
There are few things more frustrating in electronics assembly than pressing your soldering iron to a pad, applying solder, and watching it sit there like a cold, metallic pebble. When you experience a soldering iron not melting solder, the immediate instinct is to crank up the temperature dial. However, blindly increasing heat is rarely the correct solution and often destroys both your PCB pads and the iron's tip.
To fix this, we must understand the physics of thermal transfer. Soldering is not about melting the solder with the iron; it is about using the iron to heat the pad and the component lead until they reach the solder's melting point. If your soldering iron is not melting solder, you are experiencing a thermal bottleneck. The heat generated by the internal ceramic or nichrome element is failing to bridge the gap between the heater, the tip, the pad, and the solder alloy. Below, we break down the 7 exact root causes of this failure and provide actionable, professional-grade solutions.
7 Root Causes (and Exact Fixes) for Solder Not Melting
1. Severe Tip Oxidation (The Thermal Insulator)
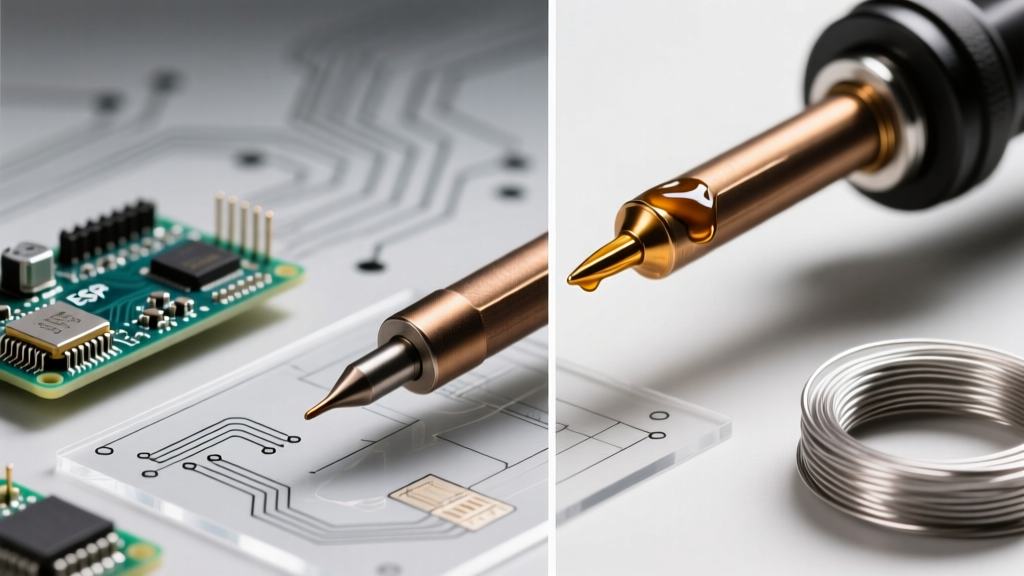
The most common culprit is an oxidized tip. When a copper-cored, iron-plated tip is exposed to air at high temperatures without a protective layer of solder, it forms iron oxide. This black or dark blue crust acts as a severe thermal insulator. Even if the internal sensor reads 350°C (662°F), the surface of the oxidized tip might only be transferring 150°C to the joint.
- The Fix: Never use sandpaper or a file to scrape off oxidation; this strips the protective iron plating and ruins the tip instantly. Instead, use a damp cellulose sponge (synthetic sponges will melt) or brass wire wool. For severe cases, use a chemical tip tinner like the MG Chemicals 4901 Tip Tinner ($12). Dip the hot tip into the tinner, wipe it on brass wool, and immediately apply fresh rosin-core solder to re-tin it.
2. Wattage Deficit vs. PCB Thermal Mass
If your soldering iron not melting solder only happens on specific joints—like ground pins or large copper pours—you are fighting thermal mass. A standard 40W hobby iron simply cannot replenish heat fast enough when a massive internal ground plane on a 4-layer PCB acts as a giant heatsink, pulling the thermal energy away from the joint.
- The Fix: Upgrade to a high-wattage station. The Weller WE1010NA (70W, ~$135) or the Hakko FX-888D (70W, ~$115) feature active temperature sensors that dump maximum wattage into the heater the millisecond the tip temperature drops. For extreme multilayer boards, you must use a PCB preheater (like the Hakko FR-810B, ~$450) to raise the ambient board temperature to 120°C, drastically reducing the delta-T your iron needs to supply.
3. Incorrect Tip Geometry
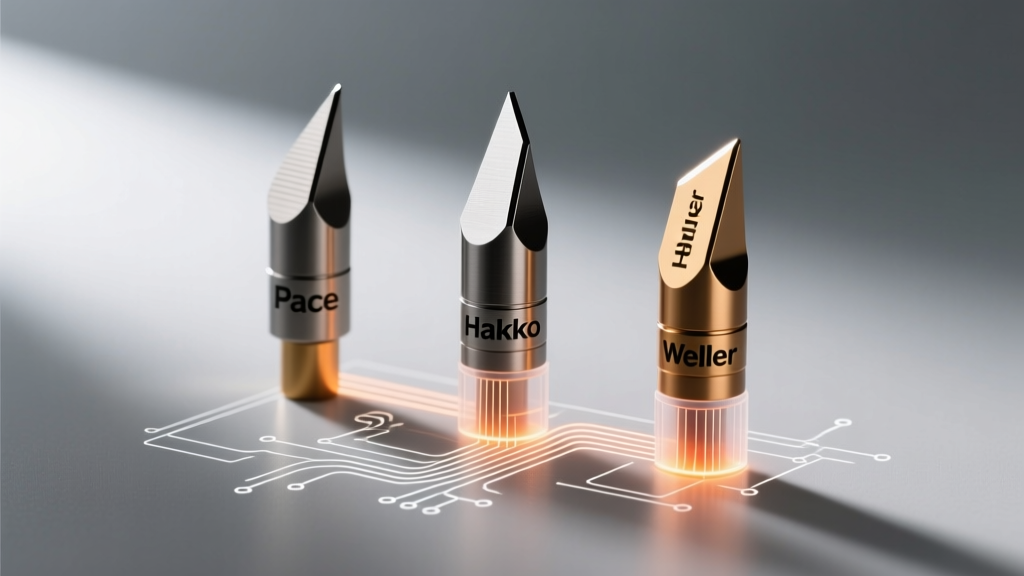
Using a pinpoint conical tip (like the Hakko T18-B) for large through-hole components is a classic mistake. A conical tip has a microscopic surface area touching the pad, severely restricting thermal transfer.
- The Fix: Match the tip to the joint. For general through-hole and large SMD pads, use a bevel or wide chisel tip (e.g., Hakko T18-D24 or Weller RTW 260). The flat, wide surface area maximizes physical contact, allowing heat to flow efficiently into the copper pad.
4. Lead-Free Solder Alloy Mismatch
Traditional Sn63/Pb37 (lead-based) solder melts at a forgiving 183°C (361°F). However, if you have switched to RoHS-compliant lead-free solder like SAC305 (Tin/Silver/Copper), the melting point jumps to 217°C–220°C (422°F–428°F). If your iron is set to standard leaded temperatures, lead-free solder will remain stubbornly solid.
- The Fix: Increase your station temperature to 340°C–360°C (644°F–680°F) when using SAC305. Ensure you are using a high-activity, no-clean flux (like Amtech NC-559) specifically formulated for lead-free alloys to break down surface tension and promote wetting.
5. Mechanical Air Gap (Loose Sleeve or Set-Screw)
In stations that use a set-screw or a slip-on sleeve to secure the tip to the heating element (common in older Weller WES51 models or generic clones), a loose connection creates a microscopic air gap. Air is a terrible conductor of heat. The element may be glowing hot, but the heat is trapped before it reaches the tip.
- The Fix: Power down, let the iron cool completely, and use the correct size hex key or wrench to firmly tighten the set-screw. Ensure the tip is fully seated against the ceramic heater cylinder before locking it down.
6. Temperature Calibration Drift
Over time, the thermocouple inside the tip or handle can degrade, causing the station's digital display to lie. The screen might read 350°C, but the actual tip temperature is languishing at 200°C.
- The Fix: Verify the temperature using a high-quality digital tip thermometer (like the Hakko FG-100B, ~$250). If there is a discrepancy of more than 10°C, access your station's hidden calibration menu (usually by holding the 'UP' and 'DOWN' arrows simultaneously on power-up) and adjust the offset to match the physical thermometer reading.
7. Failing Heating Element or Cord Break
If the iron takes forever to heat up, or the station throws an error code (like 'H-E' on Hakko displays), the internal nichrome heating wire or the thermocouple wire has snapped due to repeated flexing.
- The Fix: Use a digital multimeter set to Ohms (Ω). Unplug the iron and measure the resistance across the connector pins. A healthy Hakko T18 series heater typically reads between 10–15 ohms. A reading of 'OL' (Open Loop) confirms a broken wire. You will need to order a replacement heater assembly (e.g., Hakko B2325, ~$45) or replace the entire handpiece.
Diagnostic Matrix: Symptom vs. Root Cause
| Observed Symptom | Most Likely Cause | Verification Method |
|---|---|---|
| Solder balls up and rolls off the tip | Severe Tip Oxidation | Visual inspection; tip appears black/dull grey instead of shiny silver. |
| Solder melts on the tip, but freezes instantly on the PCB pad | Wattage Deficit / High Thermal Mass | Occurs exclusively on ground planes or large connectors; fine on small 0805 SMD pads. |
| Station displays correct temp, but solder won't melt anywhere | Calibration Drift or Air Gap | Measure actual tip temp with a K-type thermocouple tip thermometer. |
| Station display flashes error code or won't heat at all | Broken Heating Element / Cord | Multimeter continuity test on handpiece connector pins. |
Expert Insights on Soldering Standards
'Proper wetting and thermal transfer are the foundations of a reliable solder joint. Applying excessive localized heat to compensate for poor thermal transfer can lead to pad delamination and internal component damage.' — IPC J-STD-001 Standard Guidelines
According to the Adafruit Guide to Excellent Soldering, maintaining a pristine tip is the single most important factor in DIY electronics success. Furthermore, as detailed in Hakko's official tip care curriculum, leaving a station idle at 400°C for even 15 minutes can cause irreversible oxidation. Always turn your station down to 250°C (or use 'sleep' mode) when not actively holding the iron.
The 3-Step 'Dead Tip' Revival Protocol
If your soldering iron not melting solder is due to a heavily oxidized tip that brass wool alone cannot fix, follow this professional revival protocol before throwing the tip away:
- Chemical Reduction: Heat the iron to 300°C (572°F). Plunge the blackened tip directly into a jar of MG Chemicals 4901 Tip Tinner or a generic rosin-based tip activator. The mild acids in the flux will chemically reduce the iron oxide back to bare metal.
- Mechanical Agitation: Immediately transfer the tip to a coiled brass wire sponge. Twist and plunge the tip 5–6 times to wipe away the dissolved oxide and spent flux.
- Immediate Re-tinning: The exact second the tip emerges from the brass wool, apply a thick layer of high-quality, heavily fluxed 63/37 leaded solder. This sacrificial layer protects the freshly exposed iron plating from instantly re-oxidizing in the ambient air.
Preventative Maintenance for 2026 and Beyond
Modern soldering stations like the Pinecil V2 ($26) and the Weller WE1010NA feature rapid-heat algorithms, but they cannot overcome basic chemistry. To ensure your iron always melts solder on contact:
- Never leave a bare tip: Always leave a large blob of solder on the tip before powering down. This 'sacrificial blob' takes the oxidation hit instead of the tip's plating.
- Ditch the wet sponge: While traditional, wet cellulose sponges cause micro-fractures in the tip's iron plating due to rapid thermal shock. Switch to dry brass wire wool for daily cleaning.
- Use external flux: Don't rely solely on the flux core inside your solder wire. Applying a small amount of liquid or gel flux to the pad before touching it with the iron drastically lowers the surface tension and accelerates thermal wetting.
By diagnosing the exact thermal bottleneck—whether it is a wattage deficit, an oxidized surface, or a geometry mismatch—you can restore your soldering station to peak performance and eliminate cold joints permanently.