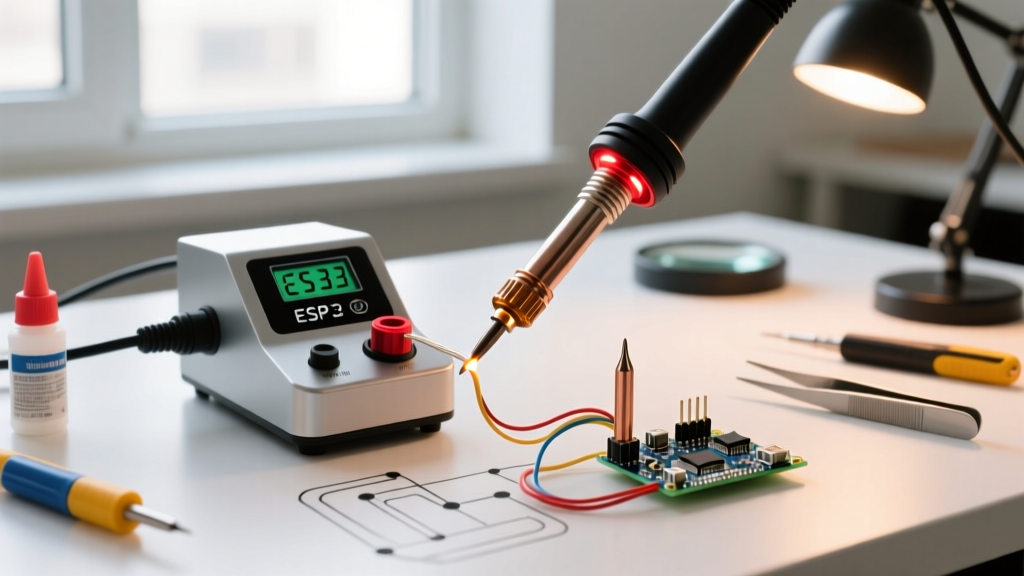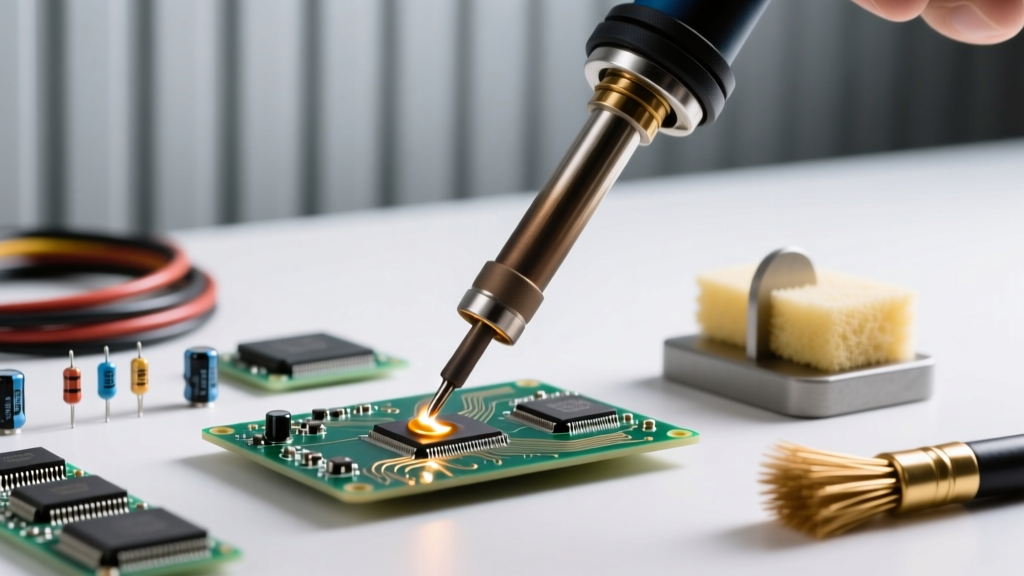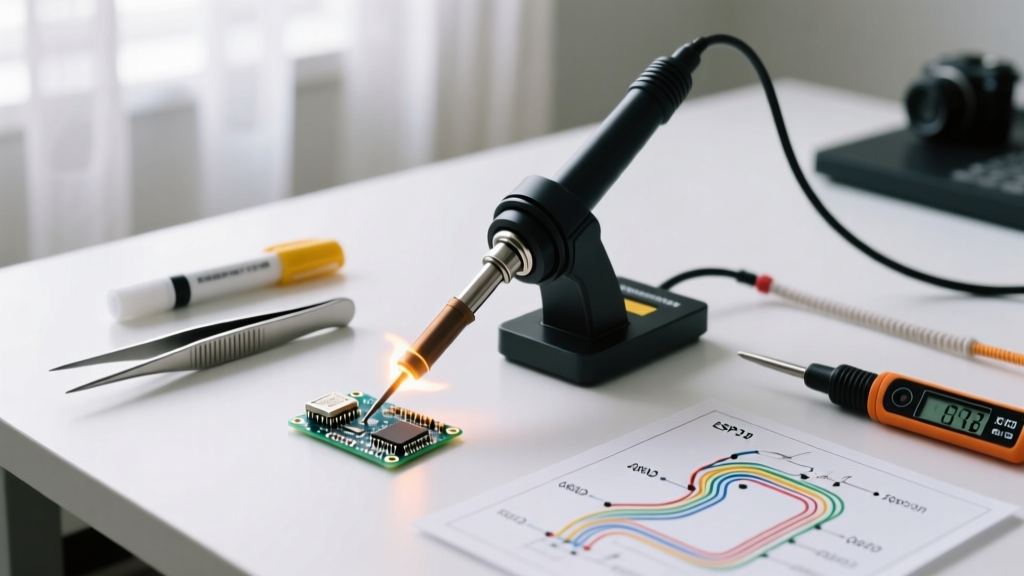

The Definitive Answer: What Temperature Should a Soldering Iron Be?
When makers and engineers ask, "what temperature should a soldering iron be?", the most accurate answer is that there is no single universal setting. The ideal temperature depends entirely on the solder alloy's liquidus point, the thermal mass of the components, and the specific application. However, as a baseline for standard through-hole electronics using leaded solder, setting your station between 330°C and 350°C (626°F - 662°F) is the industry standard.
Setting the dial too low results in cold, unreliable joints, while setting it too high destroys flux, oxidizes your tip, and risks delaminating the PCB. To master soldering, you must understand the thermodynamics of wetting and how to adjust your station based on the specific scenario at hand.
The Thermodynamics of Solder Wetting
A common misconception is that the soldering iron only needs to be slightly hotter than the solder's melting point. In reality, the iron must provide enough thermal energy to rapidly heat the pad, the component lead, and the solder wire simultaneously. According to guidelines referenced in IPC J-STD-001 (the premier standard for soldered electrical assemblies), the goal is to form a proper intermetallic compound (IMC) layer without exceeding the thermal limits of the PCB substrate.
The Golden Rule of Soldering: Set your iron temperature approximately 150°C (270°F) above the liquidus (melting) point of your specific solder alloy. This ensures rapid heat transfer, allowing you to complete the joint in 1 to 3 seconds.
If your dwell time (the time the iron touches the joint) exceeds 4 seconds, your temperature is too low, or your iron lacks the wattage to recover its thermal energy. Prolonged heating is the primary cause of lifted pads on FR-4 circuit boards, which typically have a glass transition temperature (Tg) between 130°C and 170°C.
Solder Alloy Temperature Matrix
Different alloys require drastically different temperature profiles. Refer to the table below to set your baseline station temperature:
| Solder Alloy | Composition | Liquidus Point | Ideal Iron Temperature | Primary Use Case |
|---|---|---|---|---|
| Sn63/Pb37 | 63% Tin, 37% Lead (Eutectic) | 183°C (361°F) | 330°C - 350°C | General through-hole, DIY, prototyping |
| SAC305 | 96.5% Sn, 3% Ag, 0.5% Cu | 217°C (423°F) | 360°C - 380°C | Commercial lead-free electronics (RoHS) |
| Sn96.5/Ag3/Cu0.5 | Lead-Free Eutectic | 217°C (423°F) | 360°C - 380°C | High-reliability lead-free assemblies |
| Sn42/Bi58 | 42% Tin, 58% Bismuth | 138°C (280°F) | 250°C - 280°C | Low-temp rework, heat-sensitive components |
| 50/50 Plumber's | 50% Tin, 50% Lead | 212°C (414°F) | 380°C - 400°C | Stained glass, heavy copper wire lugging |
Scenario-Based Temperature Guide
While the table above provides baselines, real-world applications require on-the-fly adjustments. Here is how to tune your station for specific tasks.
1. Standard Through-Hole & General Electronics (Leaded)
For standard DIY projects, Arduino shields, and through-hole components using Sn63/Pb37, set your iron to 340°C (644°F). Use a standard chisel tip (like the Hakko T18-D12) to maximize surface area contact. As detailed in SparkFun's comprehensive soldering tutorials, heating the pad and lead simultaneously for 2 seconds before applying solder yields the best concave fillets.
2. Lead-Free Manufacturing (SAC305)
Lead-free solder is notoriously difficult to work with due to its higher melting point and poor wetting characteristics. Set your station to 370°C (698°F). Warning: Lead-free fluxes are highly aggressive, and operating above 380°C will cause rapid tip oxidation. If your tip turns black and refuses to accept solder, you are running too hot or failing to keep it tinned. Use a high-quality brass sponge and Kester 186 mildly activated (RMA) flux to assist wetting.
3. SMD and Fine-Pitch Components (0402, 0603, QFP)
Surface mount components have very low thermal mass. Blasting them with high heat will melt the plastic housings of ICs or lift microscopic pads. For 0402 resistors and fine-pitch ICs using leaded paste or wire, drop your temperature to 300°C - 320°C (572°F - 608°F). Use a micro-pencil tip (e.g., Hakko T18-I or JBC C115-112). The lower temperature prevents accidental bridging and protects the delicate epoxy of the PCB.
4. Heavy Ground Planes and Large Connectors
Soldering a 10AWG wire to a massive copper ground plane or a high-current XT90 connector acts as a giant heatsink, pulling heat away from the iron tip instantly. Standard 65W stations (like the classic Hakko FX-888D, typically priced around $110) will plummet from 350°C to 200°C upon contact, resulting in a cold, grainy joint.
For these tasks, increase the temperature to 380°C - 400°C (716°F - 752°F) and use a massive bevel tip (like the Hakko T18-KR or a JBC C245-945). More importantly, you need wattage, not just temperature. A 130W station like the JBC CD-2BQE ($500+) or a high-end T245 handle will maintain 400°C under heavy thermal loads, whereas a cheap 40W iron will simply fail.
Wattage vs. Temperature: The Hidden Variable
Many beginners confuse the set temperature with thermal recovery. If you ask what temperature a soldering iron should be for heavy wires, and you set a 40W iron to 450°C, the display might read 450°C, but the actual tip temperature will drop to 250°C the moment it touches the copper.
- Low Wattage (40W - 65W): Ideal for SMD and standard through-hole. Relies on the user to respect dwell times. Examples: Pinecil V2 ($26), Hakko FX-888D ($110).
- Medium Wattage (70W - 90W): Excellent for mixed use, including larger connectors and 2-layer PCB ground planes. Examples: Weller WE1010 ($130), Hakko FX-951 ($300).
- High Wattage (120W+): Mandatory for heavy plumbing, thick gauge wires, and multi-layer RF boards. Examples: JBC CD-2BQE ($550), Weller WXD2 ($500+).
Failure Modes of Incorrect Temperatures
Diagnosing a bad joint is easy if you know what to look for. Here is how incorrect temperature settings manifest physically:
Running Too Cold (Below Liquidus + 100°C)
- Cold Joints: The solder looks dull, grainy, and forms a convex blob rather than a smooth concave fillet.
- Icicles and Bridging: The solder lacks the surface tension to pull away from adjacent pins, causing shorts on ICs.
- Pad Damage: Because the iron is too cold, the user holds it against the pad for 6+ seconds, eventually boiling the adhesive under the copper and lifting the pad entirely.
Running Too Hot (Above Liquidus + 200°C)
- Flux Burn-Off: The rosin core vaporizes instantly, causing violent splatter and leaving a charred, black residue that is highly corrosive and difficult to clean with isopropyl alcohol.
- Tip Degradation: Operating above 400°C causes the iron plating to dissolve into the molten solder, creating microscopic pits in the tip that permanently ruin its thermal transfer capabilities.
- Component Shock: Ceramic capacitors (MLCCs) are highly susceptible to thermal shock. Applying a 420°C tip to a cold 0805 capacitor can cause micro-cracking, leading to catastrophic failure months later.
Frequently Asked Questions
What temperature should a soldering iron be for plumbing?
For sweating copper pipes using 95/5 tin-antimony or 50/50 tin-lead solder, you need massive thermal output. Set a high-wattage iron (100W+) or use a propane torch. If using an iron like the Weller SP80 (80W), set it to 400°C (752°F). Note that standard electronics stations are not rated for the thermal mass of 1/2-inch copper pipes.
Does the brand of soldering station affect the temperature accuracy?
Yes. According to technical testing data from Hakko's technical support resources, premium stations use closed-loop ceramic heating elements with thermocouples embedded directly inside the tip. This allows for temperature accuracy within ±5°C. Cheap, unregulated irons (often $15 plug-in models) lack feedback loops; their dial numbers are arbitrary, and the tip temperature fluctuates wildly based on ambient room temperature and power supply voltage.
Should I turn my soldering iron down when not in use?
Leaving an iron at 380°C while idle accelerates tip oxidation by a factor of three compared to idling at 250°C. If your station lacks an auto-sleep feature, manually drop the temperature to 200°C (392°F) during periods of inactivity longer than 5 minutes. Always apply a thick blob of cheap, heavily fluxed solder to the tip before powering down; this acts as a sacrificial oxidation shield.