
The Reality of Field Repairs: Soldering Off the Bench
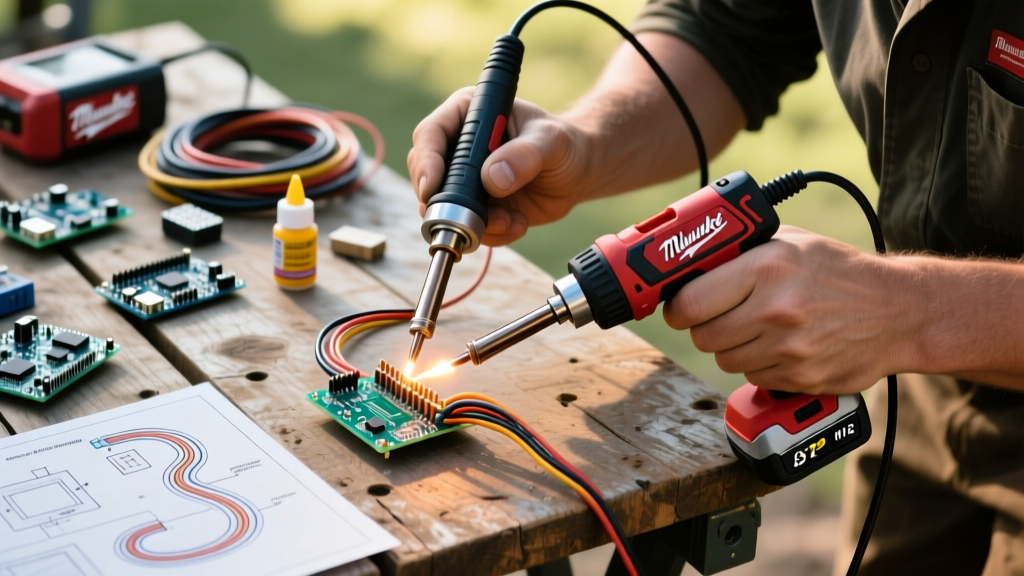
When you are miles from your workbench and a drone ESC fails, or an RC car battery lead snaps in the backcountry, the question of how can I solder without a soldering iron transitions from a theoretical curiosity to an urgent necessity. While a temperature-controlled station like a Weller WE1010 or Hakko FX-888D provides the precise thermal delivery required for flawless intermetallic bonds, field repairs demand improvisation. However, improvisation does not mean abandoning the laws of metallurgy.
Soldering is not welding; it is a process of wetting where molten alloy dissolves into the base metal to form an intermetallic compound (IMC), typically Cu6Sn5 in copper-to-tin reactions. To achieve this without a dedicated iron, you must artificially replicate three conditions: adequate thermal mass, localized heat application, and aggressive oxidation prevention. Below, we break down four highly specific, battle-tested methods to achieve reliable solder joints using alternative heat sources.
The Metallurgy of Desperation: Why Temperature Control Matters
Before grabbing a lighter, you must understand your consumables. Standard 63/37 Sn/Pb (tin-lead) eutectic solder melts at exactly 183°C (361°F). Lead-free alloys like SAC305 (Sn96.5/Ag3.0/Cu0.5) melt higher, around 217°C to 220°C. The ideal soldering temperature is generally 150°C above the alloy's liquidus point to allow for rapid wetting before the flux burns off.
When using alternative heat sources, the primary risk is thermal overshoot. Standard FR4 fiberglass PCBs have a glass transition temperature (Tg) of roughly 130°C to 170°C and will begin to delaminate or scorch if exposed to raw flames exceeding 800°C. Therefore, the technique you choose must match the thermal mass of your target joint.
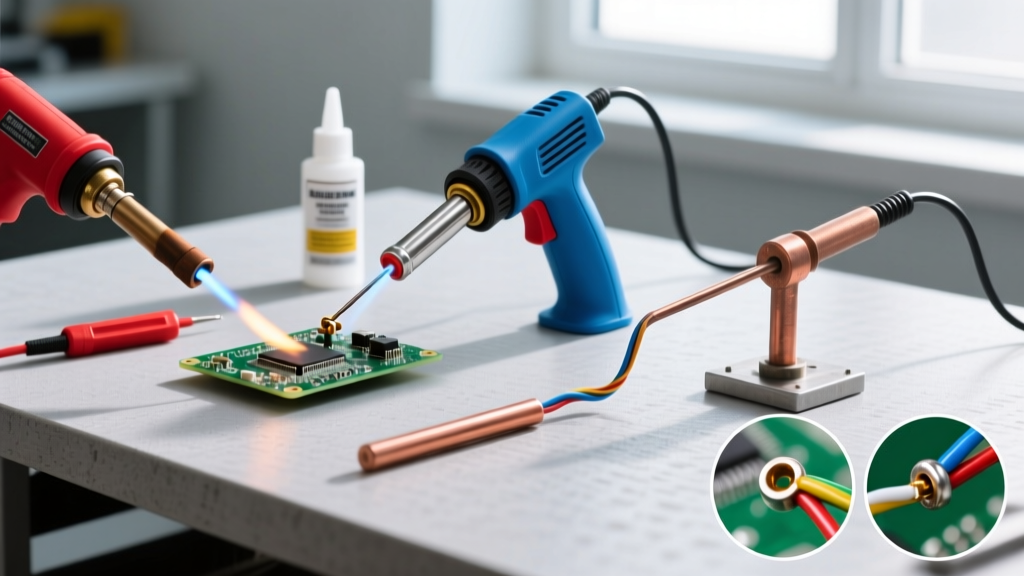
Method 1: The Butane Micro-Torch (Best for Heavy Gauge & Connectors)
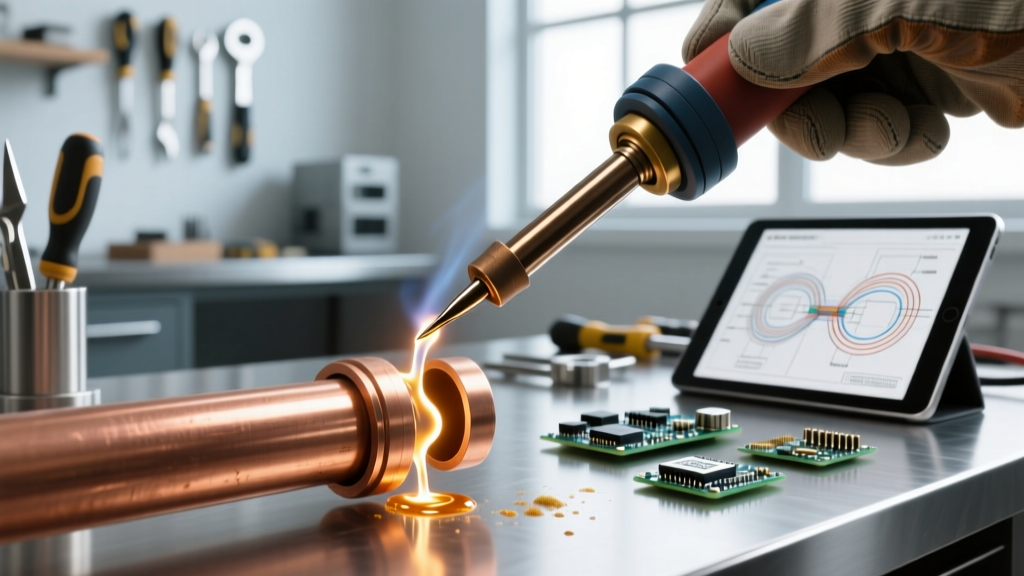
For thick silicone wires (12 AWG to 8 AWG), XT60/XT90 connectors, and basic plumbing, a butane micro-torch is the most reliable substitute. Tools like the Dremel VersaTip (approx. $45) or the Blazer Big Shot offer focused, high-BTU output.
Execution Strategy:
- Never use a raw flame directly on the joint. Raw butane flames burn at roughly 1,300°C, which will instantly vaporize rosin flux and oxidize the copper, resulting in a useless, grainy cold joint.
- Use a thermal transfer tip. If using a VersaTip, attach the copper soldering tip and let the internal catalytic reactor heat it. If using a raw torch, heat the side of the wire or connector barrel, allowing thermal conductivity to pull the heat into the joint.
- Pre-tin everything. Apply flux and pre-tin both the wire and the connector separately before attempting to join them. This drastically reduces the required dwell time.
Pro-Tip: For heavy-gauge wires, the copper acts as a massive heatsink. Wrap the joint in a small piece of aluminum foil with a hole cut for the wire to reflect radiant heat back into the joint, reducing the time the butane torch needs to be applied.
Method 2: Hot Air Rework (Best for SMDs and Delicate PCBs)
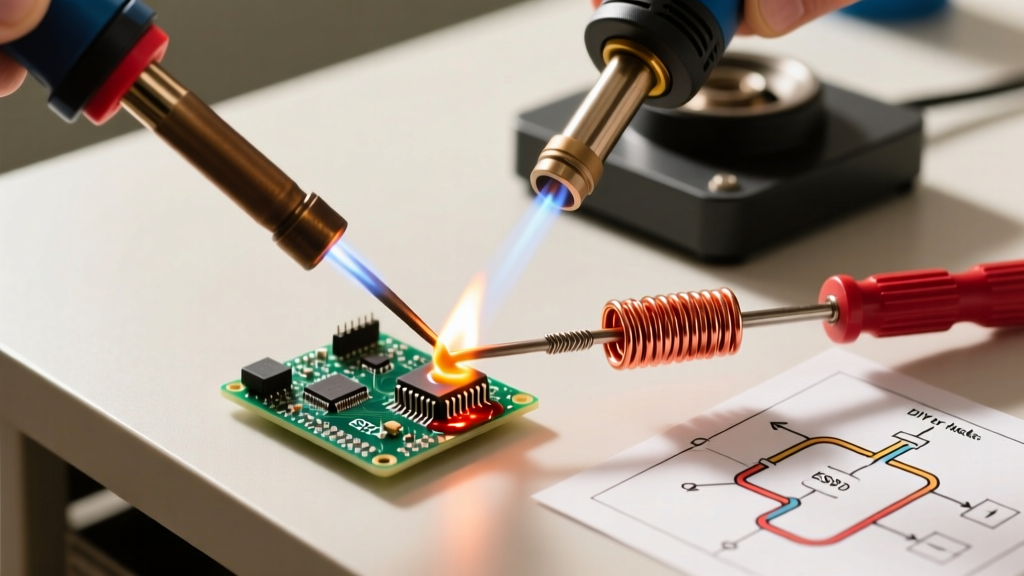
If you have access to AC power but lack an iron, a hot air rework station is vastly superior for surface-mount devices (SMDs) and delicate through-hole components. A standard Quick 858D (approx. $55-$70) is a staple for this.
Step-by-Step PCB Repair:
- Shield the Area: Use Kapton (polyimide) tape to mask off surrounding plastic connectors and sensitive ICs. Kapton withstands temperatures up to 400°C.
- Dial in the Parameters: Set the temperature to 350°C and the airflow to roughly 40% (or 40L/min). High airflow will blow 0402 or 0603 components across the board.
- Flood with Flux: Apply a generous amount of tacky flux (e.g., Amtech NC-559-V2-TF) to the pads. The flux will act as a visual indicator; when it bubbles and turns clear, the board has reached reflow temperature.
- Circular Heating: Keep the nozzle 1 inch above the board and move in continuous circles to prevent localized hot spots that cause pad lifting.
Method 3: The Solid Copper Wire Hack (The MacGyver Method)
When you have zero specialized tools—only a lighter, a pocket knife, and some scrap wire—you can build a makeshift thermal battery. This is the ultimate answer to how can I solder without a soldering iron in a true survival scenario.
Building the Hack:
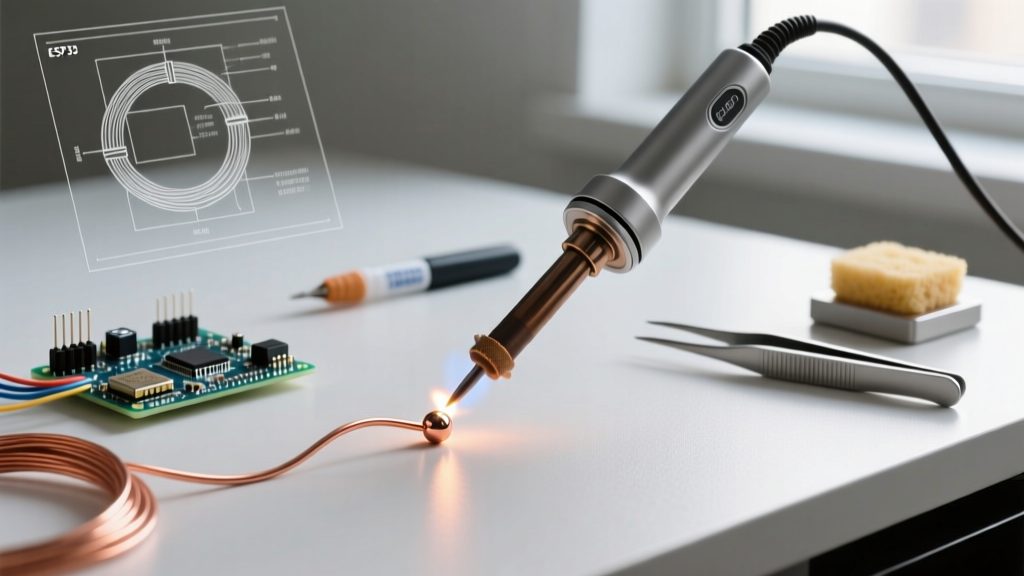
- Find a piece of 6 AWG or 8 AWG solid copper wire (often found in scrap Romex house wiring). Stranded wire will not work due to the air gaps acting as insulators.
- Strip 3 inches of insulation. Bend the last half-inch into a tight 90-degree hook or flatten it slightly with a rock or pliers to increase surface area.
- Hold the opposite end with insulated pliers (or wrap it heavily in electrical tape/cloth).
- Apply a standard BIC lighter or propane torch to the thick shaft of the copper wire, not the tip. Copper is an exceptional thermal conductor; the heat will travel to the tip and pool there, creating a makeshift iron tip with high thermal mass.
- Once the tip is hot enough to melt your rosin-core solder (usually 45-60 seconds of direct flame), apply solder to the tip to 'tin' it, then quickly transfer to your fluxed joint.
Limitation: The copper tip will oxidize rapidly and lose heat within 10 seconds. You must work fast and re-heat frequently.
Method 4: Resistive Joule Heating (Advanced Field Repair)
For highly localized heating on a PCB without risking adjacent components, Joule heating uses electrical resistance to generate precise heat. This requires a power source (like a 12V LiPo battery or car battery) and a resistive element.
By taking a standard wooden pencil and breaking off the casing to extract the graphite lead, you can create a makeshift resistive probe. Graphite conducts electricity but possesses enough resistance to glow red-hot when a high-current, low-voltage source is applied. By touching the graphite to a specific solder pad while completing the circuit back to the battery's ground via a heavy-gauge wire, the pad heats instantly from the inside out. This method requires extreme caution to avoid short-circuiting the battery, but it is a recognized technique in advanced aerospace field repairs where open flames are prohibited.
Alternative Heat Source Comparison Matrix
| Method | Max Temp Output | Best Use Case | PCB Safety | Estimated Cost |
|---|---|---|---|---|
| Butane Micro-Torch | ~1,300°C (Flame) | XT60s, 10 AWG+ wires, plumbing | Very Low (High risk of scorching) | $25 - $50 |
| Hot Air Station | 100°C - 480°C | SMD ICs, QFN chips, delicate PCBs | High (With proper airflow control) | $55 - $150 |
| Solid Copper Hack | ~400°C (Tip) | Emergency through-hole, small wires | Medium (Requires fast execution) | $0 (Scrap wire) |
| Resistive Graphite | ~600°C (Localized) | Single pad rework, micro-joints | Medium (Risk of electrical shorts) | $2 (Pencil + Battery) |
The Non-Negotiable Role of Flux
When you lack the precise temperature regulation of a digital soldering station, oxidation happens exponentially faster. According to technical documentation from manufacturers like Kester, flux is required to dissolve metal oxides and lower the surface tension of the molten solder. In emergency scenarios, do not rely solely on the mild rosin core inside your solder wire.
You must carry a small syringe of tacky flux (like Chip Quik SMD291AX) or a bottle of liquid rosin flux (like Kester 186). If you are entirely out of commercial flux, pine tree sap (rosin) melted with a few drops of 99% isopropyl alcohol can serve as a primitive, albeit messy, substitute to prevent the copper from turning black and rejecting the solder.
Troubleshooting Field Solder Defects
Even with the best hacks, alternative heat sources introduce specific failure modes. NASA's Electronic Parts and Packaging (NEPP) program outlines strict visual criteria for solder joints, which we can adapt for field diagnostics:
- Grainy, Dull Joints (Cold Joint): Caused by moving the wire before the solder fully crystallized, or failing to reach the liquidus temperature. Fix: Re-apply heavy flux and reheat until the solder flashes to a liquid mirror finish.
- Solder Balling / Dewetting: The solder forms balls and refuses to stick to the pad. This means the copper has oxidized beyond the flux's cleaning capability. Fix: Scrape the pad gently with a knife to expose raw copper, re-flux, and try again.
- Delaminated / Scorched PCB: The fiberglass turns brown or bubbles. Fix: You applied raw flame or held the hot air gun too close. The trace may be lifted; you will need to scrape the solder mask off the adjacent trace and run a jumper wire.
For comprehensive industry guidelines on acceptable joint criteria, technicians frequently reference the visual standards outlined by IPC standards (specifically IPC-A-610), which dictate that a proper joint must exhibit a smooth, continuous fillet with a concave shape and a shiny finish (for leaded alloys).
Frequently Asked Questions
Can I use a regular cigarette lighter to solder?
A standard BIC lighter does not produce enough sustained, focused BTU output to heat anything larger than 24 AWG wire. The copper wire will act as a heatsink, pulling the heat away faster than the lighter can apply it. You must use the solid copper wire thermal battery hack mentioned in Method 3 to concentrate the heat.
Is it safe to solder lithium battery tabs without a proper iron?
Using a butane torch near lithium polymer (LiPo) or lithium-ion cells is incredibly dangerous due to the risk of puncturing the shrink wrap or overheating the cell chemistry, leading to thermal runaway. For battery tabs, use the hot air method at a safe distance, or better yet, rely on mechanical crimps or spot welding if an iron is unavailable.
Why does my solder turn into a grey sludge when I use a torch?
You are burning the flux and oxidizing the tin. When tin oxidizes rapidly at high temperatures, it forms a crusty tin oxide layer that prevents wetting. You must remove the heat, apply fresh liquid flux to strip the oxide, and reheat gently.