
The Art of Polymer Texturing: Why Your Iron Matters
Soldering iron stippling has become the premier DIY method for texturing polymer firearm grips, transforming slick factory frames into high-traction, ergonomic surfaces. Unlike traditional soldering, which joins metals via a filler alloy, stippling relies on the precise thermal manipulation of polymers—typically nylon-based composites like Glock's proprietary 'Polymer 2'. The goal is to melt micro-craters into the surface without burning, smearing, or compromising the structural integrity of the frame.
However, the margin for error is razor-thin. A temperature swing of just 30°F can mean the difference between crisp, uniform tactile dots and a melted, structurally weakened grip. This brings us to the core debate in the DIY firearms community: can a $20 budget woodburner deliver professional results, or is a $120 premium soldering station strictly necessary? In this 2026 analysis, we break down the thermodynamics, failure modes, and real-world performance of budget versus premium tools for soldering iron stippling.
The Thermodynamics of Polymer Stippling
To understand why tool selection dictates your results, you must understand polymer thermal dynamics. Most modern firearm grips are manufactured from glass-reinforced polyamides (nylon). According to the British Plastics Federation, polyamides exhibit a distinct glass transition and melting phase. While the absolute melting point of Nylon 6/6 hovers around 500°F (260°C), the optimal softening range for stippling—where the material yields to a metal tip without degrading or releasing toxic fumes—is between 350°F and 420°F (175°C - 215°C).
When a hot soldering tip contacts a cold polymer grip, heat transfers rapidly from the tip into the material. This causes an immediate temperature drop at the tip's apex. The tool's ability to detect this drop and inject current into the heating element to restore the baseline temperature is known as thermal recovery. This single metric separates tools that create crisp stippling from those that tear and smear the polymer.
The Budget Tier: Generic Woodburners and Weller SP40N ($15 - $35)
The budget tier is dominated by 30W to 40W fixed-temperature tools, such as generic hardware-store woodburning kits and the classic Weller SP40N. These tools utilize a nichrome wire heating element wrapped around a steel barrel, which transfers heat to the tip via conduction.
- Pros: Extremely low barrier to entry; widely available; acceptable for small, localized patches or magazine baseplates.
- Cons: Severe thermal lag; set-screw tip retention causes wobble; lack of active temperature monitoring.
Failure Mode - Thermal Sag: When a 40W budget iron touches a dense polymer grip, the tip temperature can plummet by over 100°F in a fraction of a second. Because the nichrome element takes 4 to 6 seconds to reheat the steel barrel, the user is forced to hold the tip against the polymer longer. This results in 'smearing'—where the polymer tears and drags rather than melting into a clean crater. Furthermore, the set-screws used to hold budget tips frequently loosen under repeated heating cycles, causing the tip to wobble and create uneven stipple depths.
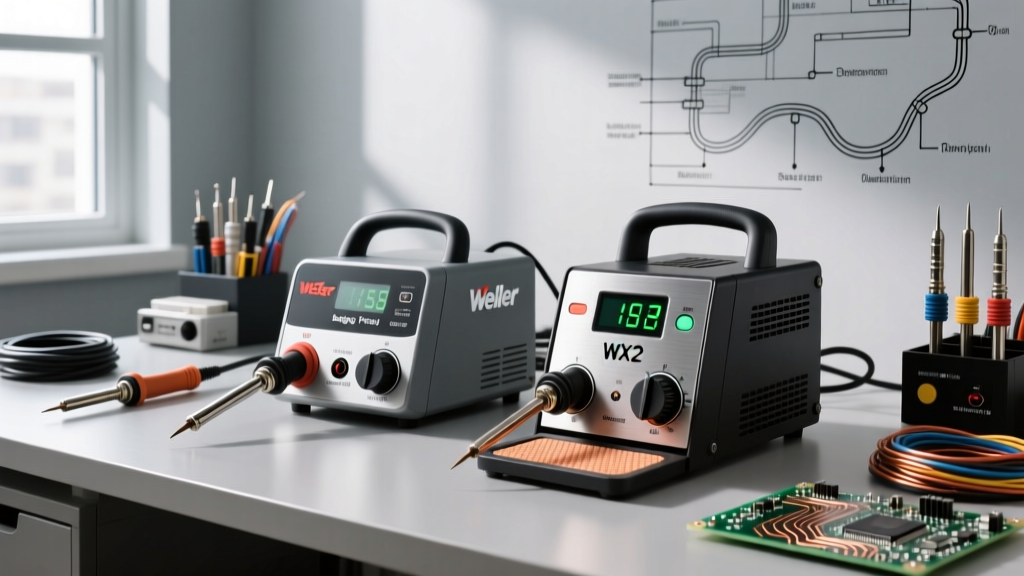
The Premium Tier: Hakko FX-888D and Weller WE1010NA ($105 - $130)
Premium stations utilize high-wattage (65W to 75W) ceramic heating elements with integrated thermocouples located millimeters from the tip's apex. The Hakko FX-888D and the Weller WE1010NA are the industry standards for professional armorers and serious DIYers.
- Pros: Sub-second thermal recovery; digital temperature locking; slide-on tip compatibility (T18 and ETA series) allowing for custom stippling geometries.
- Cons: High initial investment; requires a dedicated workbench footprint; replacement tips are costly ($8 to $12 each).
The Ceramic Advantage: Premium stations actively monitor the tip temperature dozens of times per second. When the tip contacts the polymer, the station instantly dumps 70 watts of power into the ceramic core, recovering the lost heat in under 0.8 seconds. This allows the user to execute a rapid 'tap-tap-tap' stippling rhythm, leaving perfectly uniform, crisp craters without collateral melting.
The Disruptor: Pinecil V2 ($26 - $35)
No 2026 analysis is complete without addressing the Pine64 Pinecil V2. Priced like a budget tool but performing like a premium station, this RISC-V powered, PD 3.0-compatible iron has revolutionized soldering iron stippling. Powered by a standard 65W USB-C laptop charger, it offers digital temperature control, custom firmware profiles, and a recovery time that rivals the Hakko FX-888D. For the budget-conscious stippler willing to supply their own USB-C power brick, the Pinecil V2 renders traditional budget woodburners obsolete.
Stippling Performance Matrix
| Model | Tier | Price (2026) | Wattage | Temp Control | Recovery Time | Best Tip for Stippling |
|---|---|---|---|---|---|---|
| Generic Woodburner | Budget | $15 - $22 | 30W | Fixed (None) | 6.0+ seconds | Wire Loop (Modified) |
| Weller SP40N | Budget | $25 - $35 | 40W | Fixed (None) | 4.5 seconds | Conical (Set-Screw) |
| Pinecil V2 | Value Premium | $26 - $35 | 65W (PD) | Digital PID | 1.2 seconds | TS100-B / Custom Bent |
| Hakko FX-888D | Premium | $110 - $125 | 65W | Digital PID | 0.8 seconds | T18-B / T18-C4 |
| Weller WE1010NA | Premium | $115 - $130 | 70W | Digital PID | 0.9 seconds | ETA / Custom Bent |
Critical Edge Cases: Polymer Generations and Melt Points
Not all polymers are created equal. If you are stippling a Glock frame, you must adjust your thermal profile based on the generation, as the composite makeup has evolved to meet varying environmental and structural demands.
Gen 3 and Early Polymer Blends
Older polymer blends are softer and more heat-reactive. Set your premium station to 360°F (182°C). If the iron is too hot, the polymer will bubble and turn glossy black, indicating carbon degradation rather than clean melting. Use a light touch; the tip should barely penetrate the surface.
Gen 4 and the RTF2 Texture
Gen 4 frames feature a rough, checkered factory texture. Do not stipple directly over this texture. The varying depths will cause the soldering tip to catch and tear. You must first use a Dremel with a sanding drum or a sharp razor blade to flatten the grip panels to bare, smooth polymer before executing your stipple pattern.
Gen 5 and High-Density Composites
Glock's Gen 5 (and similar modern frames like the SIG P320) utilizes a denser, more heat-resistant nylon blend. You will need to increase your temperature to 400°F - 415°F (204°C - 213°C) to achieve proper crater formation. Attempting to stipple Gen 5 polymer at 360°F will result in excessive downward pressure, which can warp the frame or cause the tip to slip, ruining the aesthetic and potentially damaging the magazine well.
Expert Warning: Always test your temperature settings on a discarded magazine baseplate or a practice grip from a polymer 80% frame kit. Never apply the iron to your primary firearm frame without verifying the melt rate on identical scrap polymer.
Step-by-Step: Executing the Perfect Stipple Pattern
Achieving a uniform, professional-grade stipple requires more than just the right tool; it demands a methodical workflow.
- Disassembly and Degreasing: Strip the frame entirely. Remove the trigger housing, ejector, and magazine catch. Scrub the grip with 90% isopropyl alcohol or acetone to remove all factory oils and silicone residues. Oils will cause the melting polymer to bubble and pit unevenly.
- Masking and Boundaries: Use high-temperature Kapton tape or standard automotive fine-line tape to mask off the boundaries of your stipple zone. This ensures crisp, straight lines and protects the magazine well and slide rails from accidental thermal damage.
- Tip Selection and Modification: While a standard conical tip works, many professionals bend a heavy-gauge copper wire or use a specialized ball-tipped stippling tool to create perfectly round craters. If modifying a tip, ensure it is securely fastened and fully seated in the ceramic heater.
- The 'Tap and Lift' Technique: Hold the iron like a pen. Tap the polymer vertically and lift immediately. Never drag the tip. Dragging creates trenches and weakens the polymer matrix. Aim for 4 to 6 taps per second, moving in a randomized or geometric grid pattern.
- Brass Wool Maintenance: Polymer residue will inevitably bake onto your tip, forming an insulating carbon crust that ruins thermal transfer. Every 10 to 15 minutes, wipe the hot tip aggressively in a dry brass wool sponge. Never use wet sponges, as the thermal shock will micro-fracture the tip's iron plating.
Final Verdict: Which Tool Should You Buy?
If you are stippling a single magazine baseplate or practicing on a scrap 80% frame, a $25 Pinecil V2 paired with a 65W USB-C charger is the undisputed champion of value. It provides the digital temperature control and rapid thermal recovery required for clean polymer work without the premium price tag.
However, if you are running a custom gunsmithing business, stippling multiple frames a week, or require absolute thermal stability for high-end, intricate geometric patterns, the Hakko FX-888D remains the gold standard. Its massive thermal mass, rugged build quality, and sub-second recovery ensure that your 50th stippled grip looks exactly as flawless as your first. Budget woodburners, conversely, should be left in the arts and crafts aisle; the risk of thermal runaway and ruined $500 polymer frames simply outweighs the $100 savings.