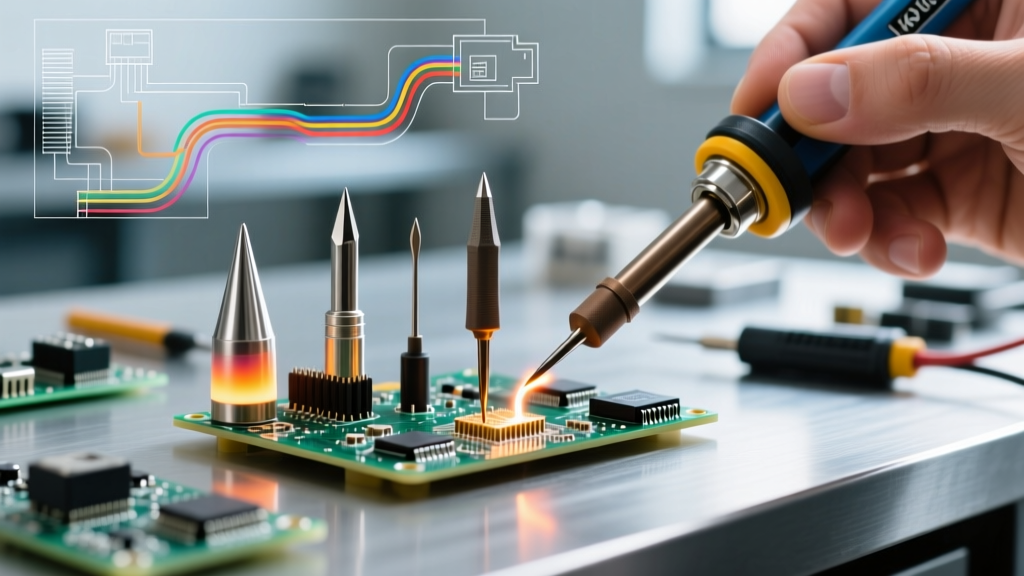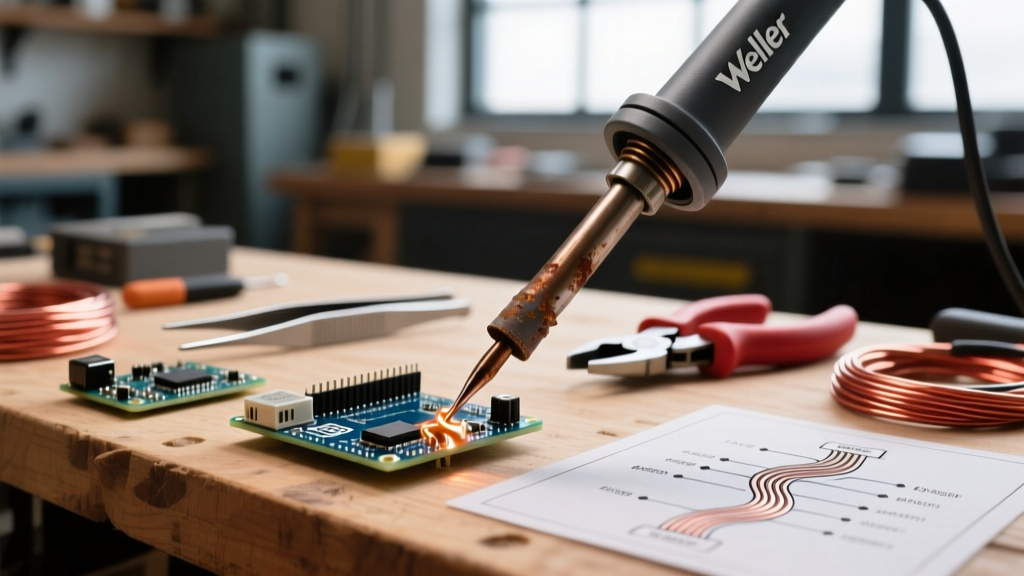

The Metallurgy of Weller Tips: Understanding Tip Failure
To effectively troubleshoot Weller soldering iron tips, you must first understand their physical construction. Whether you are using the legacy ETA series for a WES51 station or the modern XRT active cartridges for a WXsmart, the fundamental metallurgy remains similar. The core is high-purity copper, chosen for its exceptional thermal conductivity. However, molten solder rapidly dissolves bare copper. To prevent this, Weller electroplates the copper core with an iron alloy layer, typically between 70 and 110 microns thick. Finally, a microscopic layer of chromium or nickel is applied to the non-working areas to prevent solder from wicking up the shaft.
When a Weller tip 'dies,' it is almost never the copper core that has failed. Instead, the failure occurs at the iron plating layer due to three primary mechanisms: thermal oxidation, flux-induced corrosion, and mechanical abrasion. According to the NASA STD-8739.3 Soldering Standard, maintaining the integrity of the iron plating is critical for consistent thermal transfer and preventing copper leaching into solder joints, which can cause brittle intermetallic formations.
Troubleshooting Matrix: Diagnosing Weller Tip Degradation
Use the following diagnostic matrix to identify the root cause of your tip's poor performance and apply the correct corrective action.
| Symptom | Root Cause | Solution / Corrective Action |
|---|---|---|
| Solder balls up and rolls off (Non-wetting) | Surface oxidation or carbonized flux buildup blocking the iron layer. | Cool to 250°C. Use a Weller WDC1 dry brass wool cleaner, followed by an application of rosin-core solder and fresh flux. |
| Thick black crust that won't wipe off | Severe thermal oxidation from leaving the iron idle at high temperatures (>380°C) without a protective solder coating. | Apply a specialized tip tinning compound (e.g., Amtech TT-10 or Weller WDC2) while the tip is at 300°C, then wipe vigorously in brass wool. |
| Craters, pitting, or rough texture on the bevel | Flux corrosion (leaching) eating through the iron plating, exposing the copper core. | Irreversible damage. The tip must be replaced immediately to prevent copper contamination of your PCB pads. |
| Slow heat recovery despite station reading correct temp | For ETA tips: degraded wand sensor. For RT/XRT tips: internal thermocouple failure or poor seating in the wand. | Reseat the tip cartridge. If using RT/XRT active tips and the issue persists, the internal heating element has failed; replace the tip. |
Active vs. Passive Cartridges: Troubleshooting the RT/XRT vs. ETA Series
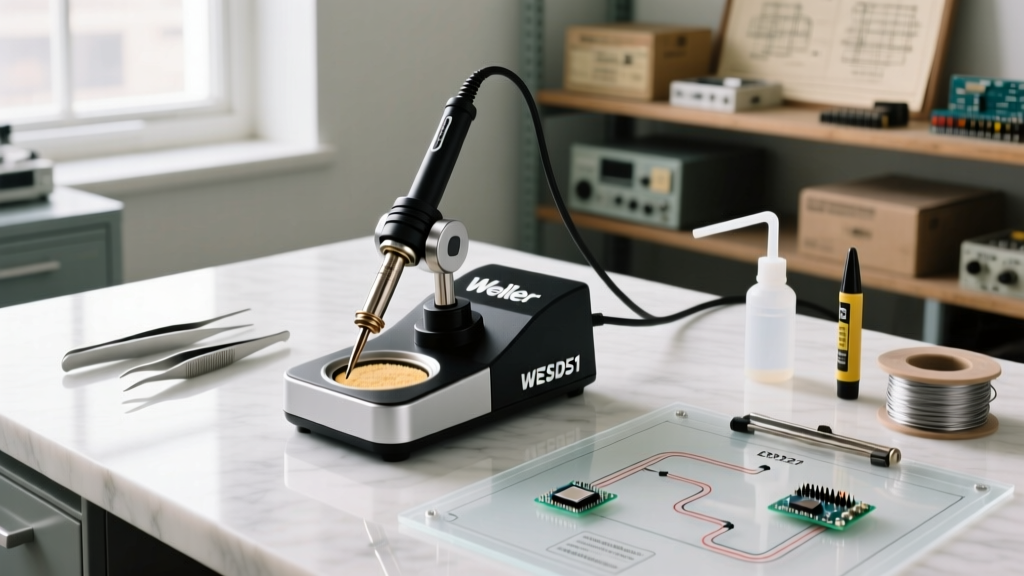
A common mistake in 2026 is applying legacy troubleshooting methods to modern active tip cartridges. Weller's older ETA series (used in the WES51) are passive. The heating element and thermocouple are housed in the soldering wand, and the tip is merely a shaped piece of plated copper that slides over the heater. If an ETA tip isn't heating properly, the issue often lies in the wand's ceramic heating element or the station's TRIAC control board.
Conversely, the modern RT and XRT series (used in WX, WT, and WE stations) are active cartridges. The heating element, the temperature sensor, and the tip are integrated into a single, sealed unit. This provides a massive advantage: the sensor is located millimeters from the working surface, allowing for sub-second heat recovery. However, it changes the troubleshooting paradigm. If an RT or XRT tip fails to maintain temperature or throws a sensor error code on your WE1010NA or WT1010, the tip itself is electrically dead. No amount of cleaning will fix a broken internal thermocouple in an active cartridge; it must be replaced.
Step-by-Step Restoration: Saving an Oxidized Weller Tip
If your Weller tip is blackened and refusing to tin, do not throw it away immediately. Follow this restoration protocol to strip the oxidation without damaging the delicate iron plating. As noted by industry experts at Hakko's Technical Tip Care Guide, mechanical abrasion is the enemy of plated tips. Never use sandpaper, files, or steel wool on a Weller tip.
- Drop the Temperature: Reduce your station's temperature to 250°C (482°F). High heat accelerates oxidation during the cleaning process.
- Apply Tip Tinner: Dip the hot, oxidized tip into a commercial tip tinning compound (a mixture of mild phosphoric acid, rosin, and solder powder). The acid will chemically reduce the iron oxide.
- Agitate in Brass Wool: While the compound is bubbling, gently wipe and twist the tip in a dry brass wool ball (such as the Weller WDC1). Brass is softer than the iron plating but harder than the carbonized flux.
- Re-tin Immediately: Once the shiny iron layer is exposed, immediately apply a generous amount of 63/37 (Sn63/Pb37) rosin-core solder to coat the working surface. The rosin will act as a protective barrier against ambient oxygen.
The Hidden Killer: Flux Chemistry and Temperature Profiling
Many DIYers and technicians blame the tip manufacturer for premature pitting, when the true culprit is flux chemistry. Water-soluble (ORGN/ORIN) fluxes contain highly aggressive organic acids designed to be washed off with deionized water. If you use water-soluble flux and leave the residue on the tip during idle periods, the acid will eat through Weller's 100-micron iron plating in a matter of days.
Furthermore, temperature profiling is critical. The IPC J-STD-001 standard emphasizes matching thermal profiles to the solder alloy. If you are soldering with SAC305 (lead-free), a tip temperature of 350°C to 370°C is optimal. If you are using Sn63/Pb37 (leaded), 315°C to 330°C is sufficient. A dangerous habit is 'cranking the dial' to 400°C+ to force heat into large ground planes. Every 10°C increase above the optimal melting point roughly doubles the rate of iron plating dissolution and oxidation. For large thermal masses, upgrade to a Weller RT tip with a larger chisel profile (like the RT4) to increase surface area and thermal mass transfer, rather than artificially inflating the temperature.
Daily Maintenance Protocol for Maximum Tip Life
Implementing a strict shutdown routine is the most cost-effective way to extend the life of your Weller tips, which currently retail between $8.50 (ETA) and $15.00 (XRT) per unit in 2026.
- The 'Solder Blob' Shutdown: Never wipe the tip clean before turning off the station. Before powering down, melt a large, generous blob of cheap, heavily fluxed 63/37 solder onto the working end. This blob will oxidize and carbonize as the iron cools, sacrificing itself to protect the actual iron plating underneath. When you power up the next day, simply wipe this sacrificial blob into your brass wool.
- Avoid Thermal Shock: Do not quench a hot Weller tip in a wet sponge. The rapid temperature drop can cause microscopic fractures in the chromium and iron layers, leading to premature flaking. Always use a dry brass wire cleaner.
- Proper Seating: When changing RT or XRT tips, ensure the cartridge is pushed fully into the wand and the locking nut is hand-tightened securely. A loose cartridge creates an air gap, leading to erratic temperature readings and localized overheating of the wand's connector pins.
When to Retire: Identifying Irreversible Damage
Knowing when to discard a Weller tip is just as important as knowing how to clean it. If you observe the 'copper bleed'—a distinct coppery-orange color showing through the silver iron plating—the tip is dead. Solder will rapidly dissolve this exposed copper, creating a crater that will physically drag across your PCB pads, potentially lifting SMD pads or scratching fine-pitch traces. Similarly, if the tip shaft becomes heavily pitted or warped, it will no longer make proper thermal contact with the heating element (in ETA models) or the internal sensor will read inaccurately. Retire the tip immediately; risking a $15 replacement tip to save a $100+ custom PCB is a mathematical failure in any professional or serious hobbyist workflow.