
The Core Rule: Melting Point vs. Soldering Temperature
The most common question beginners ask when picking up their first station is, 'What temp should soldering iron be?' The immediate instinct is to crank the dial to the maximum setting to melt the solder faster. This is a critical mistake that will ruin your circuit boards, destroy your soldering tips, and result in ugly, unreliable joints.
To understand the correct temperature, you must separate two distinct concepts: the melting point of the solder alloy and the operating temperature of the soldering iron. Your iron must be set significantly higher than the solder's melting point. Why? Because the moment the hot iron touches the component lead and the PCB pad, heat rapidly dissipates into the surrounding copper and fiberglass. If the iron is only set to the exact melting point of the solder, the thermal transfer will be too slow, the flux will fail to activate, and you will end up with a 'cold joint'.
Understanding Solder Alloys and Activation Temperatures
Before setting your dial, you need to know what solder is on your spool. Furthermore, solder contains a chemical core called flux (usually rosin-based). Flux cleans oxidation from the metals to allow the liquid solder to bond. According to the Adafruit Guide to Excellent Soldering, flux typically activates and begins cleaning between 150°C and 200°C. If your iron isn't hot enough to trigger this chemical reaction rapidly, the solder will ball up and refuse to wet the pad.
Solder Alloy Temperature Chart
Use this reference table to match your iron's temperature to your specific solder type. These settings assume you are using a standard chisel or conical tip with good contact area.
| Solder Type | Common Composition | Melting Point | Ideal Iron Temp (Dial Setting) |
|---|---|---|---|
| Leaded (Eutectic) | Sn63/Pb37 (63% Tin, 37% Lead) | 183°C (361°F) | 315°C - 330°C (600°F - 625°F) |
| Lead-Free (Standard) | SAC305 (Tin, Silver, Copper) | 217°C - 220°C (422°F - 428°F) | 350°C - 370°C (660°F - 700°F) |
| High-Temp / Plumbing | 95/5 Sn/Sb (Tin, Antimony) | 235°C - 240°C (455°F - 464°F) | 380°C - 400°C (715°F - 750°F) |
Note: For standard electronics DIY, Sn63/Pb37 is highly recommended for beginners due to its lower melting point, shiny finish, and ease of use. Lead-free SAC305 is required for commercial manufacturing (RoHS compliance) but is much less forgiving.
Task-Specific Temperature Settings for Beginners
While the table above provides a baseline, the specific component you are soldering dictates fine-tuning your temperature. Here is a practical breakdown based on thermal mass.
1. Surface Mount Devices (SMD) - 0603, 0805, and Small ICs
- Target Temperature: 300°C - 320°C (570°F - 608°F)
- Why: SMD components have very low thermal mass. The pads are tiny and sit on the surface of the board. Excessive heat will melt the plastic connector housings or delaminate the PCB trace from the fiberglass substrate.
- Tip Choice: Fine conical or micro-chisel.
2. Standard Through-Hole Components (Resistors, Capacitors, DIP ICs)
- Target Temperature: 330°C - 350°C (626°F - 662°F)
- Why: The component leads pass through the board into a plated through-hole (PTH). The iron must heat both the lead and the inner barrel of the hole to draw the solder all the way up via capillary action.
- Tip Choice: Standard chisel (2.4mm to 3.2mm).
3. Heavy Wires, Large Connectors, and Ground Planes
- Target Temperature: 360°C - 380°C (680°F - 716°F)
- Why: Thick copper wires and large ground planes act as massive heat sinks. They will pull heat away from your iron tip instantly. Pro-Tip: Instead of just raising the temperature (which risks burning the board), use a wider chisel or bevel tip to maximize the physical contact area. As noted in Hakko's Technical Library, maximizing tip surface area is vastly superior to simply increasing the heat.
The 'Max Temp' Trap: Why 400°C+ Ruins Your Gear
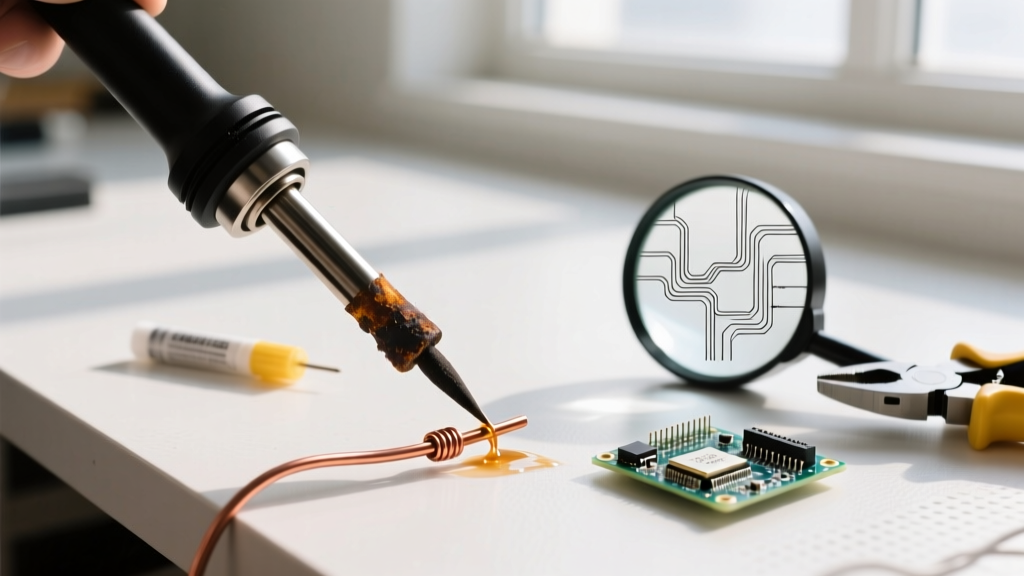
Expert Warning: Never leave your soldering iron resting at 400°C (750°F) or higher. At these temperatures, the rosin flux inside your solder instantly carbonizes upon contact, leaving a hard, black, non-conductive crust on your tip. Furthermore, the iron plating on the tip will rapidly oxidize, turning dark blue or black and refusing to accept solder. You will burn out a $10 replacement tip in a matter of hours.
If you find yourself needing to turn the dial past 380°C just to melt solder on a standard joint, your issue is almost certainly poor tip geometry or a lack of thermal recovery from a cheap station, not a need for extreme heat.
Troubleshooting Bad Joints via Temperature Clues
Your solder joints will visually tell you if your temperature is wrong. Use this diagnostic guide to adjust your station on the fly:
- The Solder Balls Up and Won't Stick: Your iron is too cold, or your tip is oxidized. The flux hasn't activated. Fix: Increase temp by 15°C, clean the tip on a damp brass sponge, and apply fresh flux.
- The Solder Looks Dull, Grainy, or Frosty: You moved the component before the solder fully crystallized, or the temperature was too low, causing a prolonged cooling phase (a classic 'cold joint'). Fix: Reflow the joint with a slightly higher temperature and hold still for 3 seconds after removing the iron.
- The PCB Pad Lifts Off or Turns Brown: Your iron is way too hot, or you are holding it on the joint for too long (more than 3-4 seconds). Fix: Drop the temperature by 20°C and use a larger tip to transfer heat faster.
- The Flux Splatters Violently: Your iron is too hot, causing the flux core to boil and explode rather than melt and flow. Fix: Lower the temperature immediately.
Recommended Beginner Stations with Precise Temp Control
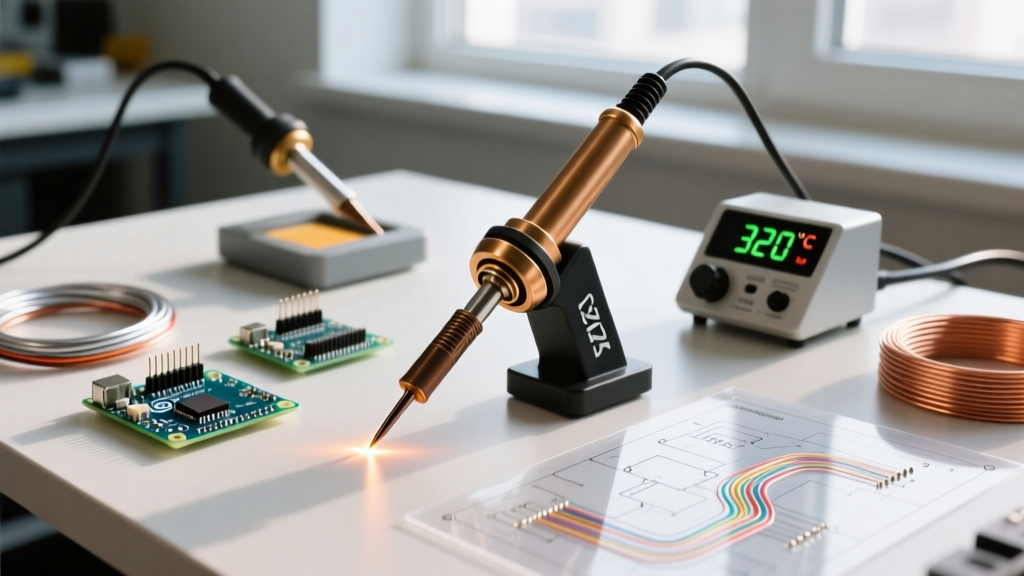
To maintain the exact temperatures listed above, you need a station with closed-loop temperature control. Cheap 'plug-in' irons without digital readouts fluctuate wildly and are not recommended for precise electronics work.
- Pinecil V2 (~$26): The ultimate budget smart-iron. Powered by USB-C PD (requires a 65W+ laptop charger), it features a RISC-V chip that recovers temperature instantly. You can set it to exactly 325°C and it holds that number flawlessly.
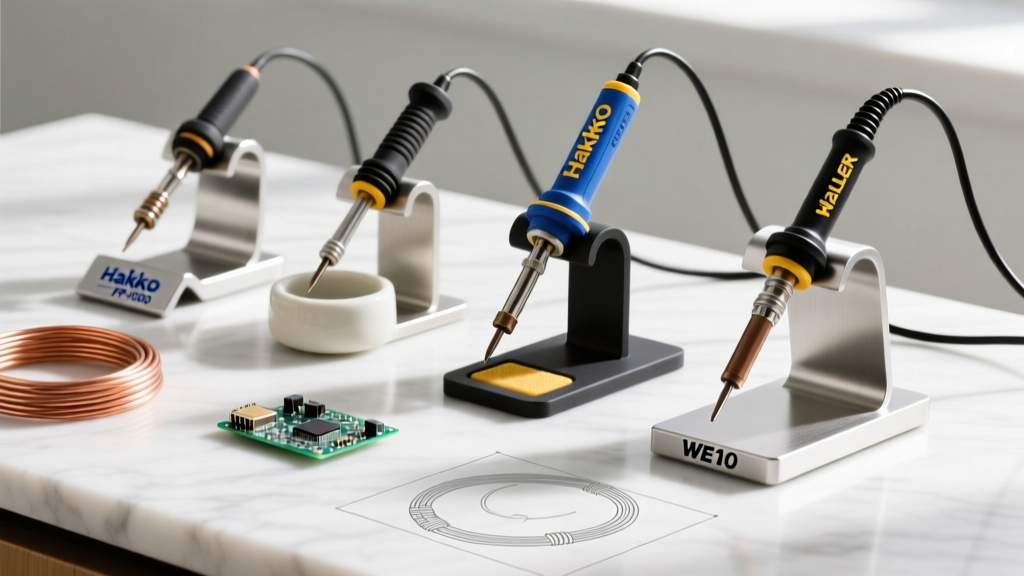
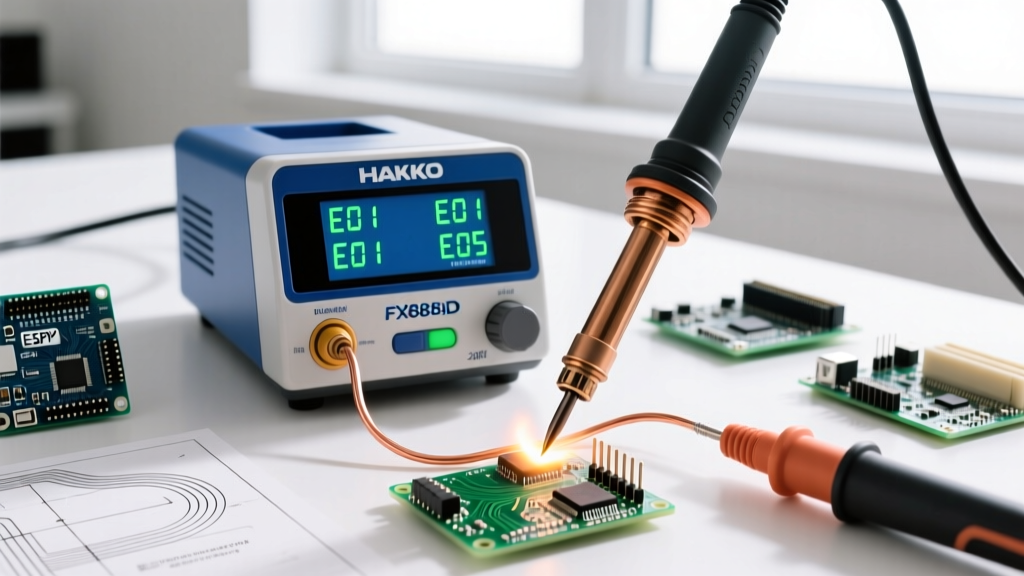
- Hakko FX-888D (~$110): The undisputed king of beginner bench stations. It uses the legendary T18 tip series, offers robust thermal recovery for through-hole work, and features a digital lock so you don't accidentally bump the temperature dial.
- Weller WE1010NA (~$115): A heavy-duty alternative to the Hakko with slightly faster thermal recovery and an intuitive LCD interface. Excellent for users who frequently switch between delicate SMD work and thicker wire harnesses.
Summary: The 3-Second Rule
Ultimately, answering 'what temp should soldering iron be' comes down to the 3-second rule. When you apply a properly tinned iron to a joint, the solder should flow smoothly and completely within 2 to 3 seconds. If it takes longer, your iron is too cold or your tip is too small. If it flows instantly but scorches the board, your iron is too hot. Start at 330°C (625°F) for standard leaded solder, observe the flow, and adjust in 10-degree increments until you achieve that perfect, shiny, concave fillet.
For further reading on professional soldering standards and acceptable joint criteria, refer to the IPC-J-STD-001 Requirements for Soldered Electrical and Electronic Assemblies, which dictates the industry benchmarks for thermal damage and wetting angles.