
The Art and Science of Plastic Fusion
When a plastic housing cracks, a bumper tab snaps, or a custom enclosure needs sealing, mechanical fasteners and superglue often fail under stress. The ultimate repair method is thermal fusion. Learning how to weld plastic with a soldering iron transforms broken thermoplastics into structurally sound, monolithic components. However, not all heat sources are created equal. In 2026, the market is split between budget-friendly modified electronics irons and premium, dedicated plastic contact welders. This analysis breaks down the thermodynamics, tooling, and practical execution of both approaches to help you choose the right setup for your workbench.
Understanding Thermoplastic Melt Zones
Unlike thermosets (like epoxy), thermoplastics can be repeatedly melted and reformed. Successful welding requires heating the base material and a compatible filler rod past their glass transition and melting temperatures without triggering thermal degradation. According to the The Welding Institute (TWI), precise temperature control is the single most critical factor in achieving high tensile strength in plastic welds. Overheating causes polymer chain scission, resulting in brittle, charred joints, while underheating leads to cold laps and delamination.
Budget Setup: The Modified Electronics Iron
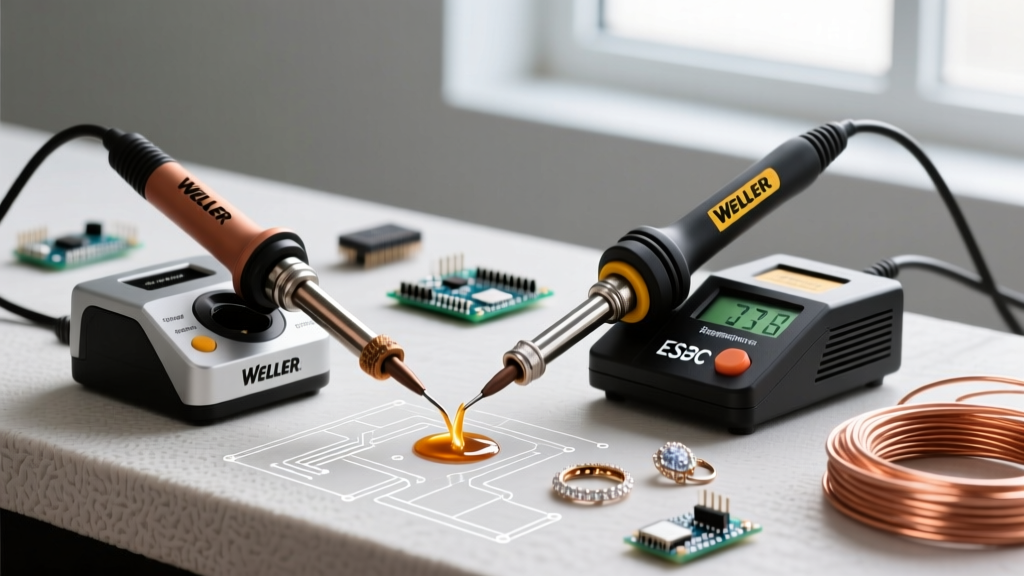
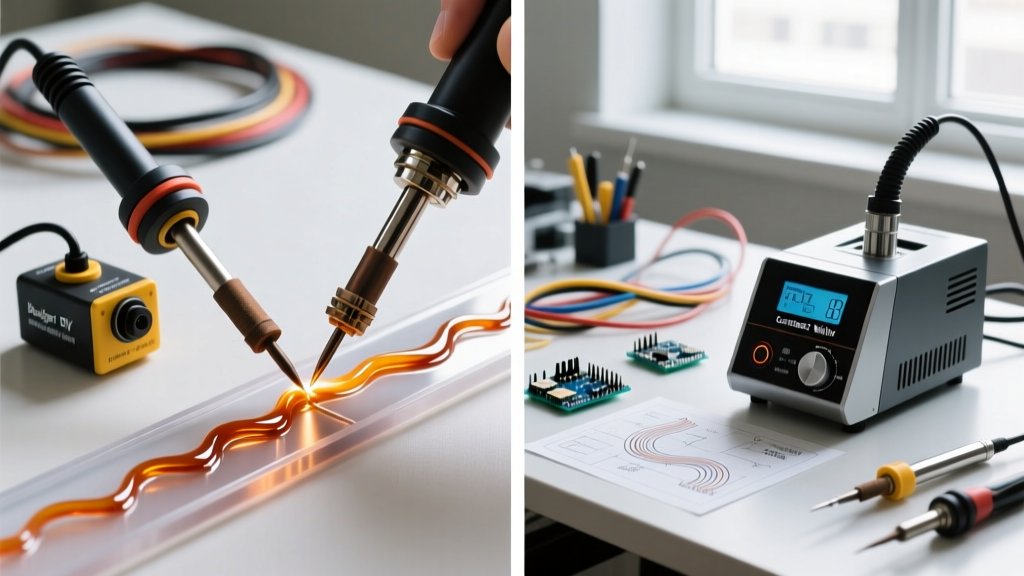
The budget route relies on repurposing a high-quality, adjustable-temperature electronics soldering station. The undisputed champion for this in 2026 remains the Hakko FX-601 (approx. $65-$75). While designed for solder, its 67W ceramic heater and adjustable dial (200°C–500°C) provide enough thermal mass for small-to-medium plastic repairs.
Required Modifications
You cannot use a standard conical or chisel soldering tip for plastic; molten polymer will carbonize and stick to the bare copper/iron plating, ruining the tip and the weld. You must modify your setup:
- Tip Flattening: File a standard heavy-duty chisel tip (like the Hakko A1524) completely flat to create a broad spatula surface.
- PTFE Barrier: Wrap the flattened tip in 2-3 layers of PTFE (Teflon) plumber's tape. This prevents the molten plastic from adhering to the metal.
- Filler Material: Use 3mm diameter thermoplastic welding rods or cut strips from scrap plastic of the exact same polymer blend.
Budget Pros and Cons
Pros: Extremely low entry cost (under $85 total); versatile (can still be used for electronics); lightweight and maneuverable in tight spaces.
Cons: Rapid thermal drop-off when touching cold plastic; PTFE tape degrades after 3-5 uses and must be replaced; limited to thin sections and small cracks.
Premium Setup: Dedicated Contact Welders
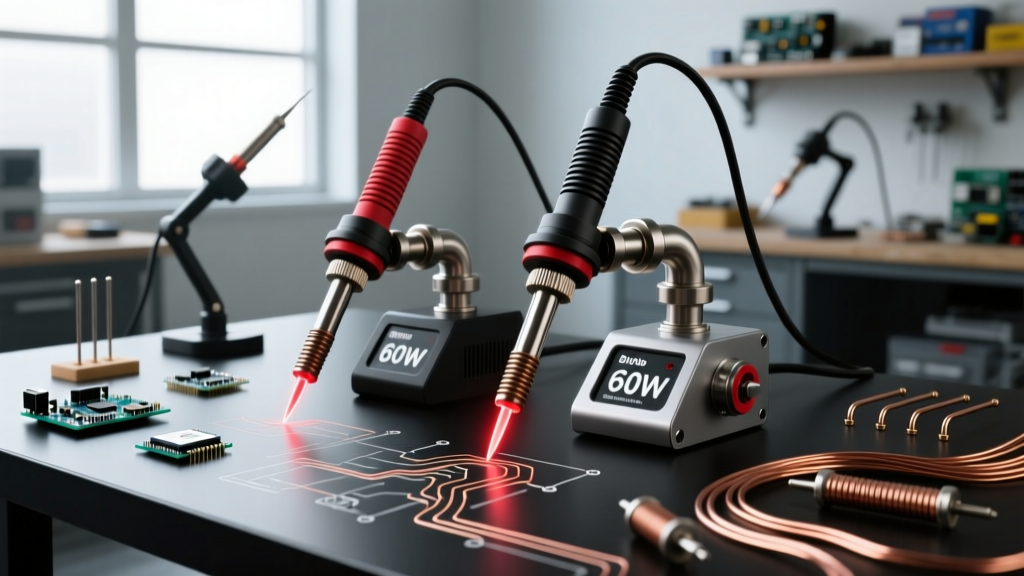
For professionals, automotive technicians, or heavy-duty fabricators, a modified electronics iron lacks the thermal recovery required for thick sections. Premium plastic welding irons, such as the Munsch MAK-2S (approx. $550-$650) or the Leister Pen (approx. $350), are engineered specifically for polymer fusion.
Why Premium Tools Dominate Heavy Repairs
The Munsch MAK-2S features a massive 300W heater and a solid, PTFE-coated spade tip. When you press a 300W iron into a thick piece of cold HDPE, the temperature drops instantly. A premium iron's high wattage and heavy thermal mass recover the set temperature within seconds, maintaining a consistent melt pool. Furthermore, factory-applied PTFE coatings eliminate the need for messy tape, and the ergonomic handles are designed to apply the 2-5 lbs of downward pressure required for contact welding without fatiguing the user.
Premium Pros and Cons
Pros: Flawless temperature recovery; durable, replaceable PTFE-coated spade and point tips; capable of welding thick structural components (up to 10mm+); superior joint penetration.
Cons: High initial investment; single-purpose tool; heavier and bulkier, making micro-repairs on delicate electronics housings difficult.
Head-to-Head Comparison Matrix
| Feature | Budget (Hakko FX-601 + DIY Tip) | Premium (Munsch MAK-2S) |
|---|---|---|
| Approximate Cost (2026) | $75 | $600 |
| Wattage / Thermal Mass | 67W / Low | 300W / High |
| Tip Coating | DIY PTFE Tape | Factory PTFE / Teflon |
| Best Use Case | Drone frames, RC cars, thin ABS enclosures | Auto bumpers, kayaks, industrial tanks |
| Thermal Recovery Speed | Slow (prone to cold joints on thick stock) | Instant (maintains deep melt pool) |
Step-by-Step: Executing the Plastic Weld
Regardless of whether you are using a $75 budget rig or a $600 premium station, the metallurgical principles of joint preparation remain identical.
- Identify the Polymer: Check the recycling stamp. ABS melts around 210°C–240°C, Polypropylene (PP) at 220°C–250°C, and HDPE at 200°C–230°C. Never mix different polymer types; they will not chemically bond.
- Prepare the V-Groove: Use a Dremel rotary tool with a V-groove burr bit to rout out the crack. Create a 60 to 90-degree bevel on both sides of the seam, leaving a 1mm flat root at the bottom. This provides a channel for the filler rod.
- Tack Weld: Set your iron to the correct temperature. Melt the base material at 2-inch intervals along the seam to tack the pieces together, preventing warping during the main weld.
- Lay the Melt Pool: Press the flat spade tip into the groove. Feed the 3mm filler rod directly into the leading edge of the iron, not behind it. You want the iron to melt both the base and the filler simultaneously, stirring them into a unified, glossy melt pool.
- Pace the Weld: Move at a steady pace of roughly 5 to 10 cm per minute. The resulting bead should be smooth, slightly proud of the surface, and free of bubbles.
- Press and Cool: Immediately after laying a section, press a flat PTFE sheet over the molten bead to flatten it and exclude oxygen, which accelerates oxidation and brittleness. Allow it to cool naturally to room temperature.
Troubleshooting Common Failure Modes
Even experienced fabricators encounter edge cases. Here is how to diagnose and fix the most common plastic welding failures:
Pro Tip: If your weld bead looks 'stringy' or leaves a trail of brown residue, your iron is too hot, or you are moving too slowly. You are burning the polymer chains. Drop the temperature by 15°C and increase your travel speed.
- Delamination (Cold Joints): The filler rod sat on top of the base material without fusing. Cause: Iron temperature too low, or insufficient downward pressure. Fix: Increase heat and ensure the iron tip is physically touching the base material, not just the filler rod.
- Voids and Inclusions: Air pockets trapped inside the weld. Cause: Moving the iron too fast, failing to 'stir' the melt pool, or moisture in the filler rod. Fix: Slow down, weave the tip slightly, and store filler rods in a dry environment.
- Warping and Shrinkage: The part bends out of shape after cooling. Cause: Uneven heat distribution or lack of tacking. Fix: Always tack weld the entire seam first, and weld in short, alternating segments rather than one continuous pass.
Safety and Fume Management
Welding plastic generates volatile organic compounds (VOCs) and microscopic particulates. While ABS and HDPE produce relatively mild, albeit unpleasant, fumes, welding Polyvinyl Chloride (PVC) releases hydrogen chloride gas, which is highly toxic and corrosive to both your lungs and your soldering iron tips. The Occupational Safety and Health Administration (OSHA) strictly outlines the respiratory hazards associated with thermal degradation of plastics in industrial settings. Always operate a localized fume extractor with an activated carbon filter positioned within 6 inches of the weld pool, and work in a well-ventilated area. Never attempt to weld PVC with a standard contact iron; use mechanical fasteners or specialized solvent cements instead.
Final Verdict: Which Setup Should You Choose?
If you are a hobbyist repairing 3D-printed ABS parts, RC car chassis, or household appliance housings, the budget Hakko FX-601 method is more than capable. The learning curve is slightly steeper due to thermal management, but the ROI is unbeatable. However, if you run an auto body shop, repair agricultural HDPE tanks, or frequently weld thick polypropylene structural components, the premium Munsch MAK-2S is a mandatory investment. The 300W thermal recovery and factory PTFE coatings will save you hours of frustration and yield professional-grade, structural welds every single time.