
Understanding the Soldering Gun: The Heavy-Duty Workhorse
If you have ever tried to solder a thick 10 AWG automotive battery cable or a stained-glass copper foil seam with a standard 40-watt pencil iron, you already know the frustration: the iron simply lacks the thermal mass to overcome the wire's heat dissipation. This is exactly where a soldering gun saves the day. But what is a soldering gun exactly, and how does it differ from the tools you use for delicate printed circuit boards (PCBs)?
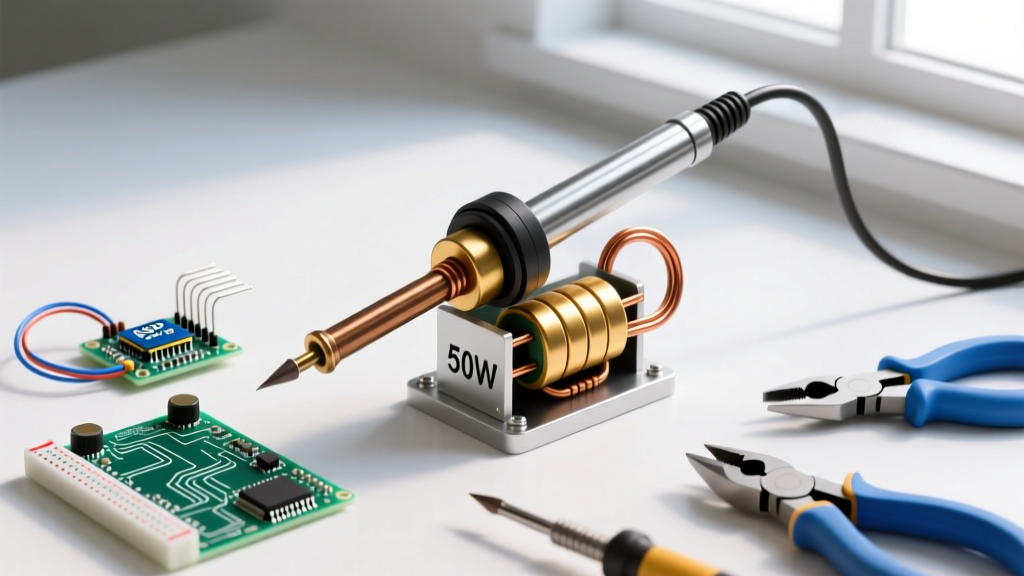
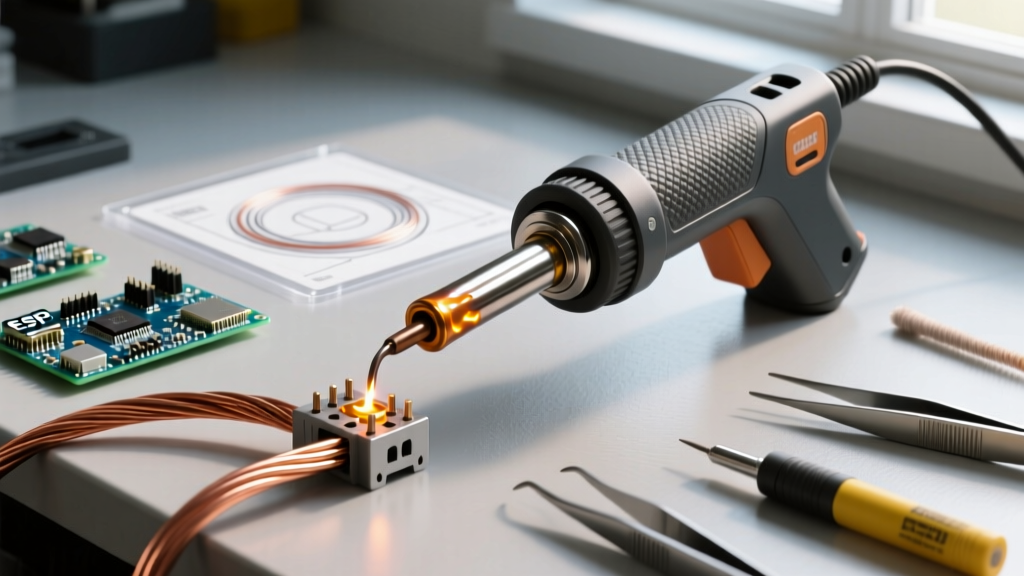
A soldering gun is a pistol-grip, trigger-operated soldering tool designed for heavy-duty, intermittent applications. Unlike a soldering iron, which uses a resistive ceramic heating element to slowly warm a metal barrel, a soldering gun utilizes an internal step-down transformer to generate massive electrical current. This allows the tool to heat up almost instantly and deliver the intense, localized thermal energy required to melt large volumes of solder on thick copper conductors, plumbing joints, and heavy mechanical connections.
The Physics Inside: How a Transformer-Based Gun Works
To truly master this tool, you must understand the physics driving it. As explained in the fundamental electrical theory resources at All About Circuits, transformers operate on the principle of electromagnetic induction. Inside the bulky housing of a soldering gun sits a laminated iron core wrapped with two distinct copper coils:
- The Primary Winding: This coil consists of hundreds of turns of thin wire connected to your standard 120V AC wall outlet.
- The Secondary Winding: This is typically a single, massive loop of thick copper tubing. Because it has drastically fewer turns than the primary coil, the voltage steps down to a fraction of a volt (usually around 0.25V to 0.5V), but the amperage steps up exponentially, often exceeding 200 to 300 amps.
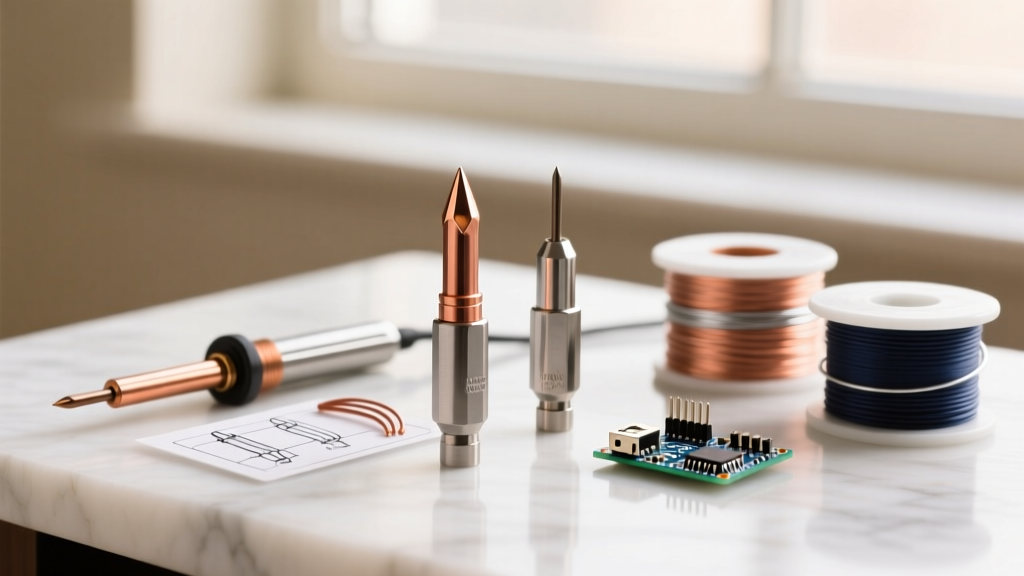
The soldering tip itself is a removable loop of heavy-gauge copper wire that completes this secondary circuit. When you pull the trigger, 200+ amps surge through the high-resistance tip loop. Through Joule heating ($I^2R$), this massive current generates immediate, intense heat right at the point of contact. When you release the trigger, the magnetic field collapses, and the tip cools rapidly, making it incredibly safe for intermittent use in tight spaces.
Soldering Gun vs. Soldering Iron: A Direct Comparison
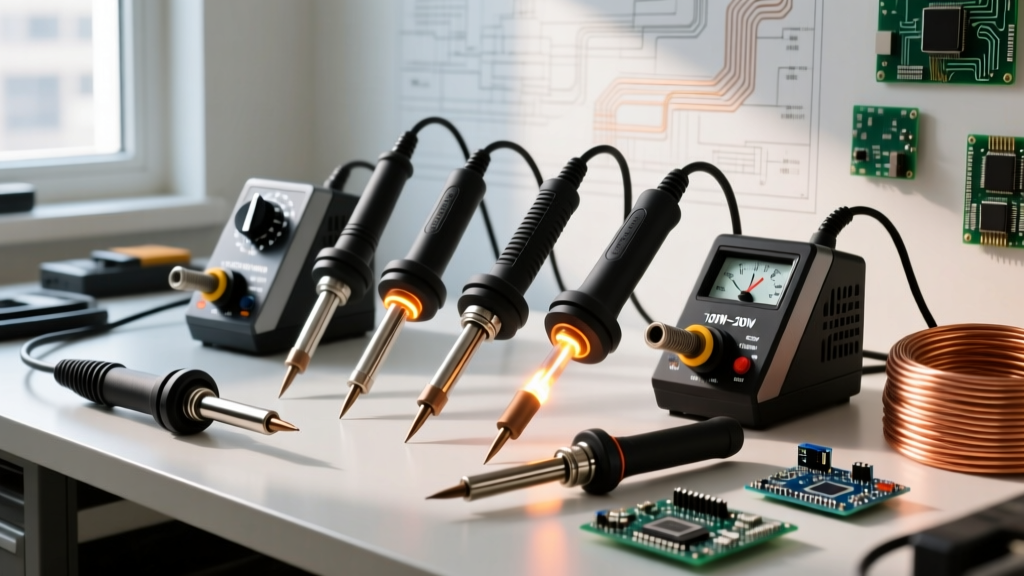
Choosing the wrong tool is the most common beginner mistake. Use an iron for heavy wire, and you will get a cold joint. Use a gun for a PCB, and you will lift the copper pads off the board. Here is how they stack up in 2026:
| Feature | Soldering Gun | Soldering Iron (Station) |
|---|---|---|
| Heating Mechanism | Step-down transformer (High Current) | Ceramic resistive heater |
| Heat-Up Time | 1 to 3 seconds | 15 to 45 seconds |
| Ideal Wire Gauge | 14 AWG to 4/0 AWG | 30 AWG to 16 AWG |
| Best Applications | Automotive, plumbing, stained glass, heavy connectors | PCBs, microcontrollers, SMD components, delicate wires |
| Temperature Control | Manual (via trigger feathering) | Precise digital/thermocouple feedback |
| Magnetic Field | High (can damage sensitive electronics) | Negligible |
Top Soldering Guns for Beginners and Professionals
When shopping for a soldering gun, industry leaders like Weller Tools remain the gold standard for transformer-based equipment. Here are the top models to consider for your workbench:
1. Weller D550PK (120V / 260W Professional Kit)
Price Range: $115 - $130
Best For: Heavy automotive wiring (4 AWG to 10 AWG) and large grounding lugs.
The Details: The D550 features a unique dual-trigger mechanism. Squeezing the trigger halfway engages a 200-watt setting for standard heavy wires; pulling it fully back kicks it into 260 watts for massive thermal loads. It includes a built-in LED work light to illuminate dark engine bays.
2. Weller 9400PKS (120V / 100W Hobbyist Kit)
Price Range: $60 - $75
Best For: Stained glass foil work, 14-18 AWG speaker wire, and RC battery connectors.
The Details: Lighter and more maneuverable than the D550, the 9400PKS is the perfect entry-level gun. It provides enough thermal punch to flow solder on 14 AWG wire without being so overpowering that it instantly melts the insulation on smaller gauge wires.
Step-by-Step Tutorial: Soldering an 8 AWG Battery Cable
To demonstrate proper technique, let us walk through terminating an 8 AWG copper cable with a ring terminal. According to the stringent workmanship guidelines outlined by NASA's technical standards for soldered connections, proper flux application and heat management are critical to preventing structural failure.
- Preparation: Strip exactly 3/4 inch of insulation from the 8 AWG wire. Do not nick the copper strands. Slide a piece of 3:1 shrink tubing with adhesive lining onto the wire.
- Fluxing: Apply a generous amount of liquid rosin flux (such as Kester 186) to the exposed copper strands and the inside of the ring terminal barrel. Never use plumbing acid flux on electrical connections.
- Pre-Tinning the Gun Tip: Pull the trigger for 2 seconds. Touch a thick stick of 60/40 rosin-core solder (0.062-inch diameter) to the tip loop to coat it in a shiny layer of molten solder. This improves thermal transfer.
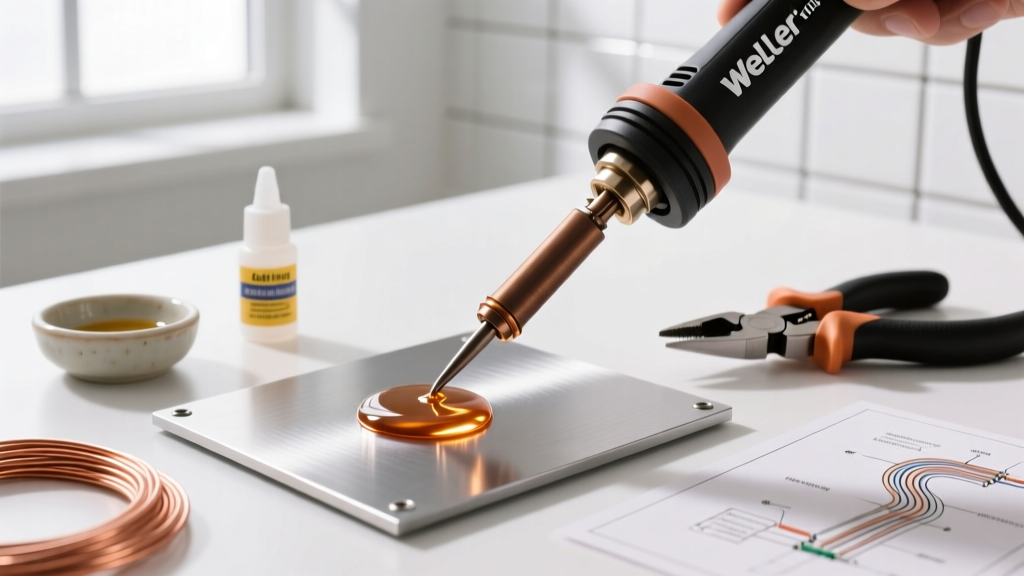
- Heating the Joint: Insert the wire into the terminal barrel. Press the pre-tinned gun tip directly against the copper strands and the brass barrel simultaneously. Hold for 3 to 5 seconds.
- Feeding Solder: While keeping the trigger pulled, touch your solder wire to the joint itself, not just the gun tip. The solder should flash and wick deep into the strands via capillary action. Feed about 1/2 inch of solder.
- Cooling: Release the trigger immediately. Do not move the wire. Hold it perfectly still for 4 to 6 seconds while the solder crystallizes.
Pro-Tip: If the solder forms a ball and rolls off the wire instead of wicking into the strands, you have a thermal deficit. The wire is acting as a massive heat sink. Keep the gun applied longer, or upgrade to a higher-wattage gun like the 325W Weller D6500.
Common Beginner Failure Modes and How to Avoid Them
Even with the right tool, poor technique will ruin your connection. Watch out for these specific failure modes:
Cold Joints from Premature Movement
If you bump the wire while the solder is transitioning from liquid to solid (the plastic phase), the internal crystalline structure fractures. This results in a 'cold joint,' which looks dull and grainy rather than shiny and smooth. Cold joints have high electrical resistance and will eventually arc and melt under high current loads.
Insulation Melt-Back
Leaving the trigger pulled for more than 10 seconds on 14 AWG or smaller wire will cause the heat to travel down the copper via thermal conductivity, melting the PVC insulation far back from the joint. To prevent this, use a heat sink clamp or wrap a damp rag around the insulation boundary.
Tip Leaching and Pitting
The tip of a soldering gun is bare copper. If you leave the trigger pulled and hold the tip in a puddle of molten solder for extended periods, the solder will dissolve the copper tip (a process called leaching). Over time, the tip will pit, thin out, and eventually snap. Always release the trigger the exact second the solder wicks into the joint.
Frequently Asked Questions
Can I use a soldering gun on a circuit board?
No. The intense, unregulated heat will instantly lift the copper traces off the fiberglass substrate. Furthermore, the strong electromagnetic field generated by the transformer can induce voltage spikes that destroy sensitive microchips and MOSFETs.
Do I need to tin the tip of a soldering gun?
Yes, but differently than an iron. Because the tip is a replaceable copper wire loop, you should pre-tin it with fresh solder right before making a joint to ensure maximum thermal conductivity, then wipe it on a damp brass sponge before storing.
What type of solder is best for soldering guns?
For heavy electrical work, use a thick diameter (0.062" to 0.125") 60/40 (Tin/Lead) rosin-core solder. Lead-free solders require higher temperatures and have poorer wetting characteristics, making them much more difficult to use with the rapid heat cycles of a manual soldering gun.