
The Enduring Legacy of the Weller WLC100 in 2026
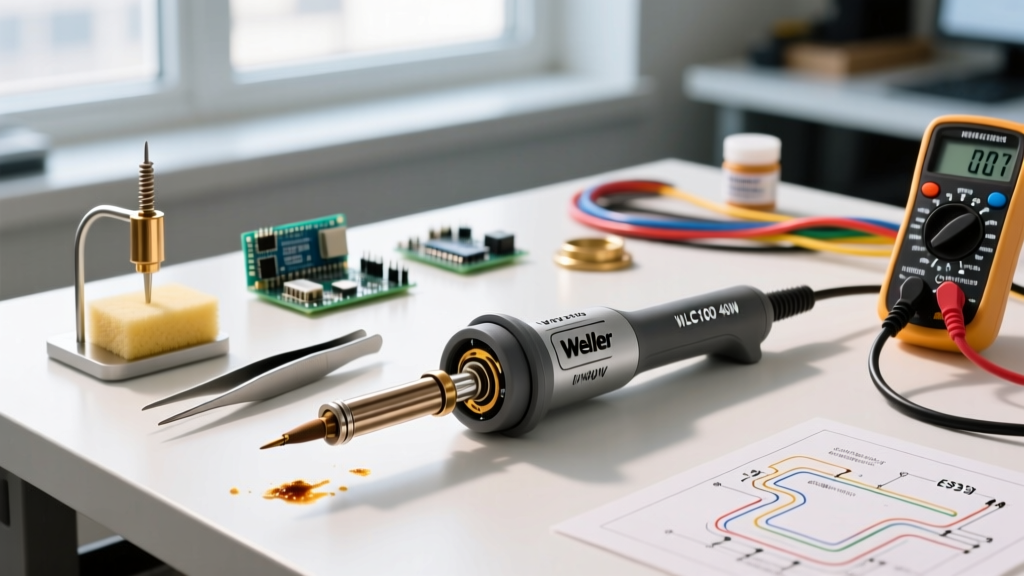
Even as digitally controlled soldering stations dominate the modern electronics workbench, the Weller WLC100 40 watt soldering iron remains a legendary workhorse for heavy-duty through-hole soldering, wire tinning, and DIY plumbing tasks. Its analog variable-temperature design relies on raw thermal mass and a robust phase-control circuit rather than delicate microprocessors. However, because many of these units have been in continuous rotation for years, they are prone to specific analog failure modes. Whether your iron is refusing to heat, fluctuating wildly, or destroying tips through oxidation, this comprehensive troubleshooting guide will help you diagnose, repair, and maintain your WLC100 to factory specifications.
Expert Insight: The WLC100 does not use a closed-loop thermocouple feedback system like modern digital stations. Instead, it uses a phase-angle control circuit to chop the AC sine wave, delivering variable RMS voltage to the nichrome heating element. Understanding this analog architecture is the key to accurate troubleshooting.
Diagnostic Matrix: Symptom to Solution
Before reaching for a screwdriver, use this diagnostic table to isolate the failure point of your Weller WLC100 40 watt soldering iron.
| Observed Symptom | Probable Root Cause | Required Action / Test |
|---|---|---|
| Iron is completely dead (no heat) | Open heating element or broken cord strain relief | Multimeter continuity test at the plug and element leads |
| Temperature surges or dial has a 'dead zone' | Oxidized or worn carbon track in the potentiometer | Chemical cleaning with contact cleaner (DeoxIT D5) |
| Tips turn black and refuse to tin | Set screw overtightened, cracking the ceramic barrel | Inspect ceramic heater for fractures; replace if cracked |
| Iron only heats on 'High' setting | Failed TRIAC or DIAC in the phase-control circuit | Component-level PCB testing and semiconductor replacement |
| Excessive melting of the plastic handle | Thermal runaway due to shorted TRIAC | Immediate unplugging; replace TRIAC and inspect PCB |
Testing the 40-Watt Nichrome Heating Element
The most common cause of a completely dead WLC100 is a burned-out nichrome wire heating element. To verify this, you need a digital multimeter. According to Fluke's guide on testing resistance, you must ensure the circuit is completely isolated and powered off before measuring ohms.
The Resistance Math
The WLC100 is rated at 40 watts at 120V AC (North American model). Using the electrical power formula P = V² / R, we can calculate the expected resistance of the heating element:
- Voltage (V): 120
- Power (P): 40W
- Resistance (R): 120² / 40 = 14,400 / 40 = 360 Ohms
Because nichrome wire has a slight positive temperature coefficient, a cold element will typically read between 320 and 350 Ohms at room temperature.
Step-by-Step Element Verification
- Unplug the iron and allow it to cool completely.
- Remove the ST series tip and the set screw.
- Unscrew the cord grip at the base of the handle and carefully slide the bakelite/plastic handle shell backward to expose the internal PCB and heater leads.
- Locate the two wires connecting the heating element to the main board. Desolder or disconnect them to isolate the element from the TRIAC circuit.
- Set your multimeter to the Ohms (Ω) setting (use the 2k range).
- Place the probes on the two element leads. A reading of ~330Ω means the element is healthy. A reading of 'OL' (Open Loop) means the internal wire has snapped and the element must be replaced.
Fixing the Variable Power Dial (Potentiometer Failures)
If your Weller WLC100 40 watt soldering iron only heats up when the dial is turned past the number 7, or if the temperature surges erratically, the internal potentiometer is likely suffering from carbon track oxidation or mechanical wear. The WLC100 uses a 250K-ohm potentiometer to adjust the RC time constant that triggers the DIAC, which subsequently fires the main TRIAC.
The DeoxIT Restoration Method
Do not immediately replace the potentiometer. In 90% of cases, the carbon track is simply dirty. You can restore it using a high-quality contact conditioner like DeoxIT D5 (D5S-6 aerosol or pen).
- Access the internal PCB by removing the handle shell.
- Locate the potentiometer (the cylindrical component directly behind the dial knob).
- Apply a small, targeted burst of DeoxIT D5 into the small ventilation slots on the side of the potentiometer casing.
- Rotate the dial from minimum to maximum 50 to 60 times. This mechanical friction, combined with the solvent, strips away the oxidized carbon layer and re-establishes a smooth electrical sweep.
- Follow up with a burst of compressed air to displace any excess fluid, reassemble, and test.
ST Series Tip Care and the Set Screw Pitfall
The WLC100 utilizes Weller's ST series tips (such as the ST6 1/4-inch chisel or the ST7 3/32-inch conical tip). These tips slide directly over a fragile alumina ceramic heater barrel. The most catastrophic maintenance error DIYers make is overtightening the tiny set screw that secures the tip.
Why Ceramic Barrels Crack
When you apply excessive torque to the set screw with a standard metal jeweler's screwdriver, the point-load pressure crushes the brittle ceramic barrel beneath the steel tip. A micro-fracture forms. As the iron cycles through heating and cooling, this fracture expands, eventually severing the nichrome wire inside or causing a short circuit to the metal tip.
- The Rule of Thumb: Insert the tip, thread the set screw by hand until it makes contact with the tip, and then tighten it only 1/8th of a turn further with a screwdriver. The thermal expansion of the steel tip will lock it in place during operation.
- Thermal Compound Trick: Before inserting a new ST tip, apply a microscopic dab of high-temperature copper anti-seize or specialized thermal paste to the outside of the ceramic barrel. This fills microscopic air gaps, vastly improving thermal transfer and preventing the tip from seizing to the ceramic due to flux corrosion.
For deeper insights on maintaining tip integrity and preventing oxidation, refer to the IPC standards for electronic assemblies, which outline strict protocols for tip tinning and flux residue removal to ensure compliant solder joints.
Safe Teardown and Internal Cleaning
Routine maintenance of the WLC100 involves clearing out vaporized flux residue that accumulates inside the handle over years of use. This residue is mildly conductive and highly corrosive, potentially causing leakage currents across the TRIAC gate.
When performing internal cleaning, always work in a well-ventilated area. As noted by the NIOSH guidelines on soldering safety, disturbing baked-on rosin and synthetic flux residues can release volatile organic compounds (VOCs) and colophony dust, which are known respiratory sensitizers.
- Remove the two recessed screws holding the handle halves together (if your specific WLC100 revision uses a clamshell design) or slide the barrel off the cord grip.
- Use a soft-bristled ESD-safe brush dipped in 99% isopropyl alcohol to gently scrub the PCB.
- Pay special attention to the area around the TRIAC heat sink and the potentiometer pins.
- Inspect the cord strain relief. If the rubber grommet is cracked or the wires show copper fatigue near the bend radius, cut back the cord by one inch, strip the jacket, and re-terminate to prevent a lethal short circuit.
When to Retire the WLC100 in 2026
The Weller WLC100 40 watt soldering iron is highly repairable, but economic limits exist. As of 2026, a brand-new WLC100 retails between $50 and $65, while an OEM replacement heating element costs around $15 to $20.
If your iron requires a new heating element, a replacement potentiometer, and a new set of ST tips, the combined cost of parts will approach the price of a new unit. Furthermore, if the bakelite handle shows signs of thermal warping or the internal PCB has suffered severe flux corrosion that lifts the copper traces, it is time to retire the tool. However, for an iron that simply suffers from a dirty dial or a fractured cord grip, a 30-minute troubleshooting session using the methods above will easily add another decade of life to this classic analog soldering station.