
The Reality of Unregulated 30W Soldering
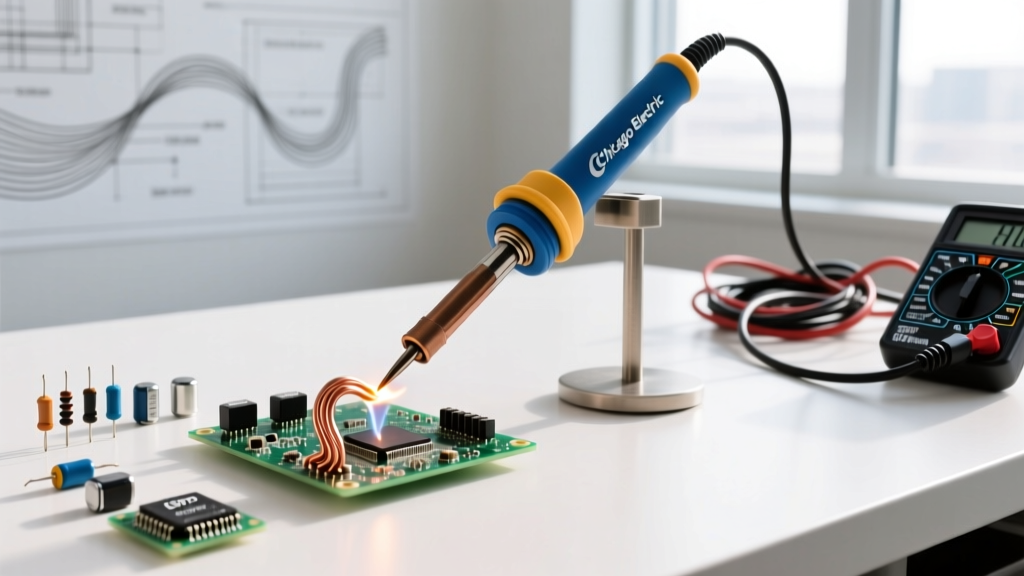
The Chicago Electric 30 watt lightweight soldering iron (frequently found at Harbor Freight under item numbers like 61633 or 61203) is a staple for beginners, quick household repairs, and budget-conscious hobbyists. Priced around $7.99 in 2026, it offers undeniable accessibility. However, from an engineering perspective, it presents a unique set of thermal challenges. Unlike modern digital stations with closed-loop thermocouple feedback, this is a fixed-wattage, unregulated stick iron.
When left idle in its holder, the tip temperature of an unregulated 30W iron can creep past 420°C (788°F). When it touches a cold, high-thermal-mass copper pad, the temperature plummets, and the iron lacks the immediate wattage reserve to recover quickly. Mastering this tool requires abandoning the 'hold and wait' approach and adopting advanced heat-transfer techniques. This guide details the exact metallurgical and procedural adjustments required to produce IPC-compliant joints using this budget tool.
Essential Preparation: Beating the Oxidation Curve
The primary failure mode of the Chicago Electric 30 watt lightweight soldering iron is rapid tip oxidation. At idle temperatures exceeding 400°C, the protective iron plating on the copper core reacts with atmospheric oxygen and the tin in your solder, forming a crust of tin-oxide and iron-oxide. This crust acts as a thermal insulator, effectively rendering the iron useless.
The Brass Wool Mandate
Never use a wet cellulose sponge with this specific iron. When a 420°C tip hits a wet sponge, the sudden thermal shock causes microscopic fracturing in the iron plating, accelerating core degradation. Furthermore, the massive temperature drop forces the unregulated heating element to overwork once it recovers.
- Use Dry Brass Wool: A coiled brass wire sponge (like the Hakko 599B or generic equivalents) cleans the tip via mechanical abrasion without dropping the tip temperature below the melting point of your solder.
- The 'Always Tinned' Rule: Never leave the tip bare. Before placing the iron in its holder, melt a generous blob of 63/37 rosin-core solder over the entire working surface. This sacrificial layer oxidizes instead of the tip's plating.
Alloy Selection: Why 63/37 Eutectic is Mandatory
Because the Chicago Electric iron struggles with thermal recovery on large ground planes, your choice of solder alloy is critical. Do not use lead-free SAC305 (Tin/Silver/Copper) with this tool. SAC305 has a melting point of 217°C–220°C and a 'pasty' phase that invites cold joints when heat recovery is slow.
Expert Recommendation: Exclusively use 63/37 Sn/Pb Eutectic Solder (Tin 63% / Lead 37%). Eutectic solder melts and freezes at a single, precise temperature: 183°C (361°F). It has no plastic/pasty phase, meaning the joint solidifies instantly, drastically reducing the risk of disturbance fractures during the cooling phase.Advanced Heat Transfer: The Solder Bridge Method
When working with unregulated irons, air is your enemy. Air is a thermal insulator. If you press the bare metal tip against a round component lead and a flat PCB pad, the actual surface contact area is microscopically small, resulting in poor heat transfer.
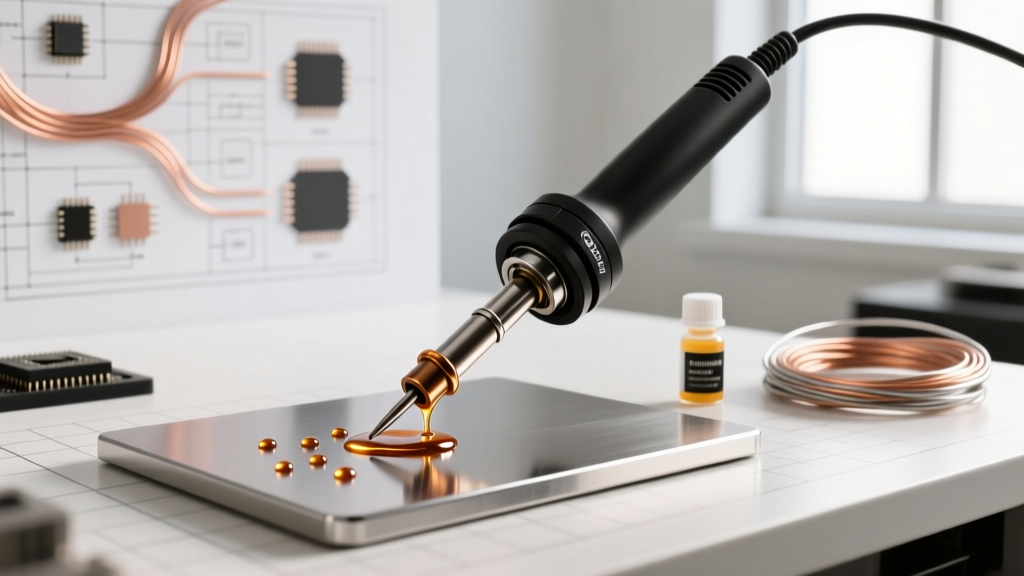
To bypass the thermal recovery limitations of the Chicago Electric 30 watt lightweight soldering iron, you must use the Solder Bridge Technique:
- Pre-tin the Tip: Melt a tiny, fresh dab of solder directly onto the iron's tip right before touching the joint.
- Bridge the Gap: Place the tinned tip so the molten blob physically touches both the component lead and the PCB pad simultaneously.
- Thermal Conduction: The molten solder acts as a liquid thermal conductor, instantly transferring heat into both surfaces far faster than solid metal-to-metal contact.
- Feed the Joint: Once the pad and lead reach 183°C (usually within 1 second), apply your main solder wire to the joint, not the iron.
Dwell Time and Thermal Mass Matrix
According to the NASA-STD-8739.3 Workmanship Training Manual, excessive dwell time degrades the intermetallic bond and risks delaminating the copper pad from the FR-4 fiberglass substrate. Because a 30W iron recovers heat slowly, technicians often hold the iron too long, waiting for the solder to flow. This is a critical error. Refer to the matrix below for maximum safe dwell times.
| Pad Diameter | Component Type | Max Dwell Time | Required Technique |
|---|---|---|---|
| 0.8mm - 1.2mm | Standard ICs, Resistors, Small Caps | 2.0 Seconds | Standard Bridge |
| 1.5mm - 2.0mm | TO-220 Transistors, Large Diodes | 3.0 Seconds | Bridge + Pre-heated Lead |
| 2.5mm+ | Connectors, Heavy Ground Planes | 4.5 Seconds | Bridge + External Flux + Pre-tin Pad |
Flux Selection for High-Idle Temperatures
The rosin core inside standard budget solder wire is designed to activate around 150°C and boil off rapidly above 300°C. Since the Chicago Electric iron idles at 400°C+, the internal flux is often vaporized the millisecond it touches the tip, leaving you with bare, oxidizing metal on the joint.
The Solution: You must supplement with external flux. Apply a high-quality, no-clean tacky flux (such as MG Chemicals 8341 or Amtech NC-559) to the pad and lead before applying heat. The external flux creates a protective blanket that prevents oxidation while the 30W element slowly recovers its thermal equilibrium.
Step-by-Step Through-Hole Joint Execution
Follow this precise choreography to ensure reliable, shiny, concave fillets compliant with IPC J-STD-001 Class 2 standards:
- Flux (0s): Dab a small amount of external tacky flux onto the through-hole barrel and lead.
- Bridge (1s): Apply the pre-tinned tip to the pad and lead simultaneously.
- Feed (2s): Touch the 63/37 solder wire to the opposite side of the joint (away from the iron). Capillary action will pull the molten solder through the plated through-hole (PTH).
- Flow (3s): Remove the solder wire, but leave the iron for exactly one more second to allow the flux to fully activate and the fillet to smooth out.
- Withdraw (4s): Pull the iron away at a 45-degree angle. Do not blow on the joint; let it cool naturally.
Common Failure Modes and Troubleshooting
1. The 'Icicle' or Solder Ball
Cause: The pad did not reach 183°C. The solder melted on the iron tip and simply dripped onto the cooler pad, failing to wet the copper.
Fix: Your tip is likely oxidized, or you skipped the Solder Bridge technique. Clean with brass wool, re-tin, and use the liquid thermal bridge method.
2. Disturbed / Frosty Joint
Cause: The component moved while the 60/40 or lead-free solder was in its plastic/pasty phase during the slow cooling process.
Fix: Switch to 63/37 eutectic solder. Secure the component mechanically (using a third-hand tool or tape) before soldering.
3. Lifted Copper Pad
Cause: Exceeding the 4.5-second dwell time on a standard FR-4 board, causing the epoxy resin to exceed its glass transition temperature (Tg) and release the copper foil.
Fix: If the pad lifts, stop immediately. You will need to route a jumper wire using 30 AWG Kynar wire to the next available via or trace. Never attempt to glue a lifted pad back down for electrical reliance.
Prolonging Tip Life on a Budget Iron
The replacement tips for the Chicago Electric 30 watt lightweight soldering iron are inexpensive, but constantly swapping them interrupts workflow and introduces variability. To maximize the lifespan of the factory tip:
- Use a Smart Plug: Plug the iron into a $10 smart plug or a mechanical timer set to 30-minute intervals. This prevents the iron from idling at 420°C for hours if you forget to turn it off, which is the number one cause of catastrophic tip pitting.
- Never Use Abrasives: Sandpaper, files, or Dremel tools will instantly destroy the 0.1mm iron plating, exposing the copper core to molten tin, which will dissolve the core in a matter of hours.
- Match the Tip to the Task: Use the fine conical tip exclusively for 0805/0603 SMD work and small ICs. Swap to the chisel tip for through-hole components and thicker wires. The chisel tip offers vastly superior thermal mass transfer for a 30W heater.
Final Verdict: The Chicago Electric 30 watt lightweight soldering iron is not a precision instrument, but it is a highly capable thermal tool when operated within its physical limitations. By leveraging eutectic alloys, external flux, and the solder bridge technique, you can achieve professional-grade, structurally sound electrical connections without investing in a $150 digital station.