
The Physics of the Heat Sink: Why Glass Art Demands More
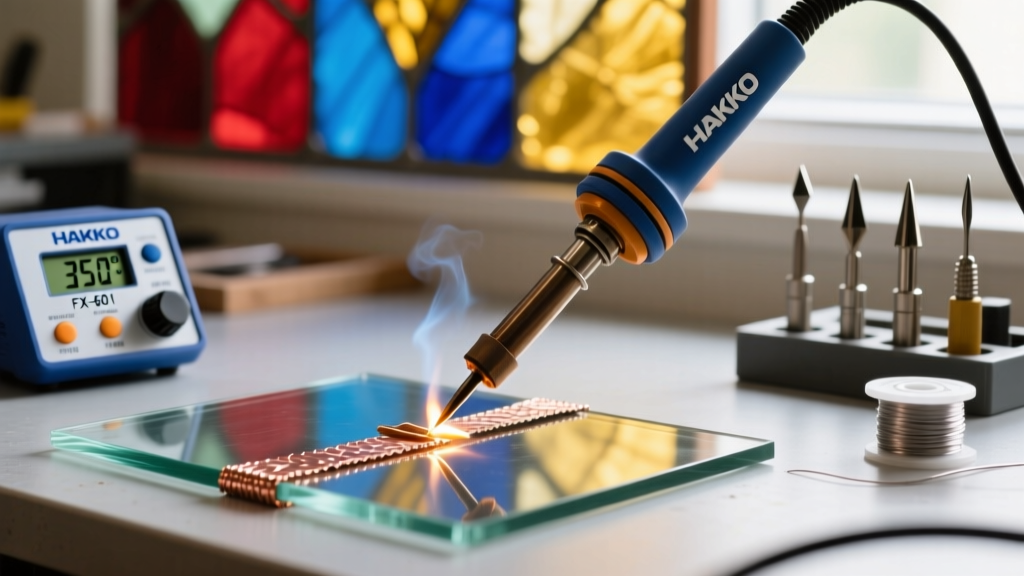
Soldering stained glass is fundamentally different from assembling printed circuit boards. When you apply a Weller stained glass soldering iron to a copper-foiled glass seam, you are not just melting solder; you are fighting a massive thermal sink. Glass is an insulator, but the copper foil wrapping it acts as a rapid heat dissipater. Standard 40-watt electronics irons suffer from immediate thermal droop upon contact, resulting in cold, grainy joints and uneven bead profiles.
To achieve the signature smooth, convex 'bead' expected in professional glass art, your iron must possess high thermal mass and rapid recovery. As of 2026, the Weller lineup remains the benchmark for artisan glass workers, provided the tool is configured and maintained correctly. Below, we break down the exact metallurgical, mechanical, and procedural specifications required to master your Weller iron.
Choosing the Right Weller Model for Your Studio
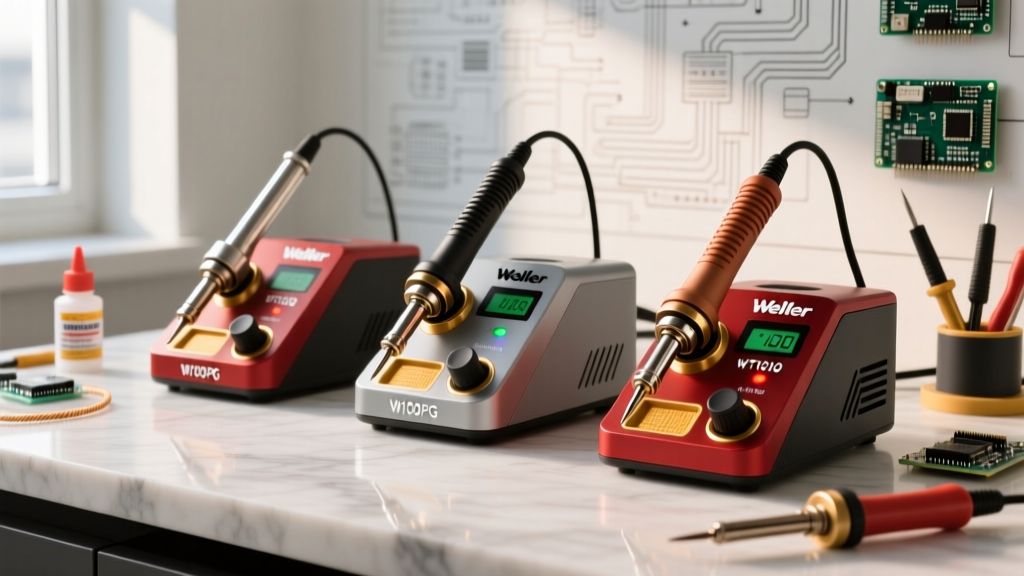
Weller offers several heavy-duty irons, but selecting the correct wattage and thermal profile is critical for your specific workload. Here is a comparison of the most prevalent models used in modern glass studios:
| Model | Wattage | Temperature Profile | Avg. Price (2026) | Best Application |
|---|---|---|---|---|
| Weller SP80NKUS | 80W | Fixed (~900°F / 482°C) | $55 - $65 | Sun catchers, small panels, hobbyists |
| Weller 100PG | 100W | Fixed (~900°F / 482°C) | $140 - $160 | Large architectural panels, continuous seams |
| Weller WLC100 | 40-100W | Variable (Dial) | $70 - $85 | Mixed-media artists, variable foil thicknesses |
Expert Insight: For any panel exceeding 2 square feet, the Weller 100PG is mandatory. The 100-watt element ensures that when the iron rests on a long seam, the internal heating core can outpace the heat absorption of the glass and copper, maintaining a stable tip temperature of roughly 600°F to 700°F at the contact point.
Tip Geometry and Thermal Transfer
The tip you choose dictates your heat transfer efficiency. According to Weller Tools engineering guidelines, maximizing the surface area contact between the tip and the copper foil is paramount.
- 1/4" Chisel Tip (e.g., Weller SP1 or 100-series equivalent): The standard for flat seams. The broad, flat face allows for maximum thermal transfer and easy manipulation of the solder pool.
- Bevel / Hoof Tip: Preferred for 'came' work (lead or zinc channels) and deep inside corners where a flat chisel cannot make full contact.
- Conical / Pointed Tips: Avoid these entirely for stained glass. They concentrate heat into too small an area, risking thermal shock to the glass (cracking) while failing to heat the surrounding foil adequately.
Solder Alloys and Flux Chemistry
Unlike electronics soldering, which relies on rosin-core solder, stained glass requires solid-core wire solder paired with an external liquid or gel flux. The American Glass Guild (AGG) and major suppliers like Delphi Glass recommend specific alloy ratios based on the desired finish and working time.
The 60/40 vs. 50/50 Debate
60/40 Solder (60% Tin, 40% Lead): Melts at roughly 370°F (188°C). It has a shorter 'plastic range' (the window between solid and liquid), meaning it freezes quickly. This is ideal for building high, rounded convex beads on flat seams and for 3D soldering (like jewelry boxes or lampshades) where you need the solder to hold its shape immediately.
50/50 Solder (50% Tin, 50% Lead): Melts at roughly 421°F (216°C) with a wider plastic range. It flows flatter and smoother, making it the preferred choice for the 'tinning' phase (coating the flat copper foil before building the bead) and for decorative soldering techniques.
Flux Selection
Never use acid paste meant for plumbing. For copper foil, use a liquid or gel flux specifically formulated for glass art, such as Novacan Super Pro Gel or Kwik-Clean. Gel fluxes are superior in 2026 studio environments because they cling to vertical seams on lampshades without running off the workpiece.
Step-by-Step: Achieving the Perfect Convex Bead
Achieving a uniform, rounded bead requires a specific choreography of heat, feed rate, and angle. Follow this exact sequence:
- Prep and Flux: Ensure the copper foil is burnished completely flat. Apply a generous, even coat of gel flux to a 6-inch section of the seam.
- Tack and Tin: Using 50/50 solder, lightly 'tin' the foil. Melt a thin layer of solder flat across the copper. This creates a metallurgical bond and pre-heats the glass edge.
- Build the Bead (60/40): Switch to 60/40 solder for the final bead. Hold the Weller iron at a 45-degree angle. Rest the flat face of the 1/4" chisel tip on the tinned seam.
- Feed Rate: Feed the solder wire directly into the joint between the tip and the foil, not onto the iron itself. The flux should sizzle and bubble actively.
- The 'Pull': Move the iron steadily backward (pulling toward you). If the bead is flat, you are moving too fast or lack heat. If the solder pools and spills over the foil edge, you are moving too slow or applying too much solder.
Pro-Tip for Thermal Shock: Never let the 900°F iron rest stationary on the glass. If you need to pause, lift the iron and rest it in its brass wool holder. Stationary contact will cause localized thermal expansion and crack your expensive art glass instantly.
Advanced Troubleshooting & Failure Modes
Even with a premium Weller stained glass soldering iron, environmental and procedural variables can cause defects. Here is how to diagnose and fix the most common studio issues:
1. Grainy or Dull Solder Joints
Cause: A 'cold joint.' The iron temperature dropped below the alloy's flow point, or the flux burned off before the solder fully wetted the copper.
Fix: Clean the tip in brass wool, re-flux the area heavily, and re-run the seam with a slower travel speed. Ensure your Weller 100PG element is fully seated in the wand.
2. Solder Spilling Over the Foil Edge
Cause: Overheating the foil or using too much solder. The surface tension breaks, and the solder cascades down the side of the glass.
Fix: Increase your travel speed. If working on a steep angle (like a lampshade), switch to 60/40 solder which freezes faster, or lower the temperature slightly if using a variable Weller WLC100 station.
3. Pitting and Tip Degradation
Cause: Using damp sponges to clean the tip. The rapid thermal contraction from a wet sponge causes micro-fractures in the iron plating, allowing the molten solder to eat into the copper core of the tip.
Fix: Never use water. Exclusively use dry brass wool (like the Weller WDC1) to clean the tip. Always leave a thick coat of solder on the tip when powering down to prevent oxidation.
Frequently Asked Questions (Expert Insights)
Can I use lead-free solder for stained glass?
Yes, but it requires a fundamentally different approach. Lead-free alloys (like Sn96 or specific copper-tin blends) melt at much higher temperatures (often above 440°F / 227°C) and do not wet copper foil as easily. If your studio requires lead-free work for environmental compliance, you must use a specialized lead-free flux and ensure your Weller iron is operating at its maximum thermal recovery threshold to prevent severe cold joints.
Why is my flux leaving a black, crusty residue?
You are moving too slowly, or your iron is running too hot for the specific flux chemistry. When flux is exposed to 700°F+ temperatures for prolonged periods, the chemical activators carbonize. This black crust prevents solder adhesion. Clean it immediately with a dedicated flux remover or warm water and a soft brush, then re-flux and re-solder.
How often should I replace the heating element?
Weller elements are highly durable. In a professional studio running 8 hours a day, 5 days a week, expect to replace the element in a Weller 100PG every 12 to 18 months. For hobbyists, the element will likely outlast the glass cutter. You will know the element is failing when the iron takes longer than 2 minutes to reach working temperature or struggles to recover heat on long, continuous seams.
Final Thoughts on Studio Setup
Investing in a high-quality Weller stained glass soldering iron is only the first step. True mastery comes from understanding the interplay between thermal mass, alloy chemistry, and physical technique. By pairing the raw 100-watt power of the Weller 100PG with the correct 1/4" chisel tip, premium 60/40 solid-core solder, and a disciplined 'pull' technique, you will consistently produce structural, luminous, and perfectly rounded solder beads that elevate your glass art to a professional gallery standard.