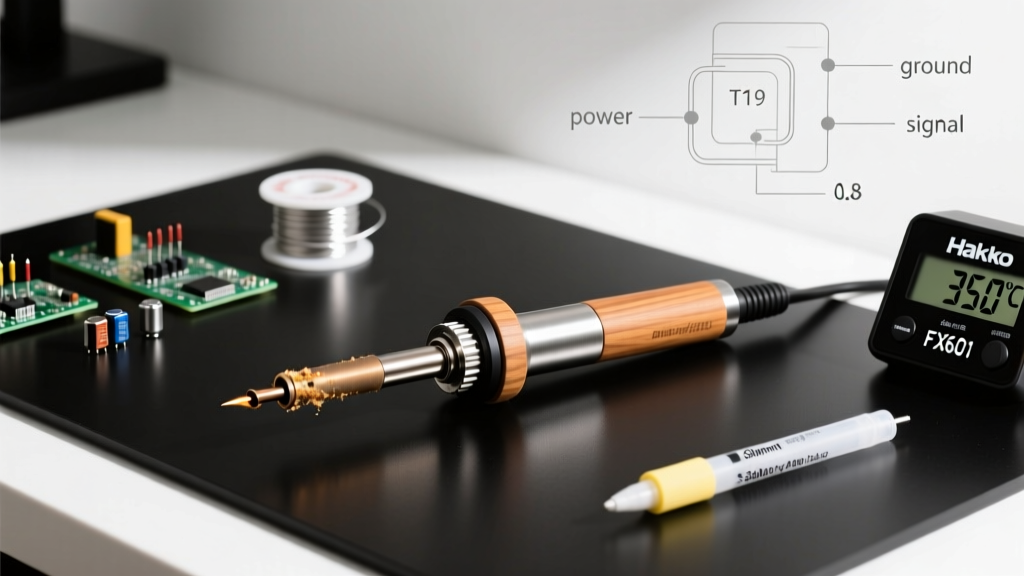

Transitioning from cheap, unregulated plug-in irons to a temperature-controlled station is the single biggest upgrade a beginner can make in electronics assembly. The Hakko FX601 soldering iron occupies a unique sweet spot in the 2026 market: it offers professional-grade thermal recovery and build quality without the footprint or cost of a full digital bench station. Retailing between $75 and $89, this 67-watt adjustable iron is widely considered the ultimate bridge between hobbyist toys and industrial gear.
This comprehensive beginner guide will walk you through the exact setup, temperature mapping, and maintenance routines required to get flawless, IPC-compliant solder joints right out of the box.
Why the Hakko FX601 Beats Unregulated Irons
Standard $15 soldering irons operate on a simple resistive wire that continuously pumps heat until the tip reaches a thermal equilibrium—often exceeding 900°F (480°C). This destroys flux, oxidizes tips instantly, and lifts delicate copper pads off printed circuit boards (PCBs).
The FX601 utilizes a closed-loop ceramic heating element. A sensor embedded near the tip continuously monitors the thermal mass and pulses the 67W heater to maintain your exact dialed temperature. When you touch a cold, large ground plane, the iron detects the temperature drop and instantly injects more wattage to compensate. This thermal recovery is what allows you to solder heavy gauge wires and delicate 0805 surface-mount components with the same tool.
The Analog Dial: Understanding Your Temperature Control
Unlike the digital FX888D station, the FX601 features an analog dial located on the side of the ergonomic grip. The dial spans from 390°F to 890°F (200°C to 470°C).
Because it is an analog dial, it lacks a digital readout. Beginners often make the mistake of cranking the dial to the maximum setting, assuming 'hotter is faster.' In reality, excessive heat rapidly degrades the iron plating on your tip. For 90% of standard through-hole and wire-tinning tasks, the dial should sit right in the middle—around the 3 o'clock position, which correlates to roughly 680°F (360°C).
Crucial Distinction: T19 vs T18 Tips
One of the most common beginner mistakes when buying replacement parts for the Hakko FX601 is ordering the wrong tips. The FX601 uses the T19 series composite tips, not the T18 series used by the FX888D and FX600.
The T19 tip architecture is a marvel of metallurgical engineering:
- Copper Core: Provides rapid thermal conductivity from the ceramic heater to the workpiece.
- Iron Plating: A thick layer of iron over the working end prevents the molten solder from dissolving the copper core (a common failure in cheap tips).
- Chrome Shank: The back half of the tip is chrome-plated to prevent solder from creeping up the shaft and damaging the heater.
- Pre-Tinned Working End: Factory-coated with a specialized alloy to ensure immediate wetting upon first use.
Recommended First T19 Tips for Beginners
- T19-D16 (1.6mm Chisel): The absolute best all-rounder. The flat face provides excellent surface area for heat transfer on standard DIP IC pins and 22AWG wires.
- T19-D24 (2.4mm Chisel): Ideal for larger through-hole components, thick ground wires, and basic plumbing or stained-glass foil work (a secondary use case for the FX601's higher wattage).
- T19-B (Conical): Often included in the box, but generally avoid this tip for PCB work. Conical tips have poor thermal transfer due to the minimal surface area touching the pad. Save it only for tight, hard-to-reach jumper wires.
Step-by-Step Initial Setup
Proper assembly ensures the ceramic heater isn't damaged before your first joint.
- Insert the Heater: Slide the ceramic heating element into the wand assembly. Handle it by the metal base, never by the fragile white ceramic tube. Dropping the wand can fracture the ceramic, causing an immediate open-circuit failure.
- Slide on the Tip: Gently slide your chosen T19 tip over the heating element. Ensure it seats fully against the internal stopper.
- Secure the Nut: Thread the aluminum retaining nut onto the wand. Tighten it only finger-tight. Using pliers will crush the tip sleeve and restrict thermal expansion, leading to premature tip failure.
- Pre-Tin Immediately: Plug the iron in and set the dial to the 3 o'clock position. The moment the tip is hot enough to melt solder (usually within 20 seconds), apply a generous amount of rosin-core solder to the entire working surface. This prevents instant oxidation from the ambient air.
Temperature Cheat Sheet for Common Tasks
Use this reference matrix to set your FX601 analog dial based on the thermal mass of your target. These settings assume the use of standard 63/37 leaded solder.
| Task / Component | Thermal Mass | FX601 Dial Position | Approx. Temp |
|---|---|---|---|
| 0805 / 0603 SMD Resistors | Very Low | 12 o'clock | 570°F (300°C) |
| Standard DIP ICs & 22AWG Wire | Low / Medium | 3 o'clock | 680°F (360°C) |
| Large Capacitors & 16AWG Wire | Medium / High | 4 o'clock | 750°F (400°C) |
| Heavy Ground Planes / XT90 Connectors | Very High | 5 o'clock | 820°F (435°C) |
Solder Alloy and Flux Selection
Your iron is only half the equation. The SparkFun soldering tutorial emphasizes that beginners should start with eutectic leaded solder to learn proper wetting mechanics before tackling lead-free requirements.
For the FX601, the ideal beginner solder is Sn63Pb37 (63% Tin, 37% Lead) with a 2% to 3% rosin flux core. The eutectic nature of this alloy means it transitions from solid to liquid at a single, precise temperature (361°F / 183°C) without a 'plastic' or pasty phase. This eliminates cold joints caused by moving the wire while the solder is cooling.
If you are restricted to lead-free environments, opt for SAC305 (Sn96.5/Ag3.0/Cu0.5). Be aware that SAC305 requires higher temperatures (push the FX601 dial to 4 o'clock) and is notoriously harsh on tip plating, meaning you will need to replace your T19 tips more frequently.
Common Failure Modes & Troubleshooting
Even with premium Japanese engineering, user error can cause the FX601 to underperform. Here is how to diagnose the most frequent beginner issues:
The Tip Turns Black and Solder Balls Up
Cause: Oxidation. This happens when the iron is left on at high temperatures without use, or if you are using cheap, acid-core plumbing solder on electronics.
Fix: Turn the dial down to the minimum setting. While the tip is still warm, use a damp (not soaking wet) cellulose sponge or a brass wire tip tinner to scrub the oxidation. Immediately apply fresh, high-quality rosin-core solder to re-tin the surface. Never use sandpaper or a file on a T19 tip; you will file through the iron plating and ruin the copper core instantly.
The Light is On, But the Tip is Cold
Cause: Ceramic heater fracture or a broken cord connection.
Fix: Unplug the unit. Unscrew the wand and inspect the white ceramic tube for hairline cracks. If cracked, you must order a replacement Hakko B5039 heating element. If the ceramic is intact, check the strain relief where the cord enters the wand handle; aggressive pulling often breaks the internal wiring here.
Solder Sticks to the Tip but Won't Flow to the Pad
Cause: Insufficient thermal transfer or lack of flux.
Fix: You are likely using a conical tip (T19-B) or the pad is heavily oxidized. Switch to a T19-D16 chisel tip to maximize surface contact. Apply external no-clean flux (like Amtech or MG Chemicals) to the pad before touching it with the iron. The flux chemically removes the oxidation layer, allowing the molten solder to alloy with the copper.
Pro Tip: Always keep a small roll of brass wool (specifically designed for soldering, not kitchen scrubbing) on your bench. Wiping your tip in brass wool between joints removes oxidized flux residue without shocking the tip with the sudden temperature drop caused by a wet sponge.
Final Thoughts on the FX601
The Hakko FX601 remains a cornerstone of the electronics workbench in 2026. By respecting the analog temperature dial, investing in the correct T19 chisel tips, and maintaining a strict tinning routine, this iron will easily last a decade of daily use. Master these fundamentals, and you will transition from frustrating, blobby solder joints to crisp, shiny, and structurally sound connections that meet professional Hakko and IPC standards.