
Why Every Beginner Needs a Soldering Hot Air Gun
Transitioning from through-hole components to Surface Mount Devices (SMD) is a major milestone for any electronics hobbyist or junior technician. While a traditional soldering iron is excellent for discrete wiring and large-pitch components, it becomes virtually useless when dealing with QFN (Quad Flat No-leads) packages, BGAs (Ball Grid Arrays), or dense 0402 passives. This is where a soldering hot air gun (often part of a hot air rework station) becomes mandatory.
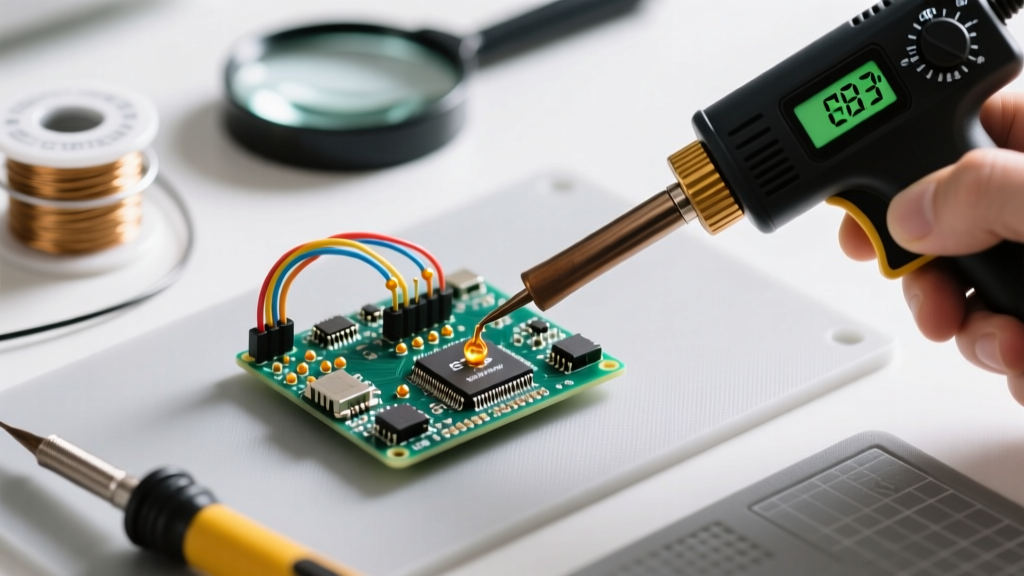
A hot air rework station uses a focused stream of heated air to melt solder paste or reflow existing solder joints uniformly across all pins of an IC simultaneously. In 2026, mastering this tool is no longer optional for advanced DIYers; it is the fundamental bridge between basic circuit assembly and professional-grade PCB rework and repair.
Choosing Your First Station: 2026 Market Snapshot
The market for rework stations has matured significantly. PID (Proportional-Integral-Derivative) temperature controllers, once reserved for $1,000+ industrial units, are now standard in the prosumer tier. Below is a comparison of the most reliable entry-level to mid-tier stations available today.
| Model | Target User | Avg. Price (2026) | Max Airflow | Temp Control | Key Feature |
|---|---|---|---|---|---|
| Yihua 858D | Absolute Beginner | $55 - $65 | 120 L/min | Analog Dial | Ultra-budget, simple interface |
| Quick 861DW | Prosumer / Serious DIY | $275 - $295 | 130 L/min | Digital PID | 3 programmable channels, rapid heat-up |
| Hakko FR-810B | Professional / Lab | $620 - $680 | 110 L/min | Closed-Loop | Auto-sleep, highly precise thermal recovery |
Recommendation: If your budget allows, skip the analog dial models. The Quick 861DW remains the undisputed champion for beginners who want professional results without industrial pricing. Its digital PID loop maintains the nozzle temperature within ±2°C, preventing the thermal runaway that often destroys sensitive silicon.
The Physics of Hot Air: Temperature vs. Airflow
The most common beginner mistake is treating a hot air gun like a hair dryer: cranking the temperature to 450°C and the airflow to maximum. This approach will blow tiny components off the board, scorch the FR4 fiberglass, and potentially delaminate the PCB layers.
Understanding the Thermal Delta
The temperature you set on the station is the nozzle temperature, not the board temperature. Air is a poor conductor of heat. If you set your gun to 350°C, the PCB surface might only reach 240°C by the time the air crosses the 10mm gap from the nozzle. Lead-free solder (like SAC305) has a liquidus point of 217°C–220°C. Therefore, a nozzle setting of 320°C–360°C is typically required to achieve a board-level reflow temperature of 230°C.
Airflow Dynamics
- Low Airflow (20-40 L/min): Use for small passives (0402, 0603), SOT-23 transistors, and tight spaces. Prevents the 'tombstoning' effect where surface tension pulls a component upright.
- Medium Airflow (40-70 L/min): Ideal for standard SOIC-8, SOP-16, and QFP chips.
- High Airflow (80-120 L/min): Reserved for large ground planes, thick multi-layer boards, or removing heavy connectors. High airflow carries more thermal mass to the board.
Step-by-Step: Desoldering an SOIC-8 Chip Safely
Let us walk through a practical scenario: removing an 8-pin SOIC flash memory chip from a 2-layer PCB without lifting the copper pads.
- Prep and Shield: Apply a strip of polyimide (Kapton) tape around the IC to protect surrounding plastic connectors and smaller passives from accidental heat exposure. Do not use standard electrical tape or painter's tape, as they will melt and leave adhesive residue.
- Apply Flux: Dispense a generous amount of tacky flux (e.g., Chip Quik SMD291AX or Amtech NC-559-V2-TF) over all eight pins. Flux lowers the surface tension of the solder and prevents oxidation during heating. This step is non-negotiable.
- Set Parameters: Configure your station to 340°C and 45 L/min. Use an 8mm round nozzle, which closely matches the physical footprint of an SOIC-8 package.
- The Heating Pattern: Hold the nozzle 10mm to 15mm above the board. Move the gun in a slow, continuous circular motion over the chip. Never hold the gun completely still, as localized hot spots will burn the silicon die inside the IC.
- Monitor the Reflow: After 15 to 25 seconds, you will see the flux boil and bubble, followed by a sudden 'wet' shine as the solder melts. Gently nudge the chip with fine-point titanium tweezers. If it slides freely on the pads, the solder is fully liquid.
- Extraction: Lift the chip straight up. Turn off the hot air gun immediately to allow the board's pads to cool and solidify naturally.
Pro Tip: Titanium tweezers are vastly superior to stainless steel for hot air work. Titanium has a much lower thermal conductivity, meaning the heat from the IC will not travel up the tweezers and burn your fingers or act as a heatsink that cools the component prematurely.
Critical Failure Modes and Edge Cases
Even with the right settings, beginners frequently encounter specific physical failure modes. Understanding these will save you hours of frustration.
1. Pad Lifting and Trace Ripping
The Cause: Applying mechanical force with tweezers before the solder has reached a complete liquidus state across all pins. If even one pin is still solid, pulling the chip will rip the copper pad off the FR4 substrate.
The Fix: Patience. Add 5 more seconds of heat and test with a gentle nudge. If a pad does lift, you will need to perform a trace repair using 30 AWG enameled copper wire and UV-curable solder mask.
2. IC 'Popcorning'
The Cause: Moisture trapped inside the plastic epoxy body of an IC turns to steam when exposed to 240°C+ heat. The expanding steam cracks the IC from the inside out, often with an audible 'pop'.
The Fix: If you are working on boards that have been stored in humid environments, pre-bake the PCB in a dedicated convection oven (or a modified food dehydrator) at 125°C for 4 to 8 hours before applying hot air.
3. Tombstoning Passives
The Cause: Heating a tiny 0402 capacitor unevenly. If one pad melts before the other, the surface tension of the liquid solder on the melted side will pull the component upright, standing it like a tombstone.
The Fix: Use a smaller nozzle (4mm), lower the airflow to 25 L/min, and ensure your circular heating pattern is perfectly centered over the component.
Health, Safety, and ESD Protocols
Operating a soldering hot air gun generates hazards that extend beyond simple burns. Proper laboratory hygiene is critical.
Fume Extraction is Mandatory
The vaporized flux from hot air rework contains colophony (rosin) and various volatile organic compounds (VOCs). According to the National Institute for Occupational Safety and Health (NIOSH), exposure to rosin-based solder flux fumes is a known respiratory sensitizer and can trigger occupational asthma. You must use an active HEPA and activated carbon fume extractor positioned within 6 inches of the work area. A simple desk fan blowing the smoke away is entirely insufficient and merely redistributes the particulates.
Electrostatic Discharge (ESD) Mitigation
Modern microcontrollers and MOSFETs are highly susceptible to ESD damage. The rapid flow of dry, heated air across a plastic IC package can generate a significant triboelectric charge. As outlined in the fundamentals by the ESD Association, uncontrolled static discharges can punch microscopic holes in silicon gate oxides, leading to latent failures that pass initial testing but kill the device weeks later. Always work on a grounded ESD mat, wear a grounded wrist strap, and ensure your hot air rework station's handpiece and nozzle are properly earthed to the station's chassis ground.
Maintenance: Extending Nozzle Life
Hot air nozzles oxidize rapidly due to constant high-heat exposure. Oxidation acts as a thermal insulator, severely degrading your station's ability to transfer heat to the board.
After every session, while the nozzle is still warm (around 100°C), wipe it down with a damp cellulose sponge or a brass wire tip cleaner. Never use sandpaper, files, or abrasive scouring pads, as these will strip the protective iron plating off the nozzle and destroy it within a week. If heavy black oxidation builds up, use a specialized chemical tip tinner and activator paste to restore the surface.
Final Thoughts
Mastering the soldering hot air gun requires a shift in mindset from point-contact heating to volumetric thermal management. By respecting the relationship between airflow, thermal mass, and flux chemistry, beginners can quickly achieve rework results that rival professional assembly houses. Start with scrap boards, practice your circular heating patterns, and let the flux do the heavy lifting.