
The Thermal Reality of Modern Soldering
As the electronics industry continues to standardize around lead-free SAC305 and SAC405 alloys in 2026, the thermal demands on your workbench have increased significantly. Unlike legacy 60/40 tin-lead solder which flowed easily at 300°C, modern lead-free pastes require tip temperatures routinely sitting between 350°C and 380°C (662°F to 716°F). At these extreme temperatures, a poorly engineered DIY soldering iron holder is not just a workspace nuisance; it is a severe fire hazard, a source of toxic off-gassing, and a threat to your PCBs.
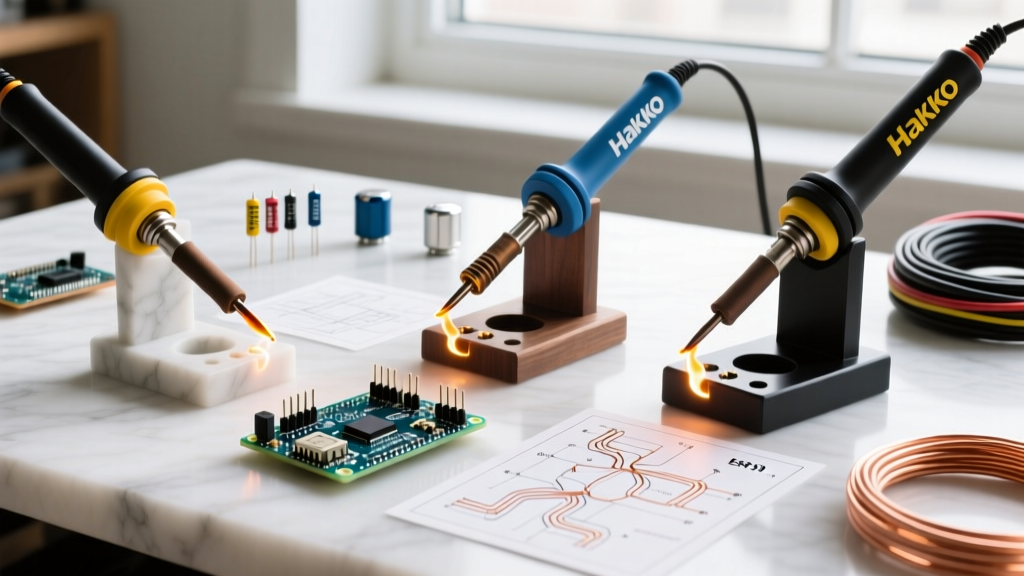
While commercial holders are mass-produced to meet strict safety standards, the maker community has developed several ingenious DIY alternatives. But how do these custom builds actually perform against the industry baseline when subjected to sustained high-heat cycles and heavy silicone cords? Below, we compare three popular DIY soldering iron holder builds against the commercial gold standards to determine which approach deserves a permanent spot on your ESD-safe mat.
The Commercial Baseline: Hakko 602 vs. Weller WDH10T
Before dissecting DIY methods, we must establish the benchmark. The Hakko 602 and the Weller WDH10T are the undisputed heavyweights of commercial soldering iron rests.
- Hakko 602 ($12 - $15): Features a die-cast zinc base for a low center of gravity, a rolled steel holster, and a recessed cavity for a brass wire sponge. It is virtually indestructible and dissipates incidental heat contact instantly.
- Weller WDH10T ($25 - $32): Designed for the higher-thermal-mass Weller irons, this holder utilizes a heavy-duty stainless steel cradle and an integrated halogen-free thermoplastic base that resists warping up to 150°C ambient.
Baseline Verdict: Commercial holders excel in tipping resistance and integrated tip-cleaning. However, they lack customization for odd-shaped handles (like the elongated Pinecil or TS101 smart irons) and take up a fixed footprint.
DIY Build 1: The Hardwood and Brass Tube Jig
This build bridges traditional woodworking with thermal engineering, creating a highly stable, aesthetically pleasing rest.
Materials and Dimensions
- 1x Hardwood block (Oak or Walnut), cut to 4 x 3 x 2 inches.
- 1x 1/2-inch OD (Outside Diameter) brass tube, 4 inches long.
- 1x Stainless steel pot scrubber (for the base cavity).
Construction Specifics
The critical engineering flaw in most wooden holders is drilling the hole parallel to the desk. This forces the iron tip to rest directly against the wood, causing charring and eventual ignition. The correct approach is to drill a 1/2-inch hole at a 15-degree upward angle. The brass tube is pressed into this hole. Because brass is an excellent thermal conductor, it acts as a heat sink, pulling ambient heat away from the wood grain. A 1-inch deep, 2-inch wide Forstner bit cavity is drilled into the base to house the stainless steel scrubber for tip tinning.
Performance and Edge Cases
Wood does not melt, making it immune to the catastrophic failures seen in 3D printing. However, oak is porous. Over time, flux splatter and rosin smoke will stain the wood and create a sticky residue. Furthermore, if the iron is dropped into the tube so that the ceramic heating element touches the brass, the thermal transfer can still scorch the surrounding wood after 20 minutes of continuous contact.
DIY Build 2: The 3D-Printed Polycarbonate Cradle
With desktop 3D printers ubiquitous in modern labs, printing a custom holster tailored exactly to your iron's handle geometry is highly tempting. But material science dictates strict limitations here.
CRITICAL MATERIAL WARNING: Never use PLA or standard ABS for a soldering iron holder. PLA has a glass transition temperature (Tg) of roughly 60°C. The radiant heat from a 380°C iron tip will warp a PLA cradle in under 45 seconds, potentially dropping the live iron onto your lap.The Polycarbonate (PC) Solution
To survive the radiant heat of lead-free soldering, you must print in Polycarbonate (Tg ~115°C) or high-temp resin. According to the Prusa PETG and High-Temp Material Guide, even PETG (Tg ~80°C) is risky if the design lacks adequate air gaps. If you must use PETG, the design requires a minimum 25mm radial air gap between the resting tip and any plastic surface.
Design Parameters
The optimal 3D-printed design uses a V-channel cradle rather than a fully enclosed tube. A V-channel allows convective airflow to cool the iron shaft and prevents heat from pooling inside a cylinder. Print at 100% infill in the base to maximize weight, and embed steel washers into the bottom layer during printing to lower the center of gravity and prevent tipping when pulling on heavy silicone cords.
DIY Build 3: Heavy-Gauge Wire and Steel Wool Matrix
For the scrappy engineer who needs a solution today using only the contents of a junk drawer, the wire-matrix build offers surprising thermal superiority.
Build Steps
- Cut a 24-inch length of 8 AWG bare copper wire or 12 AWG aluminum wire.
- Wrap the wire tightly around a 2-inch diameter PVC pipe to create a heavy-duty coil, then slide the PVC out.
- Bend the terminal ends downward at 90-degree angles to act as stabilizing feet.
- Stuff the center of the coil with a Grade #0000 stainless steel wool pad.
Thermal Dynamics
This design mimics the expensive brass wire sponges found in high-end Metcal stations. The thick copper/aluminum wire absorbs radiant heat and dissipates it across a massive surface area, while the steel wool provides an abrasive, non-thermal-shocking surface to clean oxidized tips. Because it is mostly empty space, it poses zero risk of melting or charring. The primary drawback is aesthetics and the tendency for the steel wool to shed microscopic metal fibers onto your workbench, which can cause short circuits on dense SMD boards.
Head-to-Head Comparison Matrix
| Holder Type | Material Cost | Max Safe Temp (Radiant) | Tipping Resistance | Tip Cleaning Integration |
|---|---|---|---|---|
| Commercial (Hakko 602) | $12.00 - $15.00 | 450°C+ | Excellent (Die-cast zinc) | Excellent (Brass sponge) |
| DIY Hardwood & Brass | ~$8.50 | 250°C (Direct contact) | Good (Depends on block mass) | Fair (Steel scrubber) |
| DIY 3D Printed (PC) | ~$3.00 (Filament) | 115°C (Glass Transition) | Poor (Requires added weights) | None (Requires separate pad) |
| DIY Wire Matrix | ~$4.00 | 400°C+ | Fair (Low profile base) | Excellent (Steel wool core) |
Critical Failure Modes and Safety Edge Cases
When evaluating any DIY soldering iron holder, you must account for mechanical failure modes that commercial engineers design against. The most common is the cord-whip effect. High-wattage stations (like the Weller WE1010 or JBC CD-2BQF) use thick, grounded, silicone-jacketed cords. These cords possess high memory and stiffness. If your DIY holder lacks sufficient mass or a wide footprint, simply turning the iron handle slightly will cause the stiff cord to sweep the holder off the desk.
Furthermore, OSHA guidelines on hand and power tools emphasize the necessity of stable resting points for thermal tools to prevent workplace burns. A DIY holder that requires the user to carefully 'thread' the iron into a tight tube distracts from the soldering process and increases the likelihood of dropping a 380°C tool. V-channel or open-cradle designs are vastly superior for ergonomic safety, allowing the user to drop the iron into the rest using peripheral vision alone.
Frequently Asked Questions
Can I use a standard metal soup can as a soldering iron holder?
While a tin can survive the heat, it is incredibly lightweight and highly prone to tipping. Additionally, the thin steel of a soup can offers poor thermal mass; if the heating element rests against the side, the exterior of the can will rapidly reach temperatures capable of causing second-degree burns or igniting paper schematics resting nearby.
Does the type of steel wool matter for tip cleaning?
Absolutely. You must use stainless steel wool. Standard carbon steel wool (often sold for woodworking or pan scrubbing) will rust rapidly when exposed to ambient humidity and acidic flux vapors. This rust will transfer to your soldering tip, causing pitting and destroying the iron plating.
What is the ideal angle for a DIY iron holster?
Engineering tests show that a 15 to 20-degree upward tilt is optimal. This angle keeps the hot tip suspended in the air (preventing workbench scorching) while ensuring that any liquid flux or molten solder drips flow downward, away from the iron's ceramic heating element and internal wiring.
The Expert Verdict
If you are running a professional repair depot or dealing with high-density BGA rework where tip maintenance is critical, stick to the commercial Hakko 602 or upgrade to a JBC-style modular stand. The $15 investment guarantees stability and integrated brass-wool cleaning.
However, for the home hobbyist building custom mechanical keyboards or repairing vintage audio gear, the Hardwood and Brass Tube Jig offers the best balance of thermal safety, workbench aesthetics, and heavy-cord stability. If you own a 3D printer and need a specialized rest for a smart iron like the TS101, a Polycarbonate V-Channel cradle with embedded steel weights is a highly functional, customized alternative—provided you strictly respect the material's thermal limits.