
Why Your Weller Station Needs a Dedicated Safety Rest
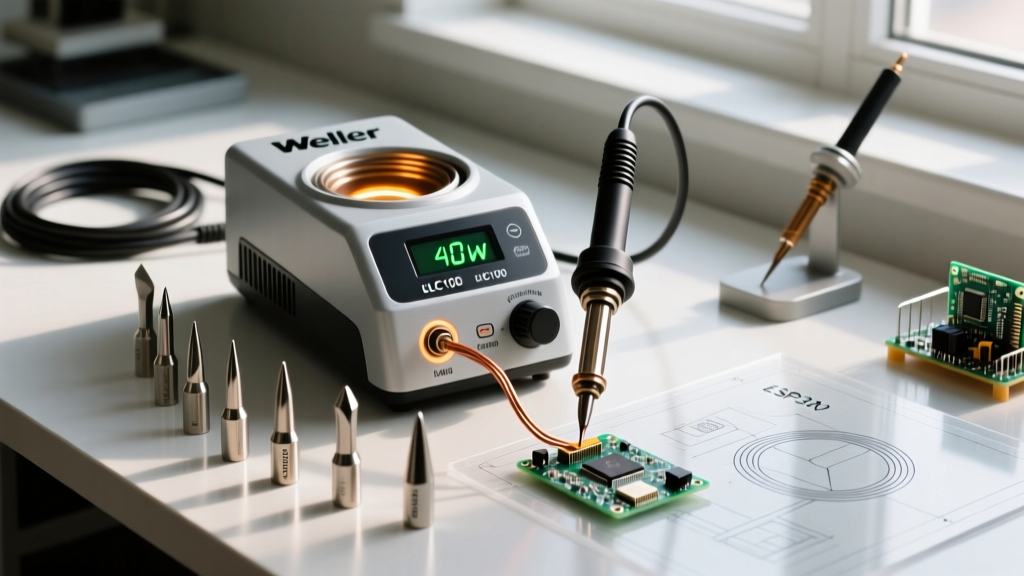
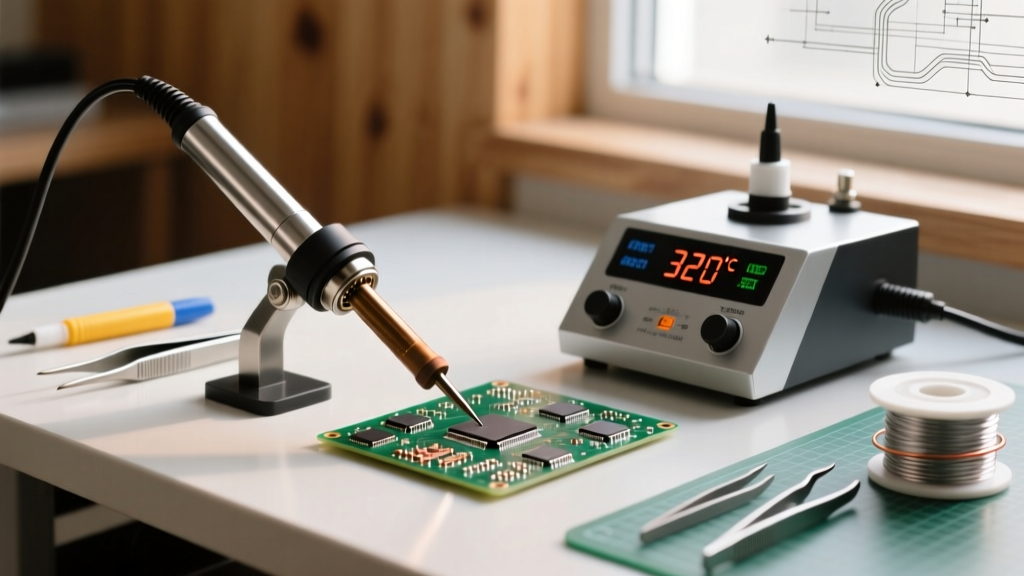
Investing in a high-quality soldering station like the Weller WE1010NA or the professional-grade WX2 is a massive step forward for any beginner in electronics. However, pairing a $400 precision heating tool with a flimsy, generic $5 wire-coil stand is a critical mistake that compromises both your safety and your equipment's lifespan. A proper Weller soldering iron stand is not just a resting place; it is an engineered safety device designed to manage thermal dissipation, secure heavy silicone cords, and prevent catastrophic bench fires.
According to Stanford Environmental Health & Safety, unsecured soldering irons are a leading cause of laboratory and workshop burn injuries and localized fires. When an iron operating at 350°C (662°F) rolls off a poorly weighted stand, it can instantly ignite flux residues, melt through plastic workbench mats, or cause severe third-degree burns. Furthermore, using the correct Weller WDH-series safety rest ensures that your iron's delicate heating element and ceramic core are protected from mechanical shock when you release the handle.
Decoding Weller Stand Model Numbers: Which One Do You Need?
Weller categorizes their safety rests primarily under the WDH (Weller Design Holder) naming convention. Matching the correct stand to your specific iron handpiece is crucial, as the barrel diameters and center-of-gravity profiles vary significantly between wattage classes. As of early 2026, here are the primary models you will encounter:
| Model Number | Compatible Handpieces | Key Features | Approx. 2026 Price |
|---|---|---|---|
| WDH10T | WSP80, WP80, WXP80 | Compact base, integrated brass wool holder, cord clip | $48 - $55 |
| WDH30 | WXP120, WP120 | Heavy-duty weighted base, wider cradle for thicker barrels | $60 - $72 |
| WDH50 | WXP200, WP200 | Extra-wide safety cradle, high-mass base for 200W irons | $80 - $95 |
| KH20 | Weller Hobbyist Series | Basic wire holder with cellulose sponge (Legacy/Budget) | $15 - $22 |
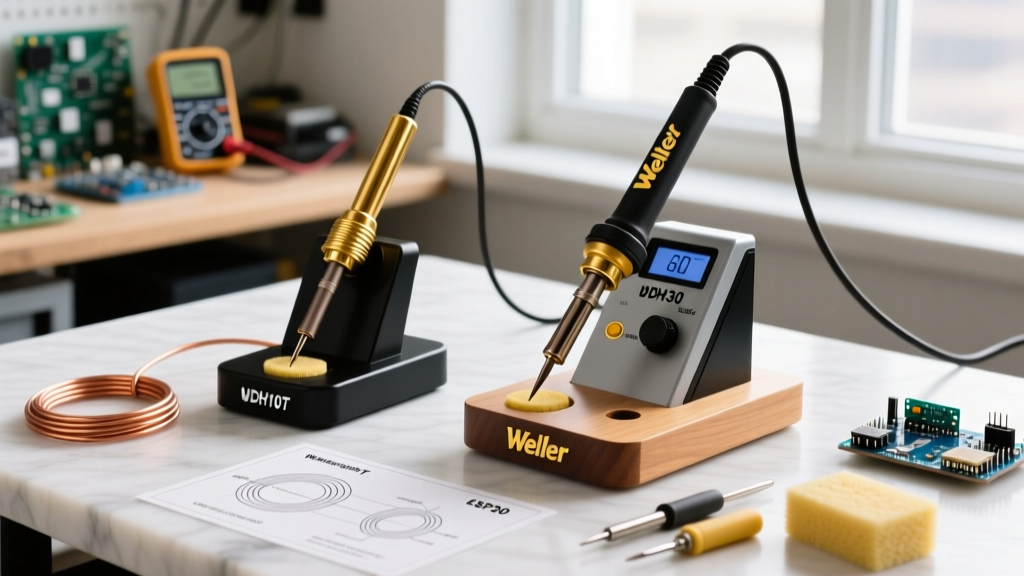
For most beginners using the ubiquitous Weller WE1010NA educational kit, the WDH10T is the exact model you need. It features a low-profile, weighted base that prevents tipping, even when the stiff, heat-resistant silicone cord of the WSP80 iron pulls against it.
Step-by-Step: Setting Up Your Weller Stand for Maximum Safety
Proper setup goes beyond simply placing the metal cradle on your desk. Follow these steps to optimize your workspace ergonomics and safety:
- Establish the 6-Inch Clearance Zone: Position your Weller stand at least six inches away from any flammable materials, including paper schematics, isopropyl alcohol dispensers, and plastic component bins. The ambient heat radiating from the cradle can warp nearby plastics over time.
- Manage the Service Loop: The WDH10T and WDH30 feature a small plastic clip on the rear of the base. Route your iron's cord through this clip to create a 'service loop' of about 4 inches between the clip and the iron handle. This prevents the weight of the dangling cord from dragging the iron out of the cradle if it catches on your arm.
- Prep the Cleaning Media: If your stand uses a cellulose sponge, pre-soak it before your first soldering session. If it uses brass wool (highly recommended), ensure the wool is fluffed up and not packed tightly into the well, which can scrape the iron's plating.
- Angle the Cradle: Ensure the stand is positioned so that you insert the iron with a natural, sweeping downward motion from your dominant hand side, minimizing the time the hot tip spends traversing over your non-dominant arm or body.
The Brass Wool vs. Cellulose Sponge Debate
Most beginner Weller kits include a yellow cellulose sponge. While functional, industry professionals and IPC soldering standards increasingly favor dry brass wool cleaners (like the Weller WDC2 insert) for daily use.
Why Cellulose Sponges Can Harm Your Tips
When you wipe a 350°C iron across a wet sponge, the tip temperature instantly plummets by 50°C to 100°C. This rapid thermal contraction causes micro-fractures in the iron's protective iron-plating layer over time, leading to pitting and hollow-core degradation. Furthermore, beginners often make the mistake of using tap water. Tap water contains calcium and magnesium minerals that flash-boil upon contact, spitting hot water droplets onto your skin and leaving hard mineral deposits on the tip that inhibit solder wetting. Always use distilled water if you must use a sponge.
The Brass Wool Advantage
Brass wool cleans oxidized flux and burnt solder through gentle mechanical abrasion without introducing moisture. The temperature drop is a mere 10°C to 15°C, preserving the thermal integrity of the tip and extending its lifespan by months. The WDH10T is specifically designed with a recessed well to hold a brass wool coil securely.
Expert Insight: Never press the iron hard into the brass wool. A light, twisting insertion and withdrawal is all that is required to polish the tip. Aggressive stabbing will bend the delicate internal ceramic heating element of Weller's active-tip handpieces.
Common Beginner Mistakes That Ruin Weller Tips
Even with the correct Weller soldering iron stand, poor habits will destroy your equipment. Avoid these frequent pitfalls:
- The 'Dry Dock' Error: Leaving the iron in the stand for more than five minutes without a coating of fresh solder. The bare, hot tip will rapidly oxidize, turning black and refusing to accept new solder. Always 'tin' the tip with a thick blob of rosin-core solder before placing it in the stand.
- Using the Stand as a Flux Holder: Some beginners dip their iron into liquid flux while it is resting in the stand, accidentally dripping corrosive flux into the metal cradle. Over time, this eats through the stand's finish and creates a sticky, hazardous residue.
- Ignoring Cord Fraying: If the silicone cord rubs against the sharp metal edge of a damaged or third-party stand, it will eventually expose the 24V AC wiring. This poses a severe shock hazard and can short out the station's internal triac.
Maintenance and Cleaning Your Stand
To keep your Weller stand functioning safely, perform a quick maintenance check at the end of every month. Empty the brass wool well and tap out the accumulated solder dross and flux carbon. If you use a sponge, remove it and wash it with warm water to prevent it from becoming a hard, brittle block that acts like sandpaper against your tip. Inspect the metal cradle for any deep scratches or burrs; if the metal is heavily gouged, replace the cradle insert to prevent it from scraping the iron's plating during insertion.
For more comprehensive guidelines on managing chemical exposures and burn risks during electronics assembly, refer to the CDC NIOSH soldering safety documentation, which outlines proper ventilation and personal protective equipment requirements.
Frequently Asked Questions
Can I use a generic wire stand with my Weller WXP80?
Technically, the iron will physically fit into a generic coil stand, but it is highly discouraged. Generic stands lack the specific counter-weighting required for the thick, heavy silicone cords used by Weller's professional line. A slight tug on the cord will easily pull the WXP80 out of a lightweight generic stand, creating a severe burn and fire hazard.
How often should I replace the brass wool in my WDH10T?
Under normal hobbyist usage (2-4 hours a week), a single brass wool coil will last well over a year. You do not need to replace it when it looks dirty; the dark color is simply oxidized flux and solder dross. Simply remove it, tap it against a hard surface over a trash can to dislodge the debris, and reinsert it.
My Weller stand's metal cradle gets incredibly hot. Is this normal?
Yes, the metal cradle acts as a passive heat sink to draw thermal energy away from the iron's shaft, protecting the internal wiring. However, the base of the WDH10T should remain cool to the touch. If the plastic base is warping or hot, your iron may not be seated correctly in the cradle, causing the hot shaft to rest directly against the plastic housing.