
Why the T12 Cartridge System Changed the Game
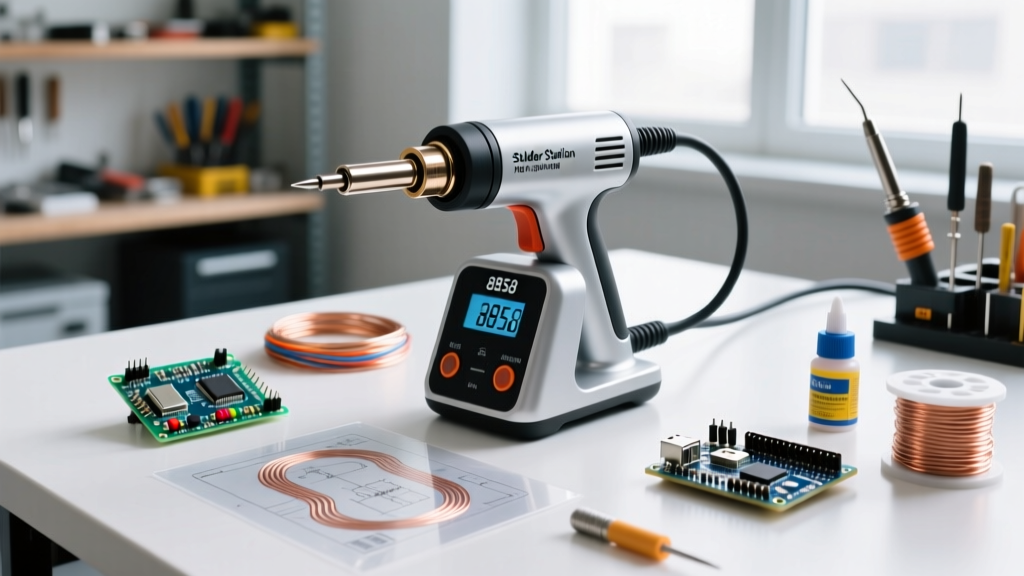
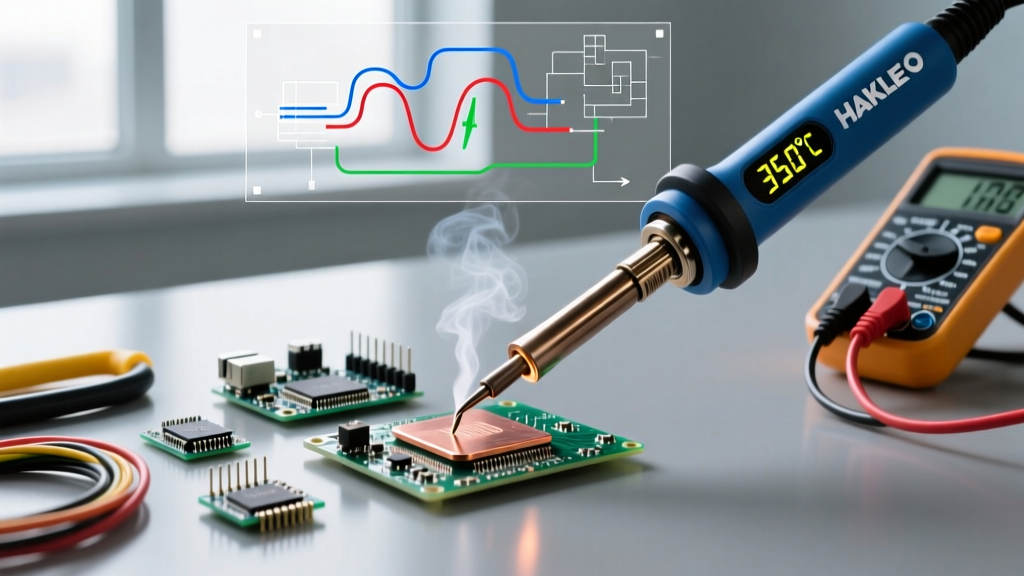
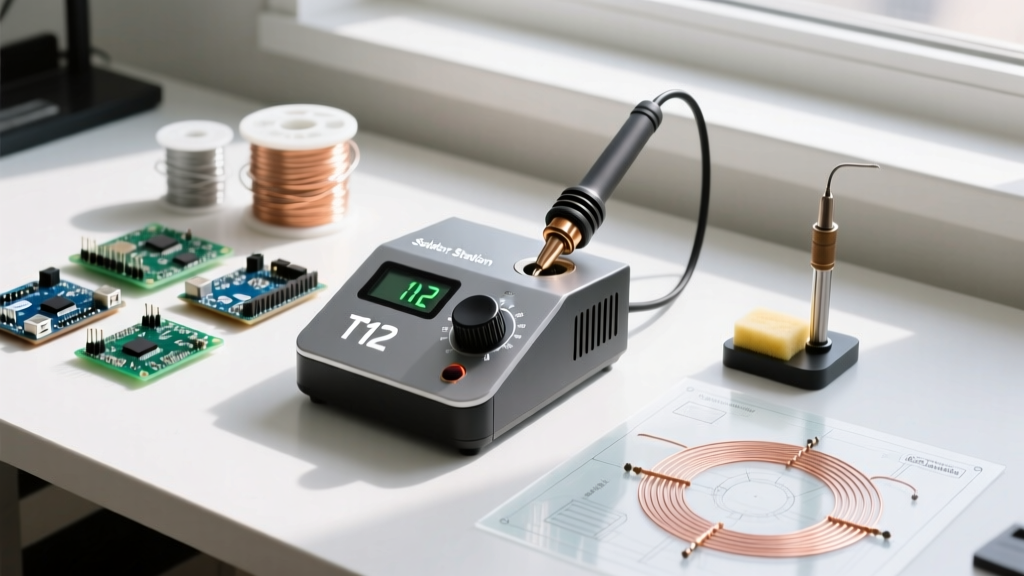
If you are stepping into electronics repair, PCB assembly, or DIY microcontroller projects in 2026, the traditional 936-style soldering station with its ceramic heater and separate tip is officially obsolete. Enter the soldering station T12 ecosystem. Originally pioneered by Hakko for their high-end FX-951 industrial stations, the T12 cartridge design has been reverse-engineered and democratized, making it the undisputed king of beginner and hobbyist workbenches.
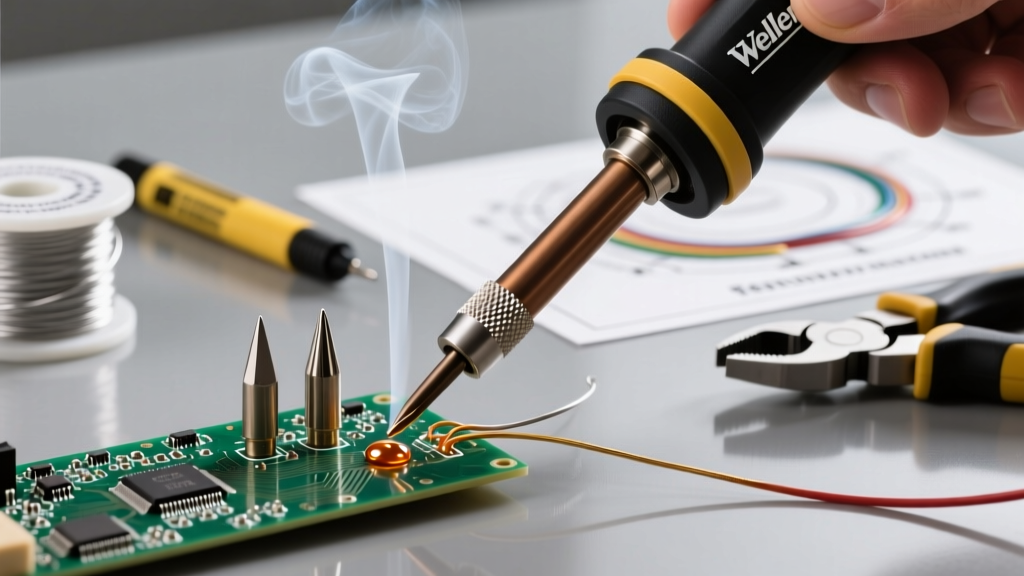
Unlike older designs where the temperature sensor sits outside the heating element, the T12 tip integrates the heater and the thermocouple in series inside the metal shaft itself. This means the sensor is measuring the exact temperature of the tip's working end. The result? A 72W T12 station can melt leaded solder in under 8 seconds from a cold start and recover from heavy thermal loads almost instantly. According to the IPC standards for electronic assemblies, rapid thermal recovery is critical for achieving proper wetting and avoiding cold solder joints, especially on multi-layer PCBs with heavy ground planes.
Choosing Your First T12 Controller in 2026
The beauty of the T12 ecosystem is that the tips are standardized, but the controllers are highly varied. As of 2026, the market has stabilized around three primary open-source and community-driven controller architectures. Here is how they compare for a beginner setting up their first bench:
| Controller Model | Core Chipset | Display | Avg. Price (2026) | Best For |
|---|---|---|---|---|
| KSGER V3.1 | STM32F103 | 1.8" TFT Color | $45 - $55 | Budget-conscious beginners needing robust firmware |
| Quicko T12 (OLED) | STM32 / ESP32 | 0.96" OLED | $50 - $65 | Compact desk setups and minimalist aesthetics |
| PineDIY T12 | CH32V307 (RISC-V) | 1.14" IPS LCD | $55 - $70 | Open-source hardware enthusiasts and tinkerers |
The Power Supply Dilemma: DC vs. USB-C PD
To get the full 72W output from your soldering station T12, you need a 24V 3A DC power supply (often included in KSGER kits). However, the biggest trend in 2026 is the use of USB-C Power Delivery (PD) trigger boards. By purchasing a 100W USB-C GaN charger (approx. $30) and a PD-to-DC trigger cable set to 20V or 24V (approx. $10), you can power your T12 station with the same brick that charges your laptop. This eliminates the need for a bulky, dedicated power brick on your desk and makes your station highly portable.
Essential T12 Tip Selection for Beginners
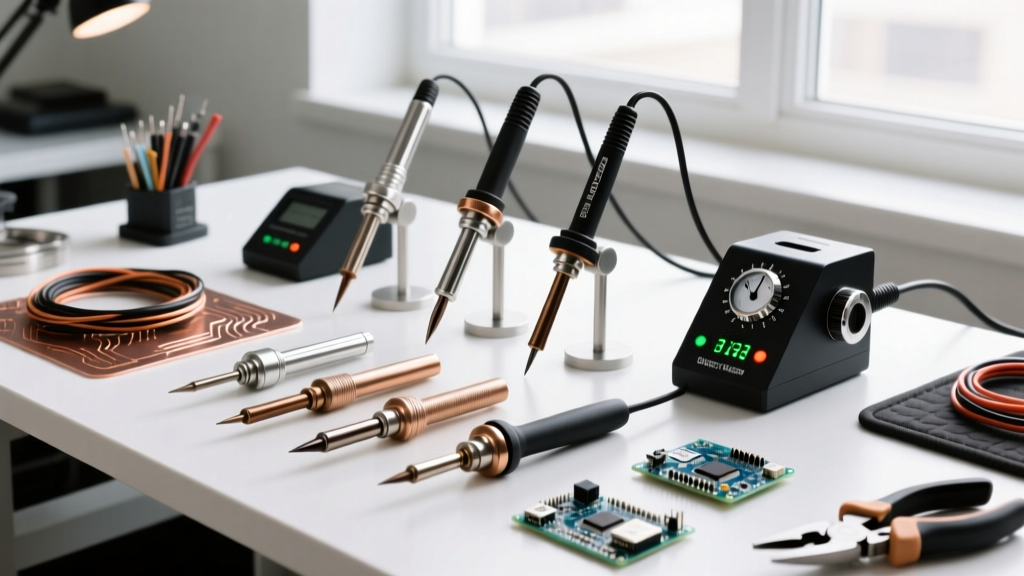
The T12 tip catalog is massive, which can cause analysis paralysis for beginners. While clone tips from AliExpress are cheap, they often suffer from poor iron plating that degrades within weeks. For critical work, invest in genuine Hakko T12 tips or high-tier clones from brands like Aoyue or KSGER's premium line. Here are the three tips every beginner must own:
- T12-D24 (Chisel, 2.4mm): Your daily driver. The flat face provides excellent thermal transfer for standard 0805/0603 SMD components and through-hole DIP ICs. The chisel edge allows you to use the flat side for drag soldering and the sharp edge for precise tack work.
- T12-BC2 (Bevel, 2.0mm): Features a 45-degree angled cut. This is the ultimate tip for drag-soldering SOIC and QFP integrated circuits. The concave bevel naturally holds a small wave of molten solder, preventing bridges between tight 0.65mm pitch pins.
- T12-KU (Knife, U-Bend): A versatile hybrid. The sharp point handles 0402 micro-components, while the broad knife edge can slice through large ground plane vias or thick wire terminals.
Expert Insight: Never use the very tip of a chisel (D24) to transfer heat to a large pad. The microscopic point has low thermal mass. Always press the flat, broad side of the chisel against both the component lead and the PCB pad simultaneously to maximize surface area contact.
Step-by-Step: Calibrating Your T12 Station
Out of the box, the thermocouple readings on clone T12 controllers can be off by 10°C to 20°C due to variations in the op-amp resistors on the PCB. Calibrating your soldering station T12 is mandatory for repeatable results. Follow this beginner-safe calibration protocol:
- Access the Menu: Power on your controller and long-press the main encoder or button to enter the settings menu. Navigate to 'Calibrate' or 'Tip Config'.
- The Boiling Water Test (100°C): Boil a cup of distilled water. Insert your T12-D24 tip into the water (do not let the plastic handle get wet). Water boils at exactly 100°C at sea level. Adjust the controller's offset value until the screen reads 100°C. (Note: Adjust for your local altitude if you live above 2,000 feet).
- The Pure Tin Melt Test (232°C): Place a small bead of 100% pure tin (Sn) solder on a brass sponge. Pure tin melts at exactly 232°C. Set your station to 230°C; the solder should remain solid. Bump the station to 234°C; the solder should instantly liquefy. Fine-tune the upper calibration point until this transition happens exactly at 232°C.
- Save and Reboot: Save the profile to the specific tip ID. The controller will now remember this calibration curve every time you insert that specific T12 cartridge.
Real-World Troubleshooting & Failure Modes
Even the best T12 setups encounter issues. Understanding the error codes and physical failure modes will save you from unnecessarily throwing away perfectly good equipment.
1. The "H-E" (Heater Error) or "S-E" (Sensor Error)
When the screen flashes H-E, the controller cannot detect the heater circuit. The Fix: 90% of the time, the tip is not fully seated. T12 handles use a 4-pin aviation or DC-style connector. Push the tip in firmly and give it a slight 5-degree twist to scrape off any microscopic oxidation on the contact pins. If the error persists, use a multimeter to measure the resistance across the two outer pins of the tip. A healthy T12 heater should read between 2.5 and 3.5 ohms. If it reads infinite (OL), the internal heater wire is snapped, and the tip is dead.
2. Severe Tip Oxidation (The "Black Crust")
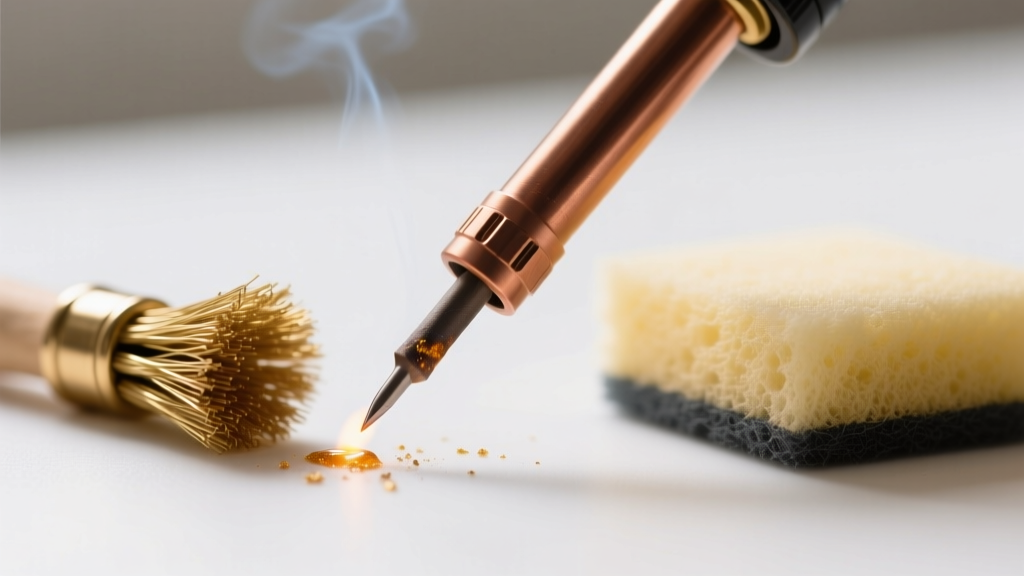
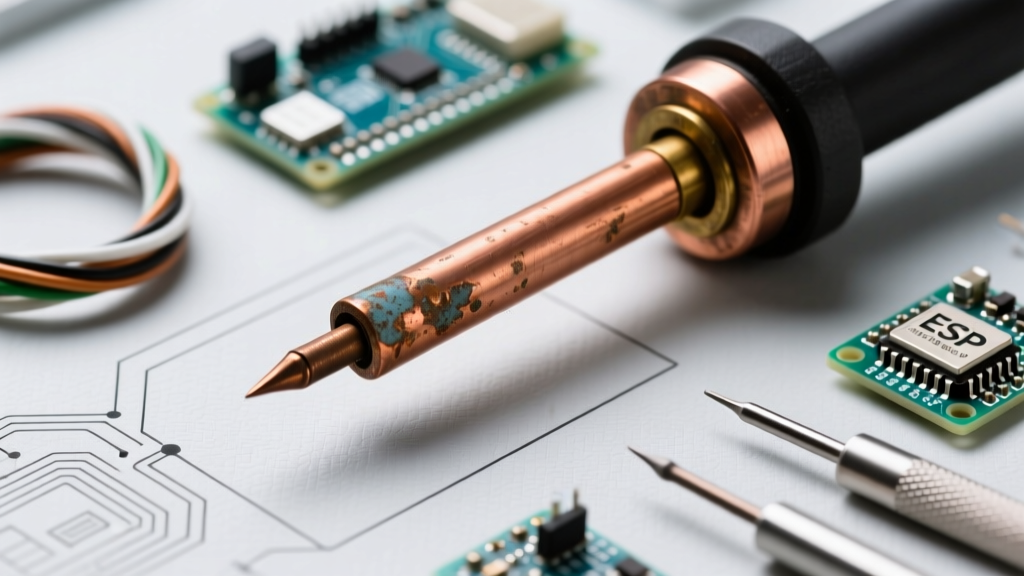
If solder balls up and rolls off the tip instead of wetting it, the iron plating has oxidized. This usually happens when a beginner leaves the station at 400°C while not in use. The Fix: Never use sandpaper or a steel file—this will permanently destroy the iron plating. Instead, use a damp cellulose sponge or a brass wire sponge. Apply a generous amount of Tip Tinner/Refresher (a paste containing mild acids and solder powder). Rub the hot tip in the paste, wipe it on the brass sponge, and immediately apply fresh rosin-core solder to re-tin the surface.
3. Sleep Mode Jitters
T12 controllers use a vibration switch or a reed switch in the handle to detect when you pick it up. If your station refuses to wake up from sleep mode, the internal ball-bearing switch may be stuck. Open the handle (usually two Phillips screws) and clean the switch contacts with 99% isopropyl alcohol.
Maintenance Rules to Double Tip Lifespan
T12 tips are not cheap; genuine Hakko cartridges cost between $25 and $35 each in 2026. Protect your investment by adhering to the maintenance protocols recommended by industry experts. As highlighted in the Adafruit Guide to Excellent Soldering, proper tip tinning and temperature management are the cornerstones of longevity.
- The "Blob" Rule: Never turn off your soldering station T12 with a clean tip. Before powering down, melt a large, ugly blob of cheap, leaded 63/37 solder onto the working end. This sacrificial blob will oxidize instead of the tip's iron plating. When you power up the next day, simply wipe off the ugly blob on your brass sponge and apply fresh solder.
- Temperature Discipline: Leaded 63/37 solder melts at 183°C. You do not need to run your station at 400°C. Set your baseline temperature to 300°C - 320°C. Only bump it to 380°C for heavy ground planes or thick wires, and drop it back down immediately after.
- Flux is Your Friend: If you find yourself pressing harder to make solder flow, stop. You are using mechanical force to compensate for a lack of chemical activity. Apply liquid or paste flux to the joint. The flux removes the oxidation layer, allowing the solder to wick via capillary action without requiring excessive heat or physical pressure.
Final Thoughts for the Beginner
Transitioning to a soldering station T12 setup is the single best upgrade a beginner can make to their electronics workflow. The instant heat-up time reduces the temptation to leave the iron on all day, the cartridge system makes swapping tips a one-second affair, and the precise temperature control ensures your PCB pads won't delaminate. Start with a KSGER or Quicko controller, grab a T12-D24 and T12-BC2 tip, invest in a high-quality USB-C PD power supply, and practice your wetting techniques on scrap boards. With proper calibration and the maintenance habits outlined above, your T12 station will easily serve you through thousands of solder joints and years of electronic exploration.