
The Beginner's Introduction to Soldering Gun Tips
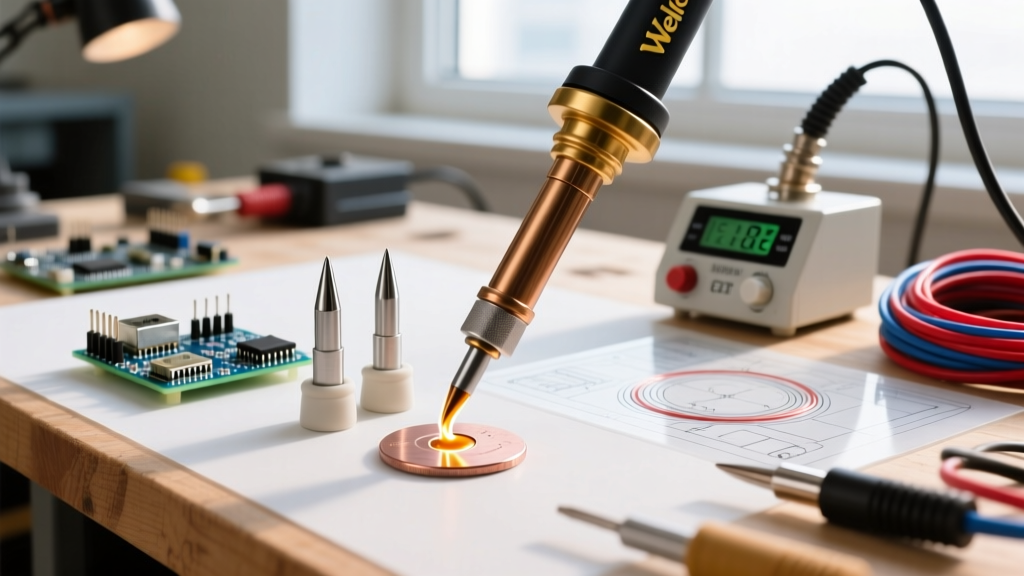
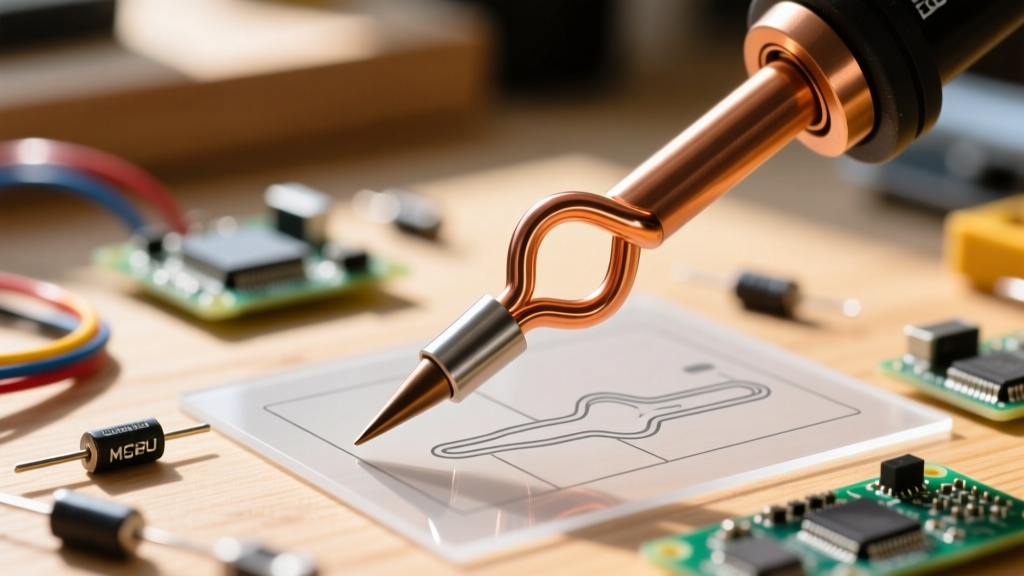
If you have just picked up a classic transformer-style soldering gun—like the legendary Weller D550 or a modern 100W equivalent—you might be confused when you look at the business end of the tool. Unlike standard soldering irons that use a separate heating element and an iron-plated copper core, a soldering gun tip is fundamentally different. It is a thick loop of bare copper that acts as both the heating element and the soldering surface.
In 2026, while most hobbyists use temperature-controlled stations (like T12 or C245 systems) for delicate printed circuit boards (PCBs), the soldering gun remains the undisputed king of heavy-gauge wire harnesses, automotive connectors, stained glass foiling, and thick mechanical lugs. However, because the tip operates on entirely different physics, beginners often buy the wrong replacements, ruin them with improper cleaning, or fail to customize them for specific tasks. This guide will walk you through the exact science, selection, and maintenance of your soldering gun tip.
The Anatomy and Physics of a Gun Tip
To understand how to care for your tip, you must understand how it heats up. A soldering gun contains a step-down transformer. When you pull the trigger, 120V AC power flows through the primary coil, inducing a massive current (often exceeding 200 amps) at a very low voltage (typically 0.2V to 0.5V AC) in the secondary coil.
The secondary coil is essentially a single turn of heavy copper buss bar that terminates at two threaded blocks on the front of the gun. Your soldering gun tip is clamped between these blocks, completing the circuit. Because the tip is much thinner than the internal buss bar, it has higher electrical resistance. This resistance causes the tip to heat up to soldering temperatures (around 600°F to 800°F) in a matter of seconds. When you release the trigger, it cools almost as fast.
Soldering Gun Tip vs. Standard Soldering Iron Tip
Beginners frequently attempt to cross-reference parts or apply iron-care techniques to gun tips, which leads to immediate failure. Review the comparison matrix below to understand the core differences.
| Feature | Soldering Gun Tip | Standard Iron Tip (e.g., Hakko T18) |
|---|---|---|
| Material | Bare solid copper (sometimes cadmium-plated on vintage models) | Copper core plated with iron, nickel, and chrome |
| Heating Mechanism | Direct resistance heating (the tip is the heater) | Conductive heating from a separate ceramic element |
| Temperature Control | Manual (trigger cycling by the user) | Automated via thermocouple and PID controller |
| Lifespan | Shorter; copper dissolves into molten solder over time | Long; iron plating resists solder dissolution |
| Primary Use Case | Heavy wires, lugs, stained glass, plumbing | PCBs, microelectronics, SMD components |
Selecting the Right Replacement Tip
When shopping for replacements, you must match the tip to your gun's terminal spacing and power rating. The most ubiquitous soldering gun tip on the market is the CT6D7, designed for the Weller D550 and Weller 8200 series. As of 2026, a genuine OEM Weller CT6D7 costs between $12 and $15, while generic multi-packs can be found online for roughly $6 to $8 for three tips.
Gauge and Thickness Matters
- Standard Loop (1/8" / 3.2mm): The CT6D7 is the standard. It offers the best balance of heat capacity and physical maneuverability for 10 AWG to 14 AWG wires.
- Heavy Duty Loop (3/16" / 4.8mm): Tips like the CT6D8 are thicker. They take slightly longer to heat up but hold significantly more thermal mass, making them essential for 8 AWG battery cables or large brass lugs.
- Chisel/Blade Shapes: Some manufacturers offer pre-bent chisel shapes for stained glass work. However, as we will cover next, shaping your own is often more practical and cost-effective.
How to Shape and Customize Your Tip
One of the greatest advantages of a bare copper soldering gun tip is that you can easily file it into a custom hook, chisel, or flat blade to suit your specific project. Never use a motorized grinding wheel; the friction heat will anneal the copper, making it permanently soft and prone to bending under pressure.
- Disconnect Power: Unplug the gun entirely. This is a non-negotiable safety step.
- Remove the Tip: Use a hollow-shaft nut driver or pliers to remove the two terminal nuts and set screws. Carefully pull the copper loop out of the terminal blocks.
- Secure in a Vise: Clamp the tip in a bench vise. Use soft aluminum or rubber jaws to prevent crushing or denting the copper.
- File the Working End: Use a single-cut mill bastard file (a coarse, flat metal file). File the copper down to create a flat chisel edge, or file the sides to create a narrow hook for pulling wire through terminal posts.
- Deburr and Clean: Use fine steel wool to remove any copper burrs. Ensure the contact ends that sit inside the terminal blocks remain perfectly round and unfiled.
- Reinstall and Torque: Insert the tip back into the blocks. Tighten the nuts evenly. A loose connection will cause electrical arcing, which will destroy both the tip and the gun's internal transformer secondary.
Troubleshooting Common Failure Modes
Bare copper is highly reactive. If your tip is failing, it is likely due to one of the following specific edge cases:
1. Copper Leaching (Dissolution)
When bare copper meets molten tin-lead or lead-free solder, a metallurgical reaction occurs where the copper dissolves into the solder alloy. Over time, the tip will develop deep craters and eventually snap. Fix: Never leave the gun triggered when not actively soldering. Wipe the tip on a damp cellulose sponge or brass wool immediately after making a joint to remove excess solder, minimizing the dissolution time.
2. Terminal Arcing (The "Black Death")
If your gun hums loudly, the trigger feels weak, and the tip only gets warm, check the terminal blocks. Copper oxidizes rapidly when exposed to air and heat. This oxidation creates a high-resistance layer at the connection point, leading to micro-arcing that pits the metal. Fix: Remove the tip and use a small stainless steel wire brush to aggressively clean the threads of the terminal studs and the inside of the nuts. Wipe away all debris before reinstalling.
3. The Tinning Struggle
Beginners often complain that solder "balls up" and falls off a new gun tip. Unlike iron-plated tips, bare copper requires aggressive fluxing to wet properly. Fix: Apply a generous amount of high-activity rosin paste flux to the cold tip. Pull the trigger for just two seconds, and feed 63/37 eutectic solder directly into the flux as it melts. The flux will strip the micro-oxidation and allow the solder to bond to the copper.
Pro-Tip: Keep a small tin of non-corrosive rosin flux paste (like MG Chemicals 8341) dedicated solely to your soldering gun. Acid-core plumbing fluxes will work in a pinch for heavy wires, but they will rapidly corrode the copper tip and the gun's metal terminal blocks if not cleaned with isopropyl alcohol immediately after use.
Critical Safety Warning: EMF and Sensitive Electronics
It is vital to understand the electromagnetic footprint of your tool. Because a soldering gun relies on a massive step-down transformer, it generates a significant localized electromagnetic field (EMF). Furthermore, when you release the trigger, the collapsing magnetic field in the transformer induces a high-voltage spike (inductive kickback) across the tip.
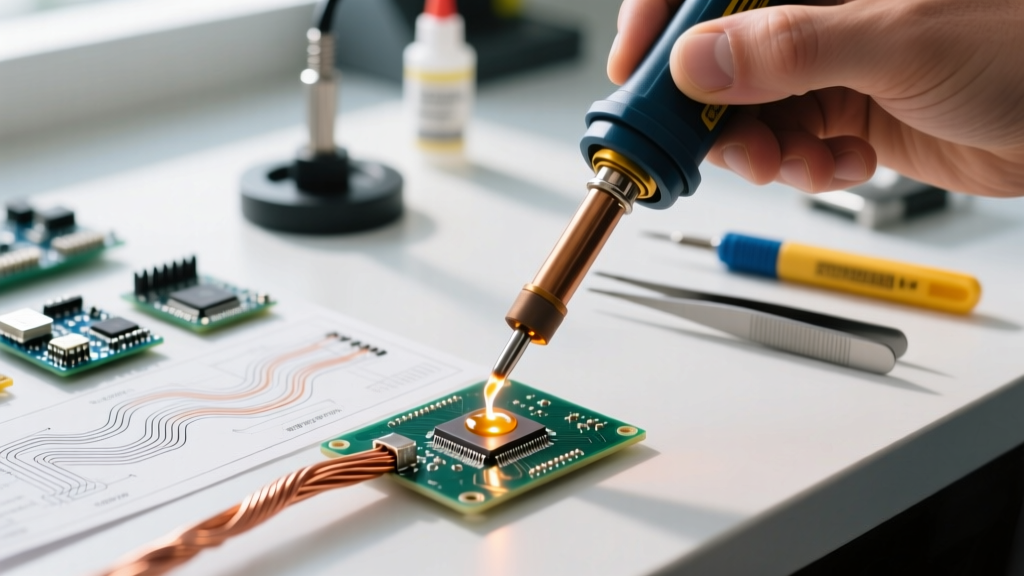
According to electronics safety guidelines detailed by Electronics Notes, this voltage spike can easily exceed the dielectric breakdown voltage of modern CMOS gates and MOSFETs. Therefore, you should never use a transformer soldering gun on sensitive microcontrollers, Arduino/ESP32 boards, or modern automotive ECUs. The induced voltage will instantly fry the silicon. Reserve your soldering gun tip strictly for passive, heavy-duty mechanical and electrical connections.
Additionally, always ensure proper ventilation. As noted in laboratory safety protocols by Princeton University Environmental Health and Safety, the vaporization of rosin fluxes and solder alloys produces particulate matter and colophony fumes, which are known respiratory sensitizers. Use an active HEPA and carbon fume extractor positioned within six inches of your soldering gun tip to protect your lungs during extended wiring sessions.
Summary
Mastering the soldering gun tip is a rite of passage for anyone working with heavy-gauge electronics, automotive wiring, or stained glass. By understanding that your tip is a high-current resistive heater rather than a passive conductor, you can properly select the right gauge (like the CT6D7), safely file it to custom geometries using a bastard file, and maintain the terminal blocks to prevent arcing. Treat your bare copper with respect, keep it clean, and it will deliver decades of heavy-duty soldering performance.