
Understanding the Weller D550 Transformer Architecture
Before attempting to set up or calibrate the Weller soldering iron D550, it is critical to understand that you are not working with a standard resistance-heated pencil iron or a digitally controlled soldering station. The D550 is a heavy-duty, transformer-based soldering gun. It operates by stepping down standard 120V AC line voltage to a fraction of a volt while pushing massive amperage (up to 250 amps) through the solid copper beryllium tip. Because there is no internal thermostat or digital feedback loop, 'calibration' in the context of the D550 refers to mechanical tip seating, thermal mass mapping, and user-driven trigger modulation.
2026 Market Context: As of early 2026, the Weller D550PK (kit with case and tips) retails between $125 and $140 USD. Replacement CT-series tips (such as the CT6F7) cost roughly $12 to $15 each. Beware of counterfeit tips on third-party marketplaces; inferior copper alloys will pit rapidly and fail to conduct the necessary secondary current.Phase 1: Mechanical Setup and Tip Torque Calibration
The most common point of failure and poor thermal performance in a new D550 is improper tip installation. The tip itself acts as the secondary winding of the transformer. If the electrical contact between the tip and the secondary bus bars is compromised by debris, oxidation, or insufficient torque, the resistance at the joint will spike. This causes the nuts to heat up and melt rather than transferring energy to the working end of the tip.
Step-by-Step Tip Installation
- Clean the Bus Bars: Before installing the CT6F7 tip, wipe the aluminum secondary bus bars and the brass threading with a lint-free cloth soaked in 99% isopropyl alcohol. Do not use abrasive sandpaper, which will remove the conductive plating.
- Align the Tip: Slide the tip through the front ceramic insulator. Ensure the flattened ends of the tip sit perfectly flush against the flat surfaces of the bus bars.
- Thread the Nuts: Thread the two slotted brass nuts by hand to avoid cross-threading. The threads are soft and easily stripped.
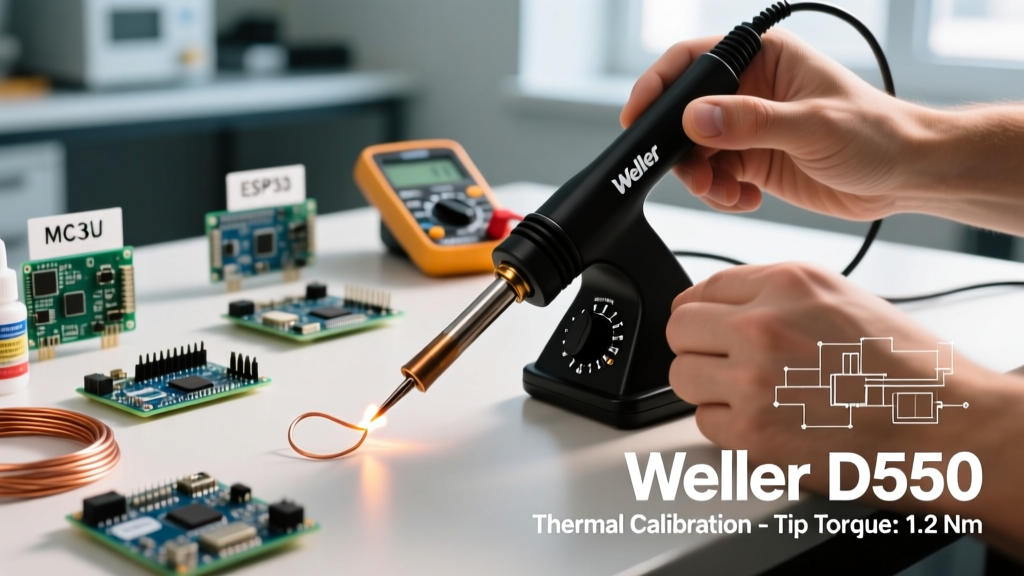
- Apply Torque: Using the stamped metal wrench provided in the kit, tighten the nuts firmly. The target is approximately 15 to 20 inch-pounds of torque. You want the nuts snug and flush, but never apply pliers or excessive leverage, which will warp the copper tip and create internal micro-fractures.
Phase 2: Thermal Calibration via Thermocouple Mapping
Because the D550 features a dual-output trigger (200W on the first pull, 260W on the full squeeze), 'calibrating' your workflow requires mapping the thermal recovery curve of the tip against the thermal mass of your specific workpieces. We recommend using a K-type thermocouple with an exposed bead, taped to a scrap piece of your target wire gauge, to build a mental model of the gun's heat delivery.
D550 Thermal Output vs. Time Matrix
The following data represents the approximate tip temperature curve when firing the D550 from a cold start in a standard 72°F (22°C) ambient environment, measured via surface thermocouple on the CT6F7 tip.
| Time (Seconds) | Trigger Position | Approx. Tip Temp (°F) | Optimal Use Case |
|---|---|---|---|
| 0 - 3s | High (260W) | 400°F - 550°F | Initial heat penetration for heavy lugs |
| 3 - 6s | High (260W) | 750°F - 850°F | Melting 60/40 or 63/37 rosin-core solder |
| 6 - 9s | High (260W) | 950°F - 1050°F | Max heat; risk of flux burn-off and pad lifting |
| Holding | Low (200W) | 700°F - 800°F | Maintaining heat on large thermal masses (e.g., 8 AWG wire) |
Pro-Tip for Trigger Feathering: Never hold the D550 on the high trigger for more than 8 seconds without applying solder. The flux core in standard rosin solder acts as a localized coolant and chemical shield. Firing a dry tip past 900°F will rapidly oxidize the copper beryllium alloy, creating a black scale that solder will not wet to.
Phase 3: Tinning, Fluxing, and Thermal Shock Prevention
Proper calibration of your soldering workflow extends to how you maintain the tip between joints. The D550 generates immense, rapid heat. If you clean the tip incorrectly, you will induce thermal shock.
The Brass Sponge Mandate
Never use a wet cellulose sponge with the Weller D550. Plunging a 900°F solid copper tip into room-temperature water causes instantaneous thermal contraction. Over time, this will cause the tip to crack near the mounting holes or pit heavily on the working surface. Instead, use a dry brass wire sponge (often sold as a 'tip cleaner'). The brass shavings absorb the oxidized solder and flux residue without dropping the tip's core temperature below the melting point of your solder alloy.
External Flux Application
When soldering heavy automotive wires (10 AWG to 4 AWG) or stained glass copper foil, the internal flux in standard rosin-core solder is insufficient to prevent oxidation during the prolonged 6-to-10-second heat cycles required by the D550. Apply a generous coat of external tacky flux (such as Kester 186 or a high-quality no-clean paste) to the mechanical joint before bringing the gun to the wire. This ensures immediate wetting the moment the thermal threshold is reached.
Troubleshooting Edge Cases and Failure Modes
Even with proper setup, the D550 can exhibit specific failure modes related to its high-current, low-voltage design. Consult this diagnostic list before assuming the transformer is dead.
- Symptom: Transformer emits a loud, vibrating hum, but the tip remains cold or only gets lukewarm.
Diagnosis: High-resistance joint at the secondary bus bars. The tip nuts are loose, or galvanic corrosion has formed between the copper tip and aluminum bus bars.
Resolution: Disconnect from mains. Remove nuts, clean all mating surfaces with a fiberglass scratch pen and IPA, and re-torque. - Symptom: Tip heats normally, but solder balls up and rolls off the working end.
Diagnosis: Severe oxidation and pitting due to dry-firing the gun or using a wet sponge.
Resolution: If pitting is shallow, aggressively tin the tip using a specialized tip-tinning compound (like Kester Tip Tinner) while the gun is on the low trigger. If the copper is deeply cratered, the tip must be replaced. - Symptom: The internal incandescent heat-focusing bulb flickers or fails to light.
Diagnosis: The bulb is wired in parallel with the secondary winding to indicate current flow. A dead bulb does not mean the gun is broken, but it removes your visual safety indicator.
Resolution: Replace with a standard 120V incandescent bulb (usually a T4 or specific Weller replacement part). Do not bypass the bulb socket, as it acts as a minor resistive load that helps stabilize the secondary circuit upon initial trigger pull.
Compliance with IPC and Safety Standards
When using the Weller D550 for professional electrical assemblies, adherence to industry standards is paramount. According to the IPC J-STD-001 requirements for soldered electrical and electronic assemblies, the use of high-thermal-mass tools requires careful inspection for insulation damage and flux entrapment. The D550's rapid heat transfer can easily melt wire insulation back past the required clearance if the operator fails to use heat sinks (such as alligator clips) on sensitive components.
Furthermore, the vaporized flux generated by a 260W soldering gun is substantial. The Occupational Safety and Health Administration (OSHA) mandates adequate local exhaust ventilation (LEV) when soldering with rosin-based fluxes to prevent occupational asthma and respiratory irritation. Always pair your D550 setup with a dedicated fume extractor featuring an activated carbon and HEPA filtration stage, positioned no more than 6 inches from the soldering plume.
Conclusion
The Weller soldering iron D550 remains an undisputed workhorse for heavy electrical, automotive, and structural soldering in 2026. However, its transformer-based architecture demands a different approach to setup and calibration than modern digital stations. By meticulously managing tip torque, mapping the thermal recovery curve to your specific wire gauges, and strictly avoiding thermal shock during cleaning, you will extract decades of reliable, high-wattage performance from this classic tool.