
The Transformer Advantage: Why Weller Guns Are Different
When approaching heavy-duty electrical work, automotive wiring, or thick grounding straps, standard ceramic-heater soldering stations often lack the thermal mass required to prevent cold joints. This is where the iconic Weller soldering gun—such as the legendary D550, 9400, or 9600 series—excels. Unlike temperature-controlled irons that rely on a resistive heating element to slowly transfer heat to a solid tip, a Weller gun utilizes a 60Hz step-down transformer. The primary coil steps down the 120V AC mains to a fraction of a volt on the secondary side, while simultaneously multiplying the current to hundreds of amps.
The Weller soldering gun tip itself acts as a single-turn secondary winding. Because the tip is a continuous loop of high-conductivity copper, the massive current flow generates rapid, intense resistive heating directly within the metal. This allows a cold gun to reach soldering temperatures (exceeding 300°C) in roughly 3 to 5 seconds. However, this unique heating mechanism demands a completely different approach to tip selection, maintenance, and soldering technique compared to standard pencil irons.
Decoding Weller Soldering Gun Tip Profiles
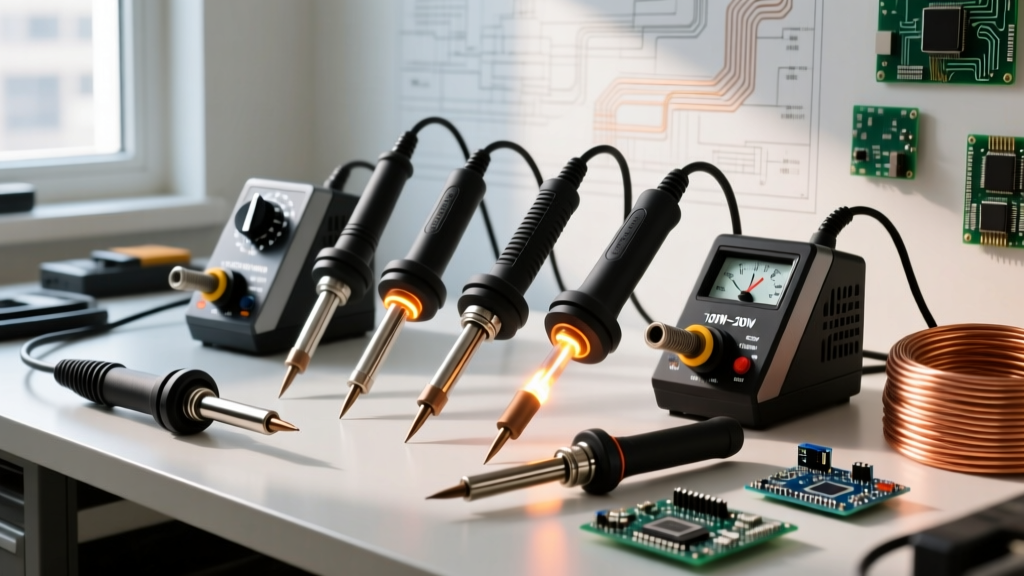
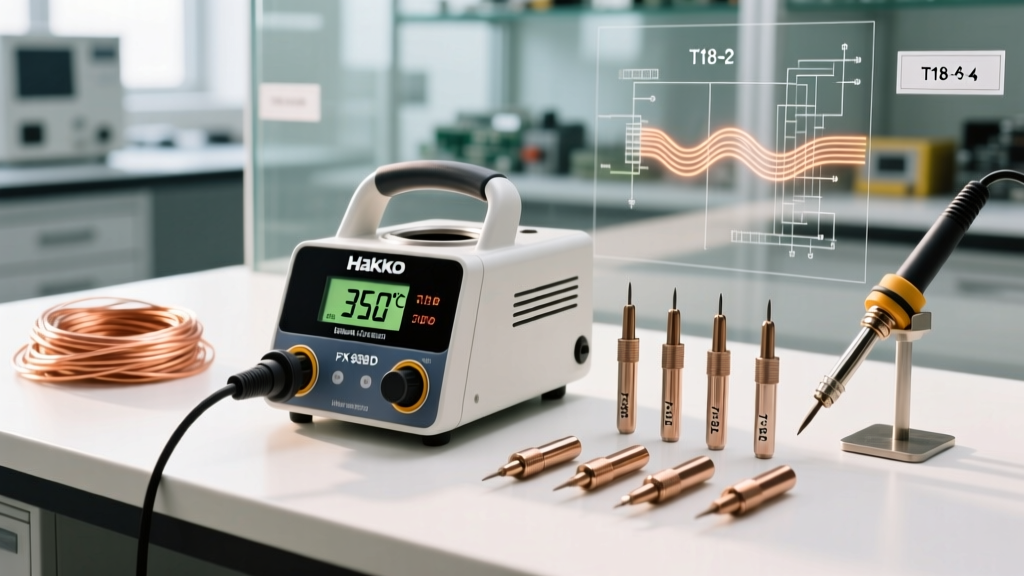
Selecting the correct loop profile is critical for maximizing heat transfer without damaging the workpiece. Weller manufactures several distinct tip geometries, each engineered for specific thermal mass requirements. Below is a breakdown of the most common replacement tips available in 2026.
| Part Number | Profile Geometry | Wire Gauge Equiv. | Best Application | Est. 2026 Price |
|---|---|---|---|---|
| CT6F7 | Flat / Screwdriver | 14 AWG | Terminal lugs, heavy PCB pads, grounding straps | $8.50 - $11.00 |
| CT6C7 | Conical Point | 18 AWG | Standard wire splices, medium gauge through-hole | $8.50 - $11.00 |
| SL18 / SL718 | Heavy-Duty Loop | 10 AWG+ | Automotive wiring, thick coaxial shields, plumbing | $12.00 - $15.00 |
| CT6D7 | Chisel / Blade | 16 AWG | Large solder cups, XLR connectors, heavy bus wire | $9.00 - $12.00 |
Note: Always verify compatibility with your specific gun model. The CT6 series is designed for the 9400/9600 series guns, while the SL series is typically reserved for the heavier D550/D650 and 8200 models.
The Metallurgy Challenge: Bare Copper vs. Iron-Plated
Modern pencil iron tips are typically copper-cored with an iron plating to prevent the molten solder from leaching the copper away. In contrast, traditional Weller soldering gun tips are constructed from solid, bare copper wire. While bare copper offers unmatched thermal and electrical conductivity, it is highly susceptible to two failure modes:
- Solder Leaching (Erosion): Molten tin actively dissolves copper. If left in contact with a molten solder pool for too long, the tip will physically thin and eventually snap.
- Rapid Oxidation: When exposed to air at 350°C, bare copper forms a black layer of cupric oxide (CuO) in seconds. Solder will not wet to CuO, rendering the tip useless until the scale is removed.
Because of these metallurgical realities, the standard 'wipe on a wet sponge' technique used for pencil irons will instantly oxidize a hot gun tip and cause thermal shock, leading to micro-fractures in the copper loop.
Step-by-Step: The 'Cold-Tinning' Technique
Tinning a Weller soldering gun tip is notoriously difficult for beginners. The secret lies in preparing the tip before the transformer is energized. According to foundational wetting principles outlined in the NASA Soldering Workmanship Standards, proper flux application prior to heating is mandatory for oxide-free wetting.
Phase 1: Mechanical Preparation (Cold)
Ensure the gun is unplugged and completely cool. If the tip has black oxide scale, do not use standard sandpaper, which can embed silica particles into the soft copper. Instead, use a fine bastard file, a fiberglass scratch pen, or a dedicated brass wire brush to expose bright, shiny copper on the working end of the tip.
Phase 2: Chemical Preparation (Cold)
Before squeezing the trigger, apply a generous amount of high-activity Rosin (RA) liquid flux or a tacky Rosin Mildly Activated (RMA) paste directly to the filed copper area. This creates an oxygen barrier that prevents oxide formation during the initial heat-up surge.
Phase 3: The 3-Second Pulse
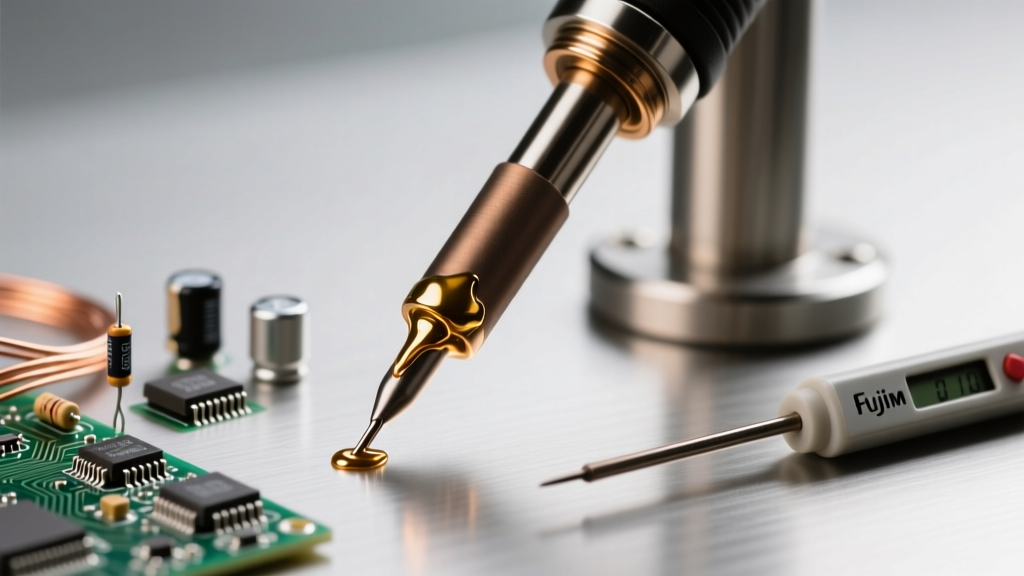
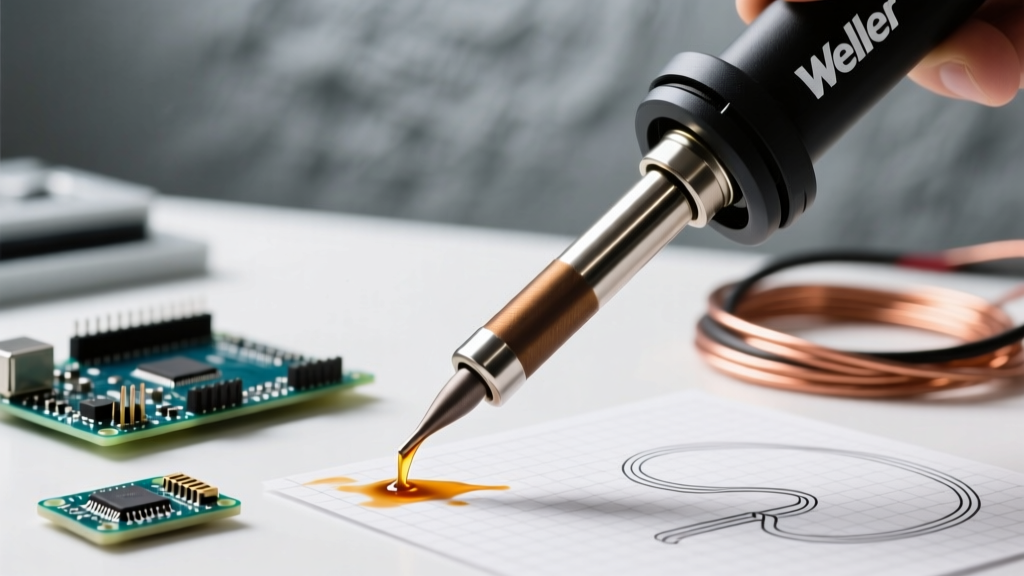
Hold a length of 63/37 rosin-core solder directly against the fluxed tip. Squeeze the trigger to the 'high' setting. The moment the solder flashes and melts (usually within 2 to 4 seconds), release the trigger immediately. Wipe the tip gently on a dry brass wool sponge. The tip should now be perfectly silver-coated and ready for work.
Expert Warning on Lead-Free Solder: If you are soldering with SAC305 (lead-free) wire, the melting point jumps from 183°C to ~217°C. Lead-free solder is significantly more aggressive at leaching bare copper. When using SAC305 with a Weller gun, you must use a specialized No-Clean or high-solids flux and minimize tip dwell time to prevent rapid tip destruction.
Technique Matrix: Dwell Time and Heat Transfer
Mastering the trigger mechanism is the hallmark of an experienced Weller user. Soldering guns are not designed for continuous operation. The thermal mass of the tip will continue to rise as long as the trigger is held, eventually exceeding 500°C, which will instantly burn flux cores and destroy the tip's tinning.
The 'Pulse and Release' Method
- Seconds 0-3 (Squeeze): Apply the cold, tinned tip to the workpiece (e.g., a large ring terminal). Squeeze the trigger fully. The high-current surge rapidly brings the copper terminal to the eutectic transition temperature.
- Seconds 3-5 (Feed & Release): Touch the solder wire to the workpiece, not the tip. As the solder flows into the joint via capillary action, release the trigger.
- Seconds 5-8 (Cooling): Hold the joint completely still. The transformer is now off, and the joint will cool through the plastic phase into a bright, shiny crystalline structure. Moving the wire during this phase causes a disturbed joint, a critical defect per IPC J-STD-001 requirements.
Troubleshooting Common Weller Gun Tip Failures
Even with proper technique, Weller gun tips are consumable items. Understanding failure modes helps distinguish between normal wear and improper technique.
1. Pitting and Arcing at the Terminal Nuts
If you notice deep pitting or burn marks where the copper loop meets the brass terminal blocks inside the gun's housing, you have a loose connection. The high secondary current (often exceeding 250 amps) will arc across microscopic gaps if the knurled nuts are loose. Fix: Ensure the terminal nuts are clean. Tighten them securely using a nut driver, but never use pliers to over-torque them, as this will snap the copper loop at the bend.
2. Rapid Tip Erosion (The 'Wasp Waist')
If the tip develops a severe hourglass shape just behind the working end, you are holding the trigger too long, causing the molten solder pool to dissolve the copper. This is especially prevalent when attempting to solder massive ground planes without adequate pre-heating. Fix: Switch to a thicker tip profile (like the SL18) to increase thermal mass, or use a heat gun to pre-warm the workpiece before applying the soldering gun.
3. Black Oxide Scale Buildup
A tip coated in a crusty black scale will not transfer heat, resulting in cold, grainy joints. This occurs when the tip is left energized in the air without a solder coating. Fix: Never leave the gun resting on a stand with the trigger locked on. Always apply a fresh blob of solder to the tip before releasing the trigger for the final time, creating a sacrificial oxide layer that protects the working copper underneath.
Maintenance and Storage Best Practices
To maximize the lifespan of your Weller soldering gun tips, proper storage is essential. After completing your work and allowing the gun to cool to room temperature, inspect the tip for mechanical damage. If the tinning layer is intact, apply a very light coat of non-corrosive mineral oil or a dedicated tip tinner/cleaner paste to prevent ambient moisture from causing galvanic corrosion on the copper.
Furthermore, periodically check the internal wiring of the gun. The high-current secondary windings are subject to thermal expansion and contraction cycles. Official replacement specifications and internal wiring diagrams can be verified via the Weller Tools catalog to ensure your station maintains optimal electrical safety and performance.
By respecting the unique transformer-based physics of the Weller platform and adhering to strict cold-tinning and pulse-soldering protocols, you can transform this heavy-duty tool from a blunt instrument into a precision device capable of flawless, high-reliability electrical connections.