
The Thermal Mass Problem: Why Your Electronics Iron Failed
If you have ever tried to join two pieces of 22-gauge steel or copper flashing using a standard 60W electronics station, you already know the frustration. The solder balls up, the flux burns into a black crust, and the joint remains mechanically weak. The culprit is not your technique; it is thermodynamics.
Sheet metal acts as a massive heat sink. When selecting a soldering iron for sheet metal, you must overcome the metal's thermal mass. A standard 60W ceramic heating element simply cannot replenish heat as fast as a 12-inch sheet of steel dissipates it into the surrounding air and your workbench. To achieve the necessary capillary action and metallurgical bond, the base metal must reach the solder's liquidus temperature (typically 361°F to 430°F) across the entire joint area simultaneously.
As of 2026, the market for heavy-duty thermal tools has stabilized, giving beginners clear, professional-grade options that bridge the gap between delicate PCB work and full-scale oxy-acetylene welding.
Tool Selection: High-Wattage Irons vs. Soldering Guns
Forget temperature-controlled micro-stations. For sheet metal (ranging from 24-gauge up to 16-gauge), you need raw wattage and thermal recovery. Here is how the primary tool categories compare for metal fabrication, HVAC, and auto-body work.
| Tool Category | Top 2026 Model | Wattage | Best Application | Approx. Cost |
|---|---|---|---|---|
| Adjustable Heavy Iron | Hakko FX-601 | 135W | 24-18 ga steel, auto body, precise HVAC seams | $110 - $130 |
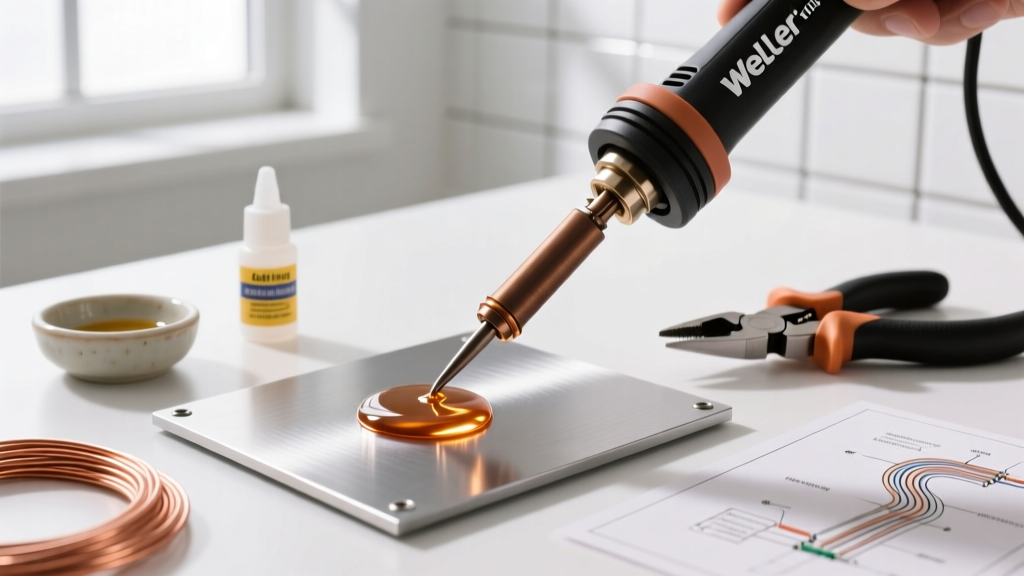
| Soldering Gun | Weller D550 Professional | 260W | Thick copper flashing, plumbing, heavy brackets | $140 - $160 |
| Butane/Propane Torch | Bernzomatic TS8000 | ~1200W (BTU equiv) | 16 ga+ steel, structural brackets, cast iron | $60 - $80 |
Why the Hakko FX-601 Dominates Sheet Metal Work
For beginners tackling thin-gauge steel (like electronics enclosures, model making, or automotive patch panels), the Hakko FX-601 is the undisputed champion. Unlike traditional high-wattage irons that run at a fixed, dangerously high temperature, the FX-601 allows you to dial in the heat. This prevents you from accidentally warping thin 24-gauge steel while providing the 135W thermal punch needed to keep the tip from stalling when it touches cold metal.
The Chemistry of Sheet Metal Soldering
The most catastrophic mistake beginners make is using rosin-core electronics solder on steel or galvanized metal. Rosin (RMA) flux is designed to clean mild copper oxides. It is entirely useless against the tough iron oxides and zinc coatings found on sheet metal.
Flux: The Acid Requirement
To solder sheet metal, you must use an inorganic acid flux, typically Zinc Chloride or a Zinc-Ammonium Chloride paste (like Rubyfluid or La-Co Soldering Paste). These aggressive acids chemically strip heavy oxides at high temperatures, exposing bare metal for the solder to wet.
Critical Safety Warning: Never use zinc chloride (acid) flux on printed circuit boards or electronics. The ionic residues will cause catastrophic short circuits and dendritic growth. Furthermore, heating zinc chloride releases toxic fumes. Always consult the NIOSH guidelines on Zinc Chloride and operate in a well-ventilated area or use a fume extractor.
Solder Alloys: Strength and Wetting
According to Lincoln Electric's soldering fundamentals, the filler metal must match the mechanical requirements of the joint. For sheet metal, structural integrity matters.
- Stay-Brite #8 (95% Tin, 5% Silver): The gold standard for steel and stainless steel. It boasts a tensile strength of up to 14,000 PSI and melts at a slightly higher temperature (430°F), creating incredibly rigid joints.
- 50/50 Tin-Lead: Excellent for copper and brass sheet metal. It offers a wide 'pasty range' (the temperature gap between solidus and liquidus), allowing you to wipe and shape the solder before it fully hardens—a classic technique in auto-body lead loading.
- 95/5 Tin-Antimony: A common lead-free plumbing alternative, though it requires significantly more heat and is less forgiving on steel.
Joint Design: Overcoming Solder's Weakness
Solder is a metallurgical adhesive, not a structural weld. It has poor peel and shear strength. If you try to butt-join two pieces of sheet metal edge-to-edge, the joint will snap under minimal stress.
The Lap Joint Rule
Always design your sheet metal with lap joints. The minimum overlap should be at least three times the thickness of the thinnest metal being joined. For 20-gauge steel (0.036 inches), aim for a 1/8-inch to 3/16-inch overlap. This maximizes the surface area for capillary action, allowing the molten solder to be drawn deep between the two sheets.
Step-by-Step Execution for Steel Enclosures
- Mechanical Prep: Acid flux only does half the work. Use 120-grit sandpaper or a Scotch-Brite pad to physically abrade the joint area until it is bright and shiny. Do this immediately before soldering to prevent flash-rusting.
- Apply Flux: Brush a thin, even layer of zinc chloride paste onto both mating surfaces. Do not over-apply; excess flux will boil and blow the molten solder away.
- Clamp the Joint: Sheet metal warps under heat. Use locking pliers or heavy copper heat-sink clamps to hold the lap joint tightly together. Copper clamps also absorb excess heat, preventing the surrounding metal from warping.
- Heat the Base Metal: Press your 135W iron flat against the top sheet of metal. Do not touch the solder to the iron tip yet. Wait 5 to 15 seconds for the steel to reach temperature. You will know it is ready when the flux suddenly liquefies, bubbles, and turns clear.
- Feed the Solder: Touch the Stay-Brite wire to the edge of the joint, opposite the iron. If the steel is hot enough, capillary action will instantly suck the solder through the entire lap joint. If it sticks to the iron and balls up, the base metal is too cold.
- Cool Naturally: Remove the heat and let the joint cool undisturbed. Moving the metal while the solder is in its 'pasty' phase will cause a fractured, high-resistance 'cold joint'.
Post-Solder Neutralization and Cleanup
Zinc chloride flux is highly corrosive. If left on the metal, it will draw moisture from the air and rust through your sheet metal within 48 hours. You must neutralize it.
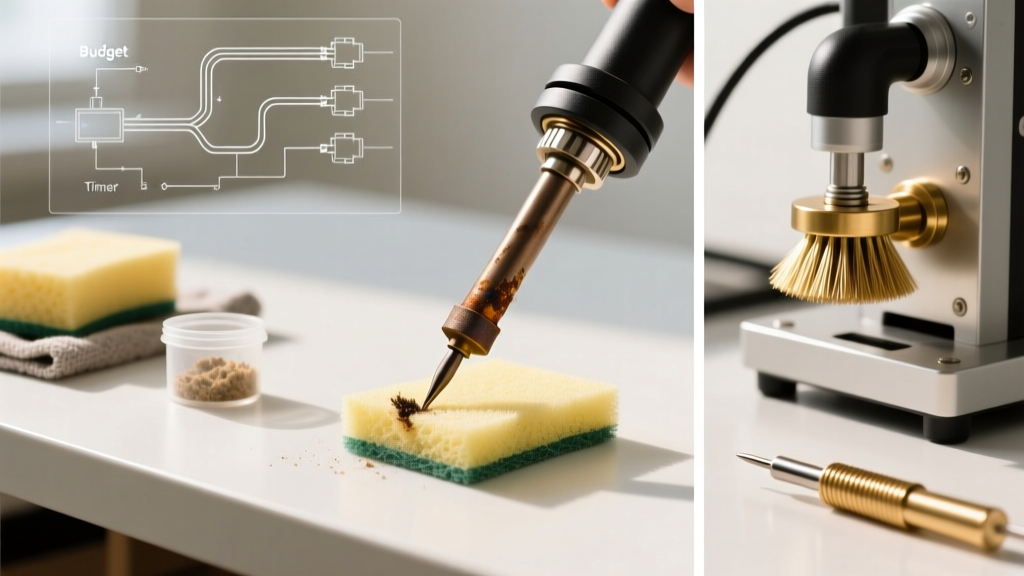
Mix a solution of warm water and baking soda (sodium bicarbonate). Scrub the joint with a stiff brass wire brush dipped in the solution. The baking soda will react with the residual acid, creating a harmless fizzing action (carbon dioxide release). Once the fizzing stops, rinse with clean water and dry thoroughly. For automotive or outdoor applications, follow this with a coat of cold galvanizing compound or primer.
Expert Tip: Preserving Your Soldering Iron Tips
Here is an industry secret that ruins many beginners' tools: Acid flux eats standard iron-plated soldering tips. The zinc chloride will chemically dissolve the protective iron plating on a standard Hakko or Weller tip, exposing the copper core, which will then pit and crater within hours.
The Solution: Dedicate a specific, inexpensive solid copper tip exclusively for sheet metal and plumbing work. Solid copper tips will slowly degrade and require occasional filing to keep the face flat, but they will not suffer the catastrophic pitting that plated tips do when exposed to inorganic acids. Never use your delicate PCB chisel tip for sheet metal work.