
Understanding the Weller Transformer Loop
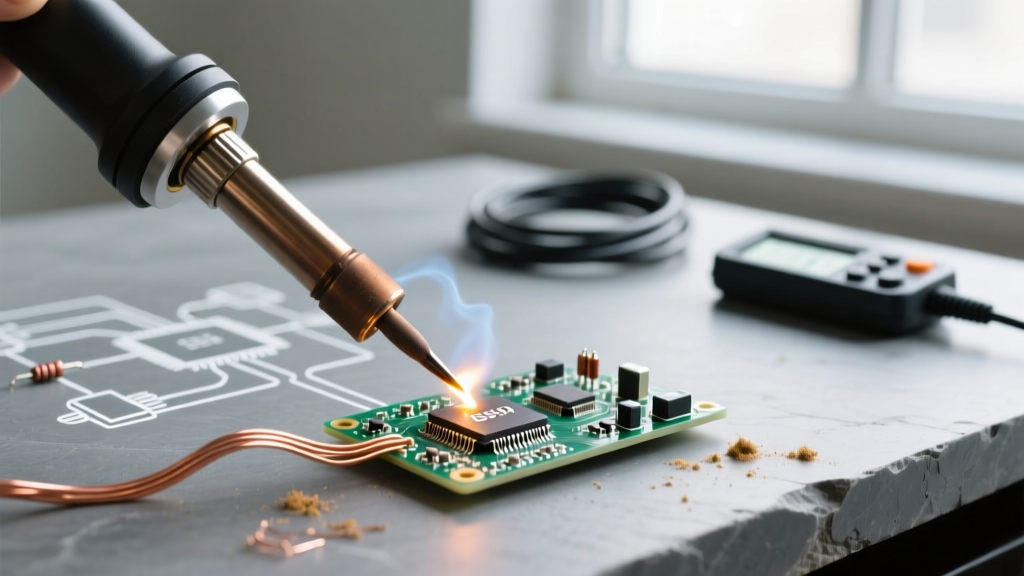
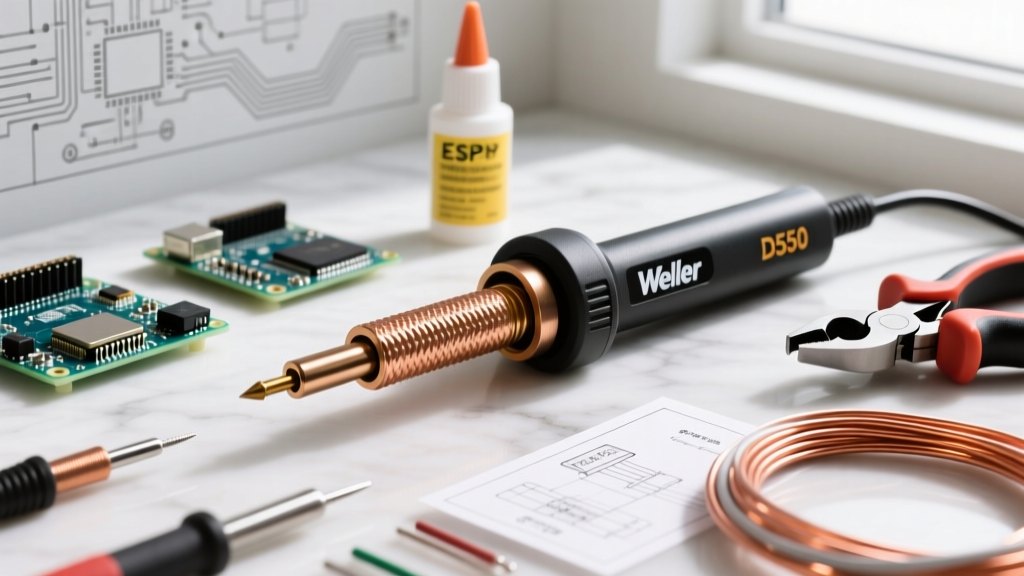
When you pull the trigger on a classic Weller soldering gun, you aren't just sending current to a ceramic heating element like you would with a standard soldering station. Instead, you are activating a heavy-duty transformer. The tip itself acts as the secondary winding of a low-voltage, high-current transformer loop. This design allows tools like the legendary Weller D550 or the 9400 series to generate massive thermal mass almost instantly, making them indispensable for heavy-gauge wires, stained glass, and plumbing.
However, this extreme thermal cycling and high current flow take a toll on the copper tips. As we navigate the electronics and DIY landscape in 2026, the widespread adoption of lead-free solders (like SAC305) in consumer and automotive wire harnesses has accelerated tip erosion. Understanding proper Weller soldering gun replacement tips and maintenance protocols is critical for beginners looking to achieve reliable, high-quality joints without frustrating cold-solder failures.
Common Weller Gun Models & Tip Series
Before replacing your tip, you must ensure you have the correct form factor. Weller guns primarily use the CT6 series tips, but the exact shape and wattage rating matter.
| Model | Wattage | Common Tip Part Numbers | Best Application |
|---|---|---|---|
| Weller 9400 | 100W / 140W | CT6D7 (1/8"), CT6E8 (3/16") | Medium wire, stained glass foil |
| Weller 9600 | 150W | CT6D7, CT6F9 | Heavy wire, small plumbing |
| Weller D550 | 260W | CT6D7, CT6E8, CT6C6 | Large gauge wire, thick bus bars |
| Weller D650 | 325W | CT6G10 (1/4" Heavy Duty) | Industrial wire harnesses, grounding straps |
When to Replace: Recognizing Tip Failure Modes
Beginners often try to salvage degraded tips, leading to poor heat transfer and ruined workpieces. According to the IPC/WHMA-A-620 standard for wire harness assemblies, proper wetting is mandatory for a reliable electrical connection. A degraded tip prevents proper wetting. Here is when you must replace your tip:
- Pitting and Cratering: Lead-free solders are highly aggressive to pure copper. Over time, the solder dissolves the copper, leaving microscopic craters. These craters trap oxidized flux, creating a thermal barrier that prevents heat from reaching the joint.
- Deformation and Flattening: If you have been pressing the gun hard against thick copper pipes or bus bars, the mechanical pressure combined with 900°F heat will physically deform the soft copper tip, reducing the surface contact area.
- Black Oxidation Scaling: If the tip turns a dull, flaky black that cannot be wiped away with a damp brass sponge, the copper has deeply oxidized. Solder will simply ball up and roll off.
- Terminal Grooving: Inspect the holes where the tip mounts to the gun. If the holes have elongated or worn into deep grooves, the tip will arc against the terminal block, causing localized melting.
Step-by-Step Weller Soldering Gun Replacement Tips
Replacing a Weller gun tip is straightforward, but doing it incorrectly is the number one cause of premature tip failure and voltage drops. Follow this exact procedure:
Step 1: Cool Down and Disconnect
Never attempt to change a tip on a live gun. Unplug the unit and allow it to cool to room temperature. While some veterans change tips while warm using gloves, beginners risk severe burns or accidental trigger engagement, which can cause a dead short across the transformer secondary.
Step 2: Remove the Terminal Nuts
Weller guns typically use slotted nuts or standard hex nuts to secure the tip loop. Use a 5/16-inch nut driver or the specific Weller slotted tool. Never use adjustable pliers or channel locks, as these will round off the soft brass or steel nuts, making future removal a nightmare.
Step 3: Clean the Terminal Block
This is the most skipped step by beginners. Once the old tip is removed, use a fiberglass scratch pen or a brass wire brush to clean the mating surfaces of the terminal block. Follow up with a lint-free cloth and 99% isopropyl alcohol. Any carbon buildup or oxidation here will create electrical resistance.
Step 4: Seat the New Tip
Insert the new CT6 series tip through the ceramic insulators and into the terminal block holes. Ensure the tip is seated fully and evenly. If one side is higher than the other, the tip will twist under torque, snapping the copper loop.
Step 5: Torque the Nuts Correctly
Thread the nuts back on by hand to avoid cross-threading. Tighten them snugly with your nut driver, applying approximately 15 inch-pounds of torque. Do not overtighten; copper is soft, and excessive force will strip the threads or crack the tip base.
Expert Warning: Never file a Weller soldering gun tip! Standard soldering iron tips are iron-plated to resist erosion, but Weller gun tips are bare copper. Filing removes the working mass and alters the electrical resistance of the secondary loop, which can cause the transformer to overheat and burn out the primary winding.
The 'Cold Joint' Trap: Terminal Block Resistance
One of the most vital Weller soldering gun replacement tips for beginners to grasp is the relationship between terminal tightness and heat output. Because the tip is part of an electrical circuit, Ohm's Law dictates that any resistance at the connection point will generate heat at the terminal block rather than at the working end of the tip.
If your terminal nuts are loose, or if the mating surfaces are oxidized, the gun will draw heavy current but fail to transfer it to the tip. You will notice the terminal block getting smoking hot while the tip struggles to melt 63/37 tin-lead solder. This results in cold, grainy joints that violate the NASA-STD-8739.3 workmanship requirements for soldered electrical connections. Always ensure a pristine, tight metal-to-metal connection at the base.
First Use: The Critical Tinning Window
Once your new copper tip is installed, the first 60 seconds of use dictate its lifespan. Bare copper oxidizes rapidly when exposed to high heat and atmospheric oxygen.
- Plug in the gun and hold the trigger on the 'Low' setting (if equipped) or pulse it in 3-second bursts.
- The moment the tip reaches solder-melting temperature (around 360°F to 400°F), apply a generous amount of rosin-core solder directly to the working faces of the tip.
- Coat the entire working area in a thick layer of molten solder. This process, known as tinning, creates a protective metallic barrier that prevents the underlying copper from oxidizing and pitting.
- Wipe excess solder on a damp cellulose sponge or brass wool, leaving a shiny, silver coating.
In 2026, replacement tips for the CT6 series generally cost between $9.00 and $14.00 each depending on the retailer and exact gauge. Proper tinning and storage can easily extend a $12 tip's life from a few weeks to several years of heavy DIY use.
Troubleshooting FAQ
Why is my new Weller tip melting at the terminal base instead of the point?
This indicates high electrical resistance at the terminal block. The current is bottlenecking at the connection, generating intense localized heat. Unplug the gun, remove the tip, clean the terminal block with a brass brush, and ensure the nuts are tightened evenly to 15 inch-pounds.
Can I use third-party copper tips on my Weller D550?
While third-party tips exist on the market, Weller Tools engineers their CT6 tips with specific copper alloys and precise loop resistances to match the transformer's secondary winding. Off-brand tips often have slightly different diameters or alloy compositions, which can alter the current draw, potentially causing the internal transformer to run hotter than designed and shortening the gun's overall lifespan.
My gun hums loudly and the tip vibrates. Is this normal?
A slight 60Hz hum is normal for a heavy transformer-based tool. However, loud buzzing accompanied by tip vibration usually means the magnetic shunts inside the transformer are loose, or the tip is not seated properly, causing magnetic arcing. Reseating the tip tightly usually resolves the physical vibration.
Final Thoughts on Maintenance
Mastering your Weller soldering gun isn't just about pulling the trigger; it is about respecting the physics of the transformer loop. By recognizing the signs of copper degradation, meticulously cleaning the terminal block during changes, and strictly adhering to proper tinning protocols, you will ensure your heavy-duty soldering projects meet professional electrical standards every single time.