
The Enduring Dominance of the Transformer Gun in 2026
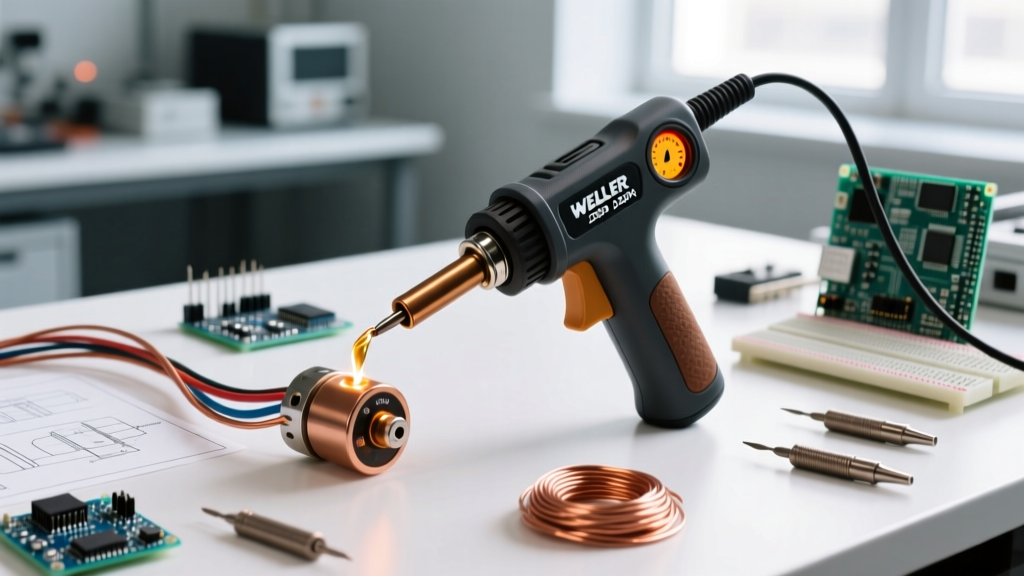
In an era dominated by ceramic-core soldering stations and USB-C smart irons, the classic transformer-based Weller soldering gun remains an absolute necessity for heavy-duty electrical work. While modern micro-stations excel at delicate 0402 surface-mount components, they fail miserably when faced with 8 AWG battery cables, automotive chassis grounds, or thick stained-glass copper foil. The Weller soldering gun operates on an entirely different physical principle, utilizing a step-down transformer to push massive amperage through a thick copper tip. Understanding the metallurgy, physics, and proper technique of these tools is what separates a frustrating, cold-joint experience from a flawless, mil-spec connection.
The Physics of the Step-Down Transformer
To master the Weller soldering gun, you must first understand its internal architecture. Unlike a standard iron that uses a resistive heating element to slowly warm a metal shaft, the Weller gun houses a heavy toroidal step-down transformer. The primary coil connects to your 120V AC mains, while the secondary coil consists of a single, massive turn of copper or aluminum that connects directly to the soldering tip.
Because the tip acts as a shorted secondary turn, the voltage drops to roughly 0.25V, but the amperage spikes dramatically. On a 260W setting, the tip carries over 1,000 Amps of alternating current. This immense current causes the tip to heat via its own internal resistance, reaching 900°F (482°C) in under six seconds. This rapid, high-mass thermal transfer is exactly why the Weller soldering gun can sink heat into a massive brass lug without stalling, a feat that would instantly freeze a standard 60W pencil iron.
Model Breakdown: Choosing the Right Heavy-Duty Tool
Not all Weller guns are created equal. Selecting the correct model for your specific wire gauge and thermal mass requirements is critical for joint integrity.
| Model | Wattage (High/Low) | Secondary Amperage (Approx) | Best Use Case | 2026 Street Price |
|---|---|---|---|---|
| Weller 8200 | 140W / 100W | ~550A | 14-10 AWG wire, hobbyist RC batteries, light lugs | $65 - $75 |
| Weller D550PK | 260W / 200W | ~1,000A | 10-4 AWG wire, automotive grounds, heavy chassis | $115 - $135 |
| Weller D650 | 260W / 200W | ~1,000A | Industrial continuous duty, thick stained glass | $130 - $150 |
Expert Technique: The "Pre-Heat and Flow" Method
The most common mistake amateurs make with a Weller soldering gun is treating it like a standard iron—leaving the trigger fully depressed while feeding solder. This leads to flux burnout, oxidized pads, and brittle joints. According to the workmanship standards outlined by IPC (Association Connecting Electronics Industries), solder is meant to provide electrical continuity and environmental sealing, not structural strength. A solid mechanical connection must precede the solder application.
Step-by-Step Heavy Wire Splicing
- Mechanical Prep: Strip the wire and execute a tight Western Union splice or crimp the wires into a copper eyelet. Solder should never bear mechanical tension.
- Flux Application: Apply a generous layer of high-activity Rosin Mildly Activated (RMA) paste flux to the joint. Do not rely solely on the rosin core inside your solder wire for heavy thermal masses.
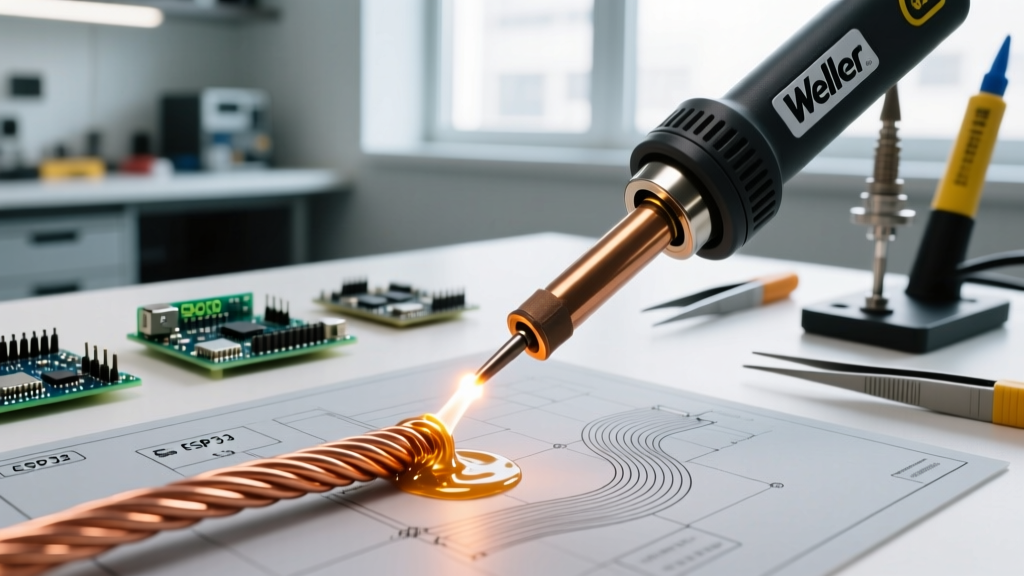
- The High-Trigger Strike: Squeeze the Weller gun trigger fully to the high setting (260W). Wait exactly 4 to 6 seconds for the copper tip to reach peak thermal saturation.
- Thermal Transfer: Press the flat face of the tip against the thickest part of the copper lug or wire mass. Never apply the tip directly to the solder.
- The Half-Trigger Sustain: Once the joint begins to smoke (indicating the flux is activating at roughly 350°F), release the trigger to the half position (200W). This maintains the heat without scorching the rosin.
- Feed and Withdraw: Feed 0.125" (3mm) diameter 60/40 Sn/Pb or SAC305 solder into the joint until it wicks fully into the wire strands. Withdraw the solder, then withdraw the gun in one fluid motion.
Metallurgy and Maintenance: Dressing Copper Tips
Unlike modern irons that use iron-plated copper tips to resist corrosion, the classic Weller soldering gun uses bare, solid copper tips. When bare copper is exposed to molten tin at 900°F, a metallurgical phenomenon called solder erosion (or leaching) occurs. The molten tin literally dissolves the copper, causing the tip to pit, crater, and eventually snap off.
To maximize tip lifespan and ensure optimal thermal transfer, you must perform regular tip dressing:
- Filing: When the tip develops black oxidation craters, use a 120-grit flat mill file to gently dress the tip back to bright, shiny copper. Do this while the gun is unplugged and cold.
- Retinning: The exact second you plug the gun in and the tip begins to warm, apply a thick layer of 63/37 eutectic rosin-core solder. This sacrificial layer of solder protects the copper from atmospheric oxidation during the next use.
- Alloy Selection: Stick to 63/37 or 60/40 Tin/Lead solder for Weller guns. Lead-free alloys like SAC305 require higher melting temperatures (217°C+), which drastically accelerates copper leaching and destroys bare tips in a fraction of the time.
CRITICAL HAZARD WARNING: The Magnetic Field Effect
Because the Weller soldering gun operates on AC current passing through a single shorted loop, it generates a massive, localized alternating magnetic field at the tip. Never use a Weller gun on printed circuit boards (PCBs). The magnetic spike will instantly induce parasitic voltages, destroy unshielded Hall-effect sensors, wipe EEPROM memory, and permanently magnetize nearby steel tools or inductors. Reserve this tool strictly for passive, heavy-gauge wire and chassis work.
Troubleshooting Common Failure Modes
1. Excessive Transformer Buzz and Rattling
A low 60Hz hum is normal for a toroidal transformer. However, a loud, metallic rattling indicates that the tip mounting hardware has loosened due to thermal expansion cycles. If the brass nuts securing the tip to the secondary terminals are loose, electrical arcing will occur, pitting the terminals and causing severe voltage drops. Use the included Weller wrench to tighten the mounting nuts to approximately 15 in-lbs. Ensure the tip is seated flat against the terminal block before tightening.
2. Voltage Drop on Extension Cords
The D550 draws roughly 2.1 Amps on the primary 120V side. While this seems low, running a 100-foot 16 AWG extension cord introduces enough resistance to drop the primary voltage to the transformer by 5-8 volts. This primary voltage sag disproportionately cripples the secondary amperage, leaving you with a gun that struggles to heat a 6 AWG wire. For any job site run longer than 25 feet, always use a heavy-duty 12 AWG extension cord to guarantee full transformer saturation.
3. Flux Fume Management and Safety
Soldering heavy joints requires copious amounts of flux, which vaporizes into complex aliphatic aldehydes and hydrochloric acid gases (if using activated rosin). According to guidelines published by the CDC's National Institute for Occupational Safety and Health (NIOSH), chronic exposure to rosin-based solder fumes can lead to occupational asthma and severe respiratory sensitization. When using a Weller soldering gun for extended automotive or industrial sessions, a simple desk fan is insufficient. You must utilize a localized HEPA and activated carbon fume extractor positioned within 6 inches of the joint, or work in a heavily ventilated bay. For detailed safety data sheets and tool specifications, technicians should regularly consult the official Apex Tool Group / Weller archives.
Final Verdict: The Unreplaceable Heavyweight
Despite the influx of smart, temperature-controlled soldering systems, the Weller soldering gun remains the undisputed king of high-thermal-mass electrical connections in 2026. By respecting its magnetic limitations, understanding the metallurgy of bare copper tips, and mastering the dual-trigger heat management technique, electrical professionals can achieve bulletproof, mil-spec joints on the heaviest gauge wires available. Treat the tool with metallurgical respect, and it will easily outlast the technician wielding it.