
There are few things more frustrating in electronics work than reaching for your soldering station, waiting three minutes, and realizing the tip is still cold. When your primary tool fails, it halts your entire workflow. Fortunately, learning how to fix a soldering iron is a straightforward process if you understand the underlying electrical and chemical failure modes. Whether you are using a high-end Hakko FX-888D, a classic Weller WES51, or a budget Pinecil V2, the diagnostic principles remain largely the same.
In this expert guide, we will bypass generic advice and dive deep into multimeter diagnostics, chemical tip restoration, and internal component replacements to get your iron back to optimal operating temperatures.
The 3 Primary Failure Modes of Soldering Irons
Before grabbing a screwdriver, you must correctly identify the symptom. Soldering iron failures almost always fall into one of three categories:
- Thermal Transfer Failure (Oxidation): The station reads the correct temperature, the element is hot, but solder balls up and rolls off the tip. This is a chemical surface issue, not an electrical one.
- Open Heating Element: The iron remains completely cold, and the digital station may throw an error code (like 'H-E' on Hakko models). The internal nichrome or ceramic wire has snapped.
- Cord or Handle Continuity Loss: The iron heats up intermittently or the temperature sensor reads erratically due to broken copper strands inside the silicone cable.
Step-by-Step Diagnostic: Testing the Heating Element
If your iron is completely cold, the heating element is the primary suspect. To confirm this, you need a digital multimeter set to the resistance (Ohms) setting. Always ensure the station is unplugged and the handle is completely cool before testing.
Multimeter Testing for Hakko FX-888D (Element Part A1325)
Remove the tip and the ceramic sleeve to expose the white ceramic heating element. You will see four distinct pins protruding from the base.
- Test the Heater Circuit: Place your multimeter probes on pins 1 and 2 (the outer pins). A healthy A1325 element will read between 2.5 and 3.5 ohms at room temperature. If your multimeter reads 'OL' (Open Loop) or infinite resistance, the heater wire is broken. The element must be replaced.
- Test the Sensor Circuit: Place your probes on pins 3 and 4 (the inner pins). The thermocouple sensor should read between 1.0 and 2.0 ohms. An open circuit here means the station cannot read the temperature, which will also trigger a heater shutdown to prevent a fire.
Testing the Handle Cord Continuity
If the element tests perfectly, the break is likely in the cord. Unplug the handle from the station. For a standard 5-pin Hakko connector, test continuity from the connector pins to the exposed element pins. Flex the cord near the strain relief while watching the multimeter. If the resistance fluctuates wildly or drops to 'OL', the internal wires have fatigued and snapped. Replacing the cord assembly (Part B5031) costs around $18 and requires only a small Phillips screwdriver to swap.
How to Fix a Soldering Iron Tip That Won't Melt Solder
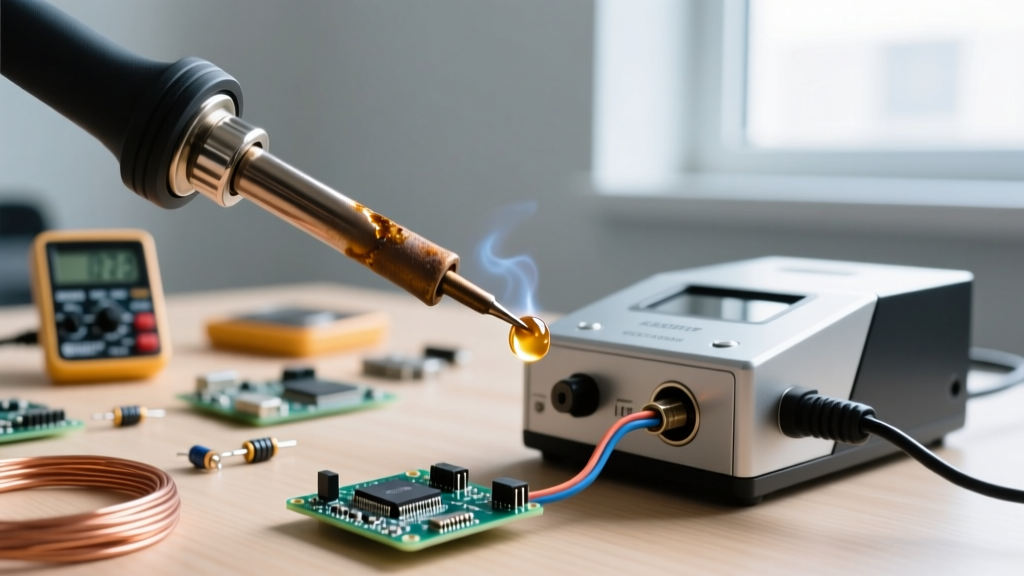
If your station indicates 350°C, the handle is radiating intense heat, but your 63/37 rosin-core solder refuses to wet the tip, you are dealing with severe oxidation. This happens when an iron is left at high temperatures without a protective layer of solder, causing the iron plating to react with oxygen and form a black, non-conductive crust.
Expert Warning: Never use sandpaper, emery cloth, or a metal file to scrape off oxidation. According to guidelines referenced in IPC Soldering Standards and Best Practices, abrading the tip will destroy the microscopic iron plating. Once the copper core is exposed, the tip will dissolve into the solder alloy within hours, ruining it permanently.
The Chemical Restoration Method
To safely fix a soldering iron tip with black oxidation, follow this exact sequence:
- Turn the station temperature down to 250°C (480°F). High heat accelerates oxidation and will burn off any chemical cleaners you apply.
- Apply a generous amount of chemical tip tinner (such as Hakko FS-100 or MG Chemicals Tip Cleaner) to the blackened surface. This paste contains mild acids and fresh solder powder.
- Gently work the tip into a brass wire sponge (like the Hakko 599B). The brass is softer than the iron plating but hard enough to break up the oxidized layer.
- Wipe the tip on a damp cellulose sponge, then immediately apply a thick coat of high-flux rosin solder (Kester 186) to re-tin the surface.
For more foundational care techniques, the Adafruit Guide to Excellent Soldering provides excellent visual references on proper tip tinning and storage.
Component Replacement Matrix: Hakko vs. Weller
When an element is truly dead, replacement is inevitable. Below is a comparison of the most common professional station elements, their 2026 market pricing, and diagnostic values to keep on your workbench.
| Station Model | Element Part Number | Avg. Cost (2026) | Heater Resistance | Sensor Type |
|---|---|---|---|---|
| Hakko FX-888D | T18 / A1325 | $12 - $15 | 2.5 - 3.5 Ω | Thermocouple |
| Weller WES51 / WESD51 | PES51 | $25 - $30 | 9.0 - 11.0 Ω | Thermocouple |
| Hakko FX-951 | A1567 (Cartridge) | $35 - $42 | Integrated | Integrated Heater/Sensor |
| Pinecil V2 | N/A (Replace Unit) | $26 (Full Iron) | N/A | Integrated RTD |
Notice that modern cartridge-style tips (like the Hakko T21 or Weller RT series) integrate the heating element directly into the tip. While this provides superior thermal recovery, it means a dead heater requires throwing away a $40 tip rather than a $12 element. Always verify if your iron uses a slide-on tip over a separate ceramic element, or a fully integrated cartridge.
Advanced Station Troubleshooting: The Uncontrolled Heat Issue
Occasionally, a user will search for how to fix a soldering iron because the tip is glowing red, melting the handle plastic, and the station's temperature dial has zero effect. This is not an iron failure; it is a station failure. Specifically, the TRIAC (the semiconductor component on the station's PCB that switches AC mains voltage to the heater) has shorted internally. When a TRIAC fails, it typically fails 'closed', sending 100% duty cycle power to the iron continuously.
If you experience this, immediately unuck the station. Do not attempt to cool the tip in water, as the thermal shock will crack the ceramic element. To fix this, the station must be opened, and the TRIAC (often a MAC97A8 or similar component depending on the model) must be desoldered and replaced. If you are not comfortable working with mains-voltage PCBs, it is time to replace the base station.
Expert Maintenance Protocol to Prevent Future Failures
Fixing a soldering iron is usually a reaction to poor maintenance. Implementing a strict shutdown protocol will extend the life of your heating elements and tips by years. As noted in Hakko Technical Tips and Maintenance documentation, thermal cycling and dry heating are the primary killers of soldering equipment.
- The Heavy Tinning Rule: Before turning off your station, melt a large blob of cheap, high-rosin solder onto the tip. This sacrificial layer will oxidize instead of the tip's iron plating while the iron cools down. When you turn it on next time, simply wipe the dirty blob off on your brass sponge, and the tip underneath will be pristine.
- Lower Idle Temperatures: If your station has a sleep function, set it to drop to 150°C after 5 minutes of inactivity. Running a tip at 380°C while you are debugging code for 20 minutes bakes the flux residue into a hard, black carbon crust that acts as a thermal insulator.
- Use the Right Flux: Avoid highly active, acid-core plumbing fluxes when working on electronics. The aggressive chlorides will eat through the iron plating via galvanic corrosion, leading to pitting and eventual failure of the tip.
By understanding the electrical pathways of your heating element and the chemical realities of tip oxidation, you can confidently diagnose and fix a soldering iron in minutes, keeping your workbench fully operational and your projects on schedule.