
The Physics of the Soldering Gun: Why Setup Matters
When tackling heavy-duty electrical tasks—such as bonding 4 AWG battery cables, soldering XT90 connectors, or repairing automotive grounding straps—a standard ceramic-core soldering iron simply lacks the thermal mass required. This is where the transformer-based soldering gun excels. Unlike temperature-controlled stations that rely on resistive heating elements, a soldering gun utilizes a step-down transformer. The primary coil takes your standard 120V AC mains voltage and steps it down to a fraction of a volt (usually around 0.5V to 1V) across the secondary coil, which is the copper loop tip itself. Because power must be conserved, this massive voltage drop results in a colossal amperage spike (often exceeding 150 amps) passing directly through the tip, generating near-instantaneous resistive heat.
As of 2026, the Weller D550 (120V, 120/175W) remains the industry benchmark, retailing around $75, while cordless alternatives like the Milwaukee M12 Soldering Gun ($149 bare tool) have gained traction for field technicians. However, understanding how to use soldering gun hardware properly requires a distinct setup and calibration protocol that differs vastly from standard irons. Improper setup leads to terminal arcing, rapid tip oxidation, and unreliable solder joints that violate IPC J-STD-001 requirements for heavy wire connections.
Initial Setup: Mounting the Loop Tip Correctly
The most critical point of failure on any transformer-style soldering gun is the connection between the brass terminal blocks and the copper loop tip. Because hundreds of amps flow through this junction, any microscopic gap or loose connection will create high electrical resistance. This resistance generates localized, extreme heat that will melt the terminal block or cause visible electrical arcing.
The Torque Specification
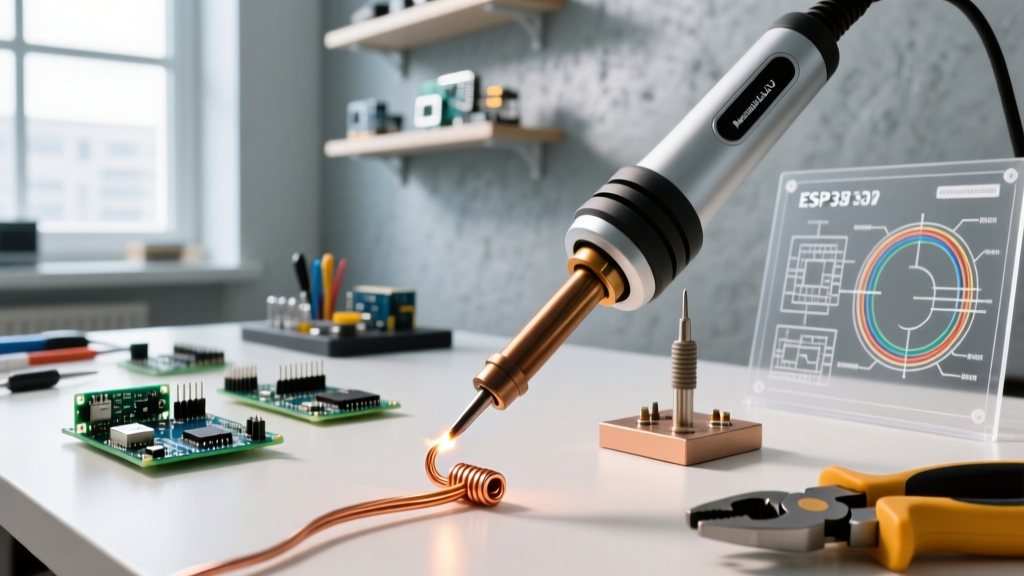
When unboxing a new Weller D550 or similar 100W+ gun, you will find the loop tip secured by two slotted brass nuts.
- Clean the Contacts: Before installation, wipe the brass terminal faces and the flattened ends of the copper tip with isopropyl alcohol (90% or higher) to remove factory machining oils.
- Seat the Tip: Insert the tip into the terminal slots. Ensure the bent loop is facing downward and the flattened ends are sitting completely flush against the brass blocks.
- Tightening Sequence: Using the included hollow-shaft nut driver, tighten the nuts until they are hand-tight, then apply exactly one-quarter (1/4) additional turn. Do not over-torque. Brass is a soft alloy; excessive force will strip the threads or warp the terminal block, ruining the gun's secondary winding connection.
Tip Tinning and Thermal Calibration
Soldering guns do not feature digital calibration dials or microprocessors. In the context of a soldering gun, "calibration" refers to thermal conditioning and tip tinning. A bare copper loop tip will oxidize within seconds of reaching 700°F (370°C), creating a black, non-conductive scale that prevents solder from wetting to the joint.
Expert Callout: Never pull the trigger of a soldering gun while the tip is dry. Always apply flux and solder to the cold tip before initiating the heating cycle. The rapid heat-up time (1.5 to 3 seconds) means the solder will melt and flux will activate simultaneously, protecting the copper from atmospheric oxidation.
The Tinning Protocol:
- Wrap a small amount of rosin-core solder (e.g., Kester 44 in 63/37 Sn/Pb, or SAC305 for lead-free compliance) directly around the bottom curve of the cold copper loop.
- Pull the trigger to the first stage (low heat / 120W). Do not use the high-heat trigger for initial tinning.
- As the copper begins to glow dull red and the solder melts, move the molten bead around the working surface of the loop to ensure complete coverage.
- Release the trigger and let the gun cool. Wipe away excess flux residue with a brass wire sponge. Your tip is now thermally calibrated and ready for heavy-gauge work.
Operational Technique: How to Use Soldering Gun Tools on Heavy Wire
Mastering how to use soldering gun equipment requires understanding the "Heat and Feed" timing matrix. Because the tip heats up instantly but also cools down rapidly when the trigger is released, you must use the tool dynamically. Furthermore, dual-trigger guns feature a low-heat and high-heat stage. Use the low stage for 12-16 AWG wires and the high stage for 10-4 AWG wires.
| Wire Gauge (AWG) | Trigger Stage | Target Dwell Time | Recommended Solder Alloy |
|---|---|---|---|
| 16 - 12 AWG | Low (120W) | 1.5 - 2.5 seconds | 63/37 Sn/Pb (0.062" dia) |
| 10 - 8 AWG | High (175W) | 3.0 - 4.5 seconds | 63/37 Sn/Pb (0.125" dia) |
| 6 - 4 AWG | High (175W) | 5.0 - 8.0 seconds | SAC305 or Sn/Pb (0.250" dia) |
Execution Steps:
- Mechanical Preparation: Strip the wire and twist the strands tightly. Crimp a copper ring terminal or splice connector onto the wire. Solder should never be used as the primary mechanical strength; it only provides electrical conductivity and environmental sealing.
- Flux Application: Apply a generous amount of tacky flux (e.g., Chip Quik SMD291AX or Amtech) to the terminal barrel. Do not rely solely on the flux core inside your solder wire for heavy-gauge connections.
- Apply Heat: Hook the loop tip around the metal terminal barrel. Pull the trigger. The copper loop acts as a thermal clamp, heating the terminal from the outside in.
- Feed Solder: Touch the solder wire to the opposite side of the terminal from where the gun tip is resting. When the terminal reaches the solder's liquidus temperature, the solder will be drawn through the barrel via capillary action.
- Release and Cool: Release the trigger immediately once the solder flashes and flows. Hold the wire perfectly still for 4 seconds to prevent a "cold joint" fracture as the alloy crystallizes.
Troubleshooting Common Gun Failures
Even with proper setup, heavy-use environments introduce specific failure modes. Here is how to diagnose and resolve them:
- Visible Arcing at the Terminal Nuts: This indicates a loose connection or oxidation between the brass nut and the copper tip. Fix: Unplug the gun, disassemble the tip, sand the flattened copper ends with 400-grit sandpaper until bright, and reinstall with the 1/4-turn torque method.
- Tip Pitting and Rapid Oxidation: If the copper loop develops deep, dark craters, you are likely using acid-core plumbing flux or exposing the tip to sulfur-rich environments. Fix: File the tip flat with a bastard file, re-tin immediately, and strictly use electronics-grade rosin or no-clean flux.
- Excessive Transformer Buzzing: A low 60Hz hum is normal (caused by magnetostriction in the transformer laminations). However, a loud, rattling buzz indicates the transformer core laminations are loose or the gun has suffered a mechanical drop. Fix: The transformer core must be re-varnished or the unit replaced, as internal arcing is a severe shock hazard.
Safety Protocols: Magnetic Fields and Fume Extraction
Using a soldering gun introduces unique safety hazards not present with standard irons. The massive current flowing through the secondary loop generates a concentrated, localized electromagnetic field (EMF).
- Magnetic Interference: Never rest the loop tip near magnetic stripe cards, mechanical hard drives, or sensitive Hall-effect sensors. The EMF can instantly corrupt data or magnetize precision steel tools.
- Pacemaker Warning: Individuals with cardiac pacemakers or implantable cardioverter-defibrillators (ICDs) should maintain a minimum distance of 12 inches from the transformer housing and the active loop tip to prevent electromagnetic interference with the medical device.
- Fume Extraction: Soldering heavy-gauge wires requires large volumes of flux, which releases volatile organic compounds (VOCs) and, if using Sn/Pb alloys, microscopic lead particulates. According to OSHA Lead Safety Guidelines, local exhaust ventilation (LEV) is mandatory. In 2026, technicians should utilize a HEPA/Carbon fume extractor (such as the Hakko FA-400 or Weller WFE2X) positioned no more than 4 inches from the solder joint to capture the plume before it enters the breathing zone.
By respecting the physics of the step-down transformer, adhering to strict torque and tinning protocols, and managing your dwell times, you can leverage a soldering gun to create aerospace-grade, high-current electrical terminations that will outlast the equipment they power.
For further reading on heavy wire termination reliability, consult the Weller Tools Official knowledge base and the IPC-A-610 visual inspection standards for wire dress and solder fillet requirements.