
The Science of Tip Degradation: Why Cleaning Matters
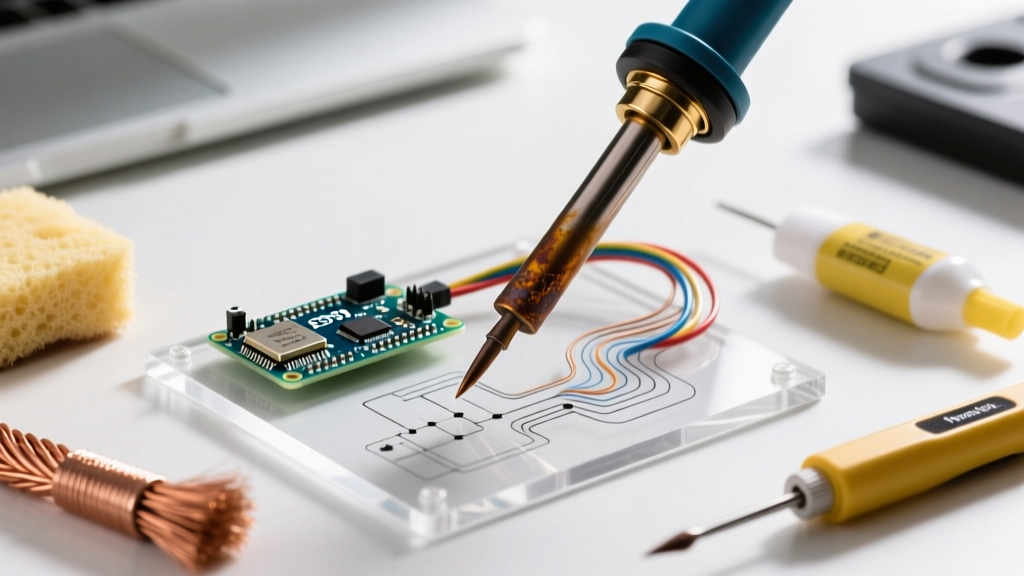
If you have ever touched your iron to a joint only to watch the solder ball up and roll away, you have experienced tip oxidation. Modern soldering iron tips are not solid copper; they are a copper core coated with a thin layer of iron (typically 100 to 150 microns thick), followed by chromium and nickel layers to prevent the solder from dissolving the copper. When that iron layer is exposed to heat and oxygen, it forms iron oxide—a black, crusty barrier that repels molten solder.
Understanding how do you clean a soldering iron tip without destroying this microscopic plating is the difference between a tip that lasts for three years and one that dies in three weeks. According to the IPC Soldering Standards, proper tip maintenance is critical for maintaining consistent thermal transfer and meeting modern lead-free (SAC305) soldering requirements, which demand higher operating temperatures that accelerate oxidation.
Comparison Matrix: The 5 Best Cleaning Methods
Before diving into the step-by-step procedures, here is a direct comparison of the industry-standard cleaning methods based on abrasiveness, thermal impact, and overall effectiveness.
| Method | Abrasiveness | Thermal Shock | Avg. Cost | Best Use Case |
|---|---|---|---|---|
| Brass Wire Sponge | Very Low | None | $8 - $14 | Daily maintenance, mid-session wiping |
| Damp Cellulose Sponge | Low | High (Micro-fractures) | $2 - $5 | Heavy flux residue removal |
| Tip Tinner / Refresher | Chemical | None | $6 - $10 | Rescuing heavily oxidized (black) tips |
| Flux Paste Dip | Chemical | None | $5 - $12 | Light oxidation, pre-tinning |
| Stainless Steel Scrubber | Extreme | None | $3 - $5 | Never (Destroys iron plating) |
Method 1: The Brass Wire Sponge (The Gold Standard)
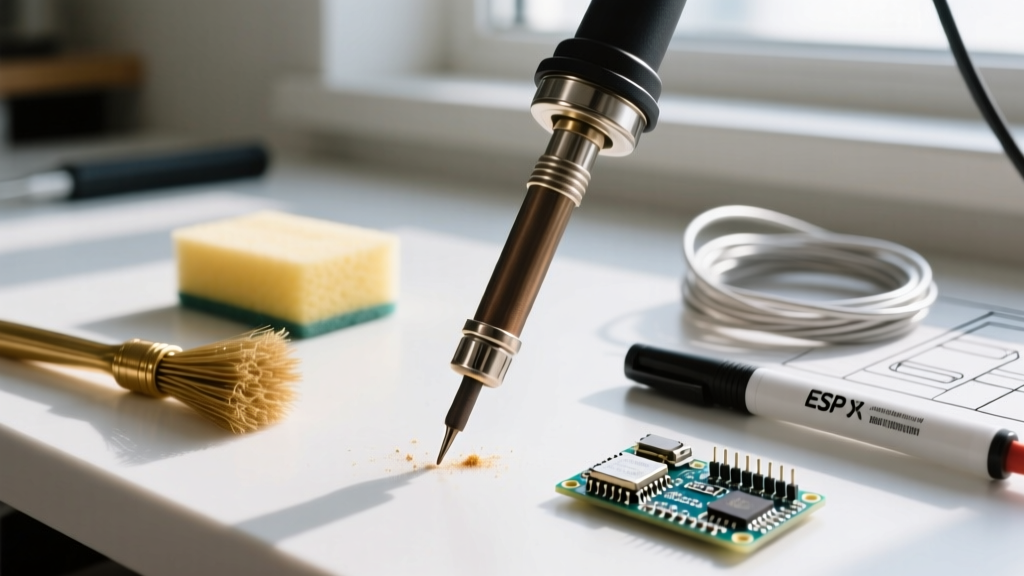
For 90% of your soldering sessions, a brass wire sponge (like the Hakko 599B or Weller WSP100) is the undisputed champion. Brass is an alloy of copper and zinc, making it softer than the iron plating on your tip, but harder than the iron oxide scale. When you plunge the tip into the brass coils, it scrapes away the brittle oxide layer without scratching the underlying iron.
Why It Beats the Wet Sponge
Unlike wet sponges, brass does not cause thermal shock. Plunging a 350°C (662°F) tip into a wet sponge drops the surface temperature by up to 50°C in milliseconds. Over hundreds of cycles, this rapid expansion and contraction causes micro-fractures in the iron plating, leading to pitting and premature death. The Weller Soldering Knowledge Base explicitly recommends dry brass sponges to preserve tip integrity and maintain thermal mass during continuous soldering workflows.
Method 2: The Damp Cellulose Sponge (The Classic)
The yellow/brown sponge that comes in the box with most stations is made of cellulose. Never use a synthetic kitchen sponge; the polymers will melt onto your tip and release toxic fumes. While cellulose sponges are effective at wiping away sticky, carbonized flux residue, they must be used correctly.
- The Moisture Rule: The sponge should be damp, not dripping. Squeeze it out completely after wetting.
- The Water Type: Always use distilled or deionized water. Tap water contains calcium and magnesium minerals that bake onto the tip at high temperatures, creating an insulating crust that ruins thermal transfer.
- The Technique: Wipe in a figure-eight motion, rotating the tip to ensure all sides are cleaned evenly.
Method 3: Tip Tinner / Refresher (The Rescuer)
If your tip has turned completely black and solder refuses to wet the surface, a brass sponge will not be enough. You need a chemical reduction. Tip tinners (like the Hakko FS-100 or Weller WTCPT) are small tins filled with a highly aggressive, acidic flux paste mixed with fine solder powder.
How to Use a Tip Tinner Safely
- Set your station to a low-medium temperature (around 250°C / 482°F).
- Dip the oxidized tip into the tinner compound for 2 to 3 seconds while twisting gently.
- The aggressive flux will dissolve the iron oxide, and the solder powder will immediately coat the bare iron.
- Wipe the excess black sludge off on a brass sponge.
- Apply fresh, high-quality rosin-core solder immediately to seal the tip.
Expert Warning: Do not use tip tinner for routine daily cleaning. The flux is highly corrosive. Use it only as a rescue operation for oxidized tips, and always wipe thoroughly afterward to prevent the acid from eating into the iron plating.
Method 4: Flux Paste Dip (The Deep Clean)
For heavy flux buildup that a brass sponge cannot remove, dipping the hot tip into a jar of pure, no-clean or rosin flux paste can work wonders. The boiling action of the flux on the hot metal lifts carbonized residue away from the tip. This is a common trick in high-volume manufacturing environments where operators need to clear charred flux without dropping the tip temperature. Simply dip, let it sizzle for one second, and wipe on a dry brass sponge.
Method 5: Abrasives (The "Do Not Use" List)
When faced with a stubborn black tip, beginners often reach for sandpaper, a metal file, a fiberglass scratch pen, or a stainless steel scouring pad. This is a fatal mistake. Because the iron plating is only a fraction of a millimeter thick, sanding it will instantly expose the copper core. Once the copper is exposed, the molten solder will dissolve the copper (a process called leaching), creating a permanent, unfixable crater in your tip. As highlighted in the Adafruit Guide to Excellent Soldering, a tip that has been filed or sanded is effectively ruined and must be replaced.
The Perfect Step-by-Step Cleaning Routine
To maximize the lifespan of your soldering iron tips, adopt this strict three-phase routine:
Phase 1: Pre-Soldering
Turn on the station and allow it to reach temperature. Do not let it sit idle for more than 5 minutes without solder on it. Melt a generous amount of fresh, flux-cored solder onto the tip to create a protective barrier against oxygen before you begin your work.
Phase 2: Mid-Session Maintenance
Keep a brass wire sponge next to your station. Before every single joint, quickly plunge and twist the tip in the brass to remove old oxidation. Immediately apply a tiny bit of fresh solder to the tip before touching it to the component pad. This ensures maximum thermal transfer.
Phase 3: Post-Soldering (Crucial)
When you turn off your soldering station, do not wipe the tip clean. Instead, melt a large, thick blob of cheap, rosin-core solder over the entire working surface of the tip. Let it cool into a solid glob. This sacrificial layer will oxidize instead of your tip's iron plating while the iron sits unused. The next time you turn the iron on, simply wipe that sacrificial glob off in your brass sponge, and you will be left with a pristine, perfectly tinned surface.
Expert FAQ: Edge Cases and Troubleshooting
Why does my tip turn blue or purple?
Discoloration (blues, purples, and golds) on the shaft of the tip is normal and is caused by heat tempering the steel. However, if the very end (the working surface) turns these colors, it indicates your temperature is set far too high, or the tip is not properly tinned. Lower your temperature to 315°C (600°F) for leaded solder, or 350°C (662°F) for lead-free.
Can I use isopropyl alcohol (IPA) to clean the tip?
No. Dipping a 350°C tip into liquid IPA will cause immediate, severe thermal shock, likely cracking the internal ceramic heating element (if using a Hakko T18 style) or shattering the iron plating. IPA is for cleaning the PCB, not the iron.
My tip is pitted with tiny craters. Can I fix it?
No. Pitting occurs when the iron plating has been breached, either by thermal shock from a wet sponge, mechanical damage, or prolonged exposure to highly corrosive fluxes at excessive temperatures. Once pitted, the tip will never heat evenly again and must be discarded.