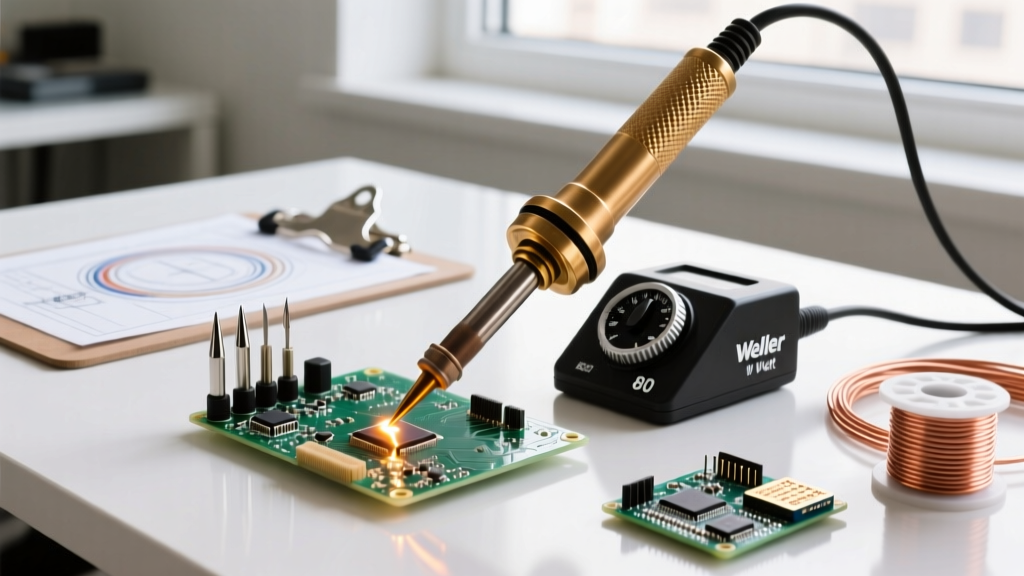

The Enduring Value of the Weller 80 Watt Soldering Iron in 2026
In an era dominated by smart, USB-C-powered micro-soldering stations and low-thermal-mass SMD tweezers, the traditional high-wattage iron remains an indispensable workhorse for specific applications. The Weller 80 watt soldering iron—most notably represented by the rugged SP80US standalone model and the WP80 station pencil—occupies a critical middle ground. It delivers the raw thermal mass required for heavy-gauge wires, automotive harnesses, and stained glass work, without the bulk and localized heat-destroying aggression of a 250W soldering gun.
As of 2026, while surface-mount technology (SMT) continues to shrink, the demand for robust power electronics, EV battery tab prototyping, and heavy-duty automotive modifications has surged. These applications require an iron that can push past the thermal sink effect of massive copper planes and thick stranded wires. This guide provides expert-level operational tips, metallurgical insights, and maintenance protocols to extract maximum performance from your Weller 80W platform.
Thermal Dynamics: Why 80 Watts Matters
A common misconception among hobbyists is that higher wattage simply melts solder faster. In reality, wattage dictates thermal recovery rate. When you apply an iron to a 10 AWG copper wire or a large PCB ground plane, the workpiece acts as a massive heat sink, rapidly drawing thermal energy away from the tip.
A standard 40W iron will experience a severe temperature drop (often falling below the solder's liquidus phase), resulting in cold joints, excessive dwell times, and damaged insulation. The Weller 80 watt soldering iron, equipped with its heavy-duty ceramic or nichrome heating element, continuously pumps 80 joules of energy per second into the tip. This allows the iron to maintain a stable 750°F (400°C) at the joint interface, ensuring rapid wetting and proper intermetallic compound (IMC) formation in accordance with IPC J-STD-001 requirements.
Optimal Tip Selection Matrix
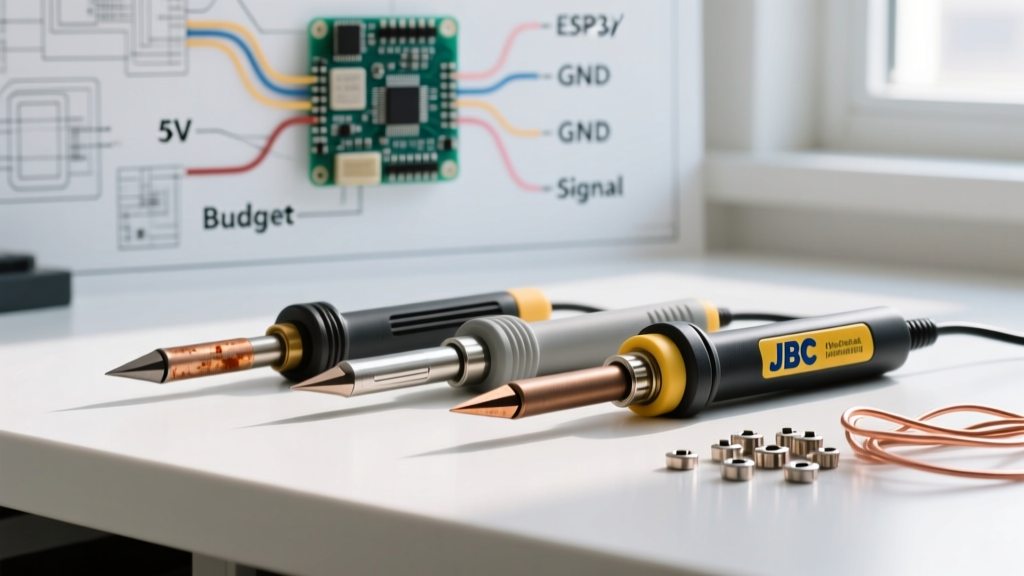
The Weller SP series and WP series tips rely on set-screw or threaded barrel retention. Selecting the correct tip geometry is paramount; using a conical tip on a heavy-gauge wire will result in pitting and immediate tip failure due to insufficient surface area contact.
| Tip Geometry | Weller Part Example | Ideal Application | Expert Insight |
|---|---|---|---|
| 1/4" Screwdriver | SP-7 / WP-7 | Automotive battery cables, 4-8 AWG wire, heavy busbars. | Maximizes thermal transfer area. Requires a firm, flat seating against the wire strands. |
| 3/16" Chisel | SP-6 / WP-6 | 10-14 AWG wire, large PCB through-hole components, copper foil tape. | The angled edge allows for scraping oxidation off the workpiece before applying solder. |
| 1/8" Conical | SP-1 / WP-1 | Stained glass came, moderate gauge wires (16-18 AWG). | Avoid for heavy thermal sink work; the point will oxidize and pit rapidly under high heat. |
Expert Techniques for High-Wattage Soldering
Tinning and Terminating Heavy Gauge Wires (AWG 10 to AWG 4)
Soldering thick stranded wire requires a disciplined approach to prevent flux burnout and insulation melt. Follow this protocol derived from NASA-STD-8739.3 workmanship standards:
- Preparation: Strip exactly 1/2 inch to 5/8 inch of insulation. Do not nick the outer strands, as this creates mechanical failure points.
- Flux Application: Apply a high-activity, no-clean tacky flux (e.g., MG Chemicals 8341 or Chip Quik SMD291AX) directly to the bare strands. Liquid rosin flux will boil off too quickly under 80W heat.
- Pre-Tinning the Wire: Set the Weller 80 watt soldering iron to 750°F (400°C). Apply the 1/4" screwdriver tip to the wire while feeding 0.062" diameter 63/37 Sn/Pb solder. The solder should wick into the strands via capillary action in 3 to 5 seconds.
- Pre-Tinning the Terminal: Flow a small amount of solder into the ring terminal or battery lug.
- Mating: Insert the tinned wire into the terminal. Apply the iron to the terminal (not the wire) for 2 seconds until the solder reflows and forms a unified, shiny fillet.
Expert Warning: Never use the iron to melt solder and then "carry" it to the joint on the tip of the iron. This burns the flux core before it reaches the workpiece, leaving you with raw, unactivated solder that will ball up and create a cold, high-resistance joint.
Soldering Stained Glass and Copper Foil
For artisans working with stained glass, the Weller 80W iron is a staple. The key here is temperature moderation. Set the iron to 680°F - 700°F (360°C - 371°C) when using 60/40 solder on copper foil. Use a 3/16" or 1/4" chisel tip to lay down a smooth, convex bead. The high wattage ensures that as you drag the iron along a 12-inch seam, the temperature does not sag at the end of the run, preventing the dreaded "lumpy" solder bead.
Common Failure Modes and Troubleshooting
Even premium tools suffer when mismanaged. Here are the most frequent failure modes encountered with 80W Weller irons and how to resolve them:
1. Black Oxide Buildup (Non-Wetting Tip)
Cause: Leaving the iron at 800°F on a stand without a protective solder coating, or using a water-soaked sponge for cleaning.
Solution: The rapid thermal shock of a wet sponge causes micro-fractures in the tip's iron plating, allowing solder to dissolve the underlying copper core. Switch to a dry brass wire sponge (like the Weller WDC1). If oxidation has already occurred, use a tip tinner/activator paste (e.g., Hakko 599B) to chemically reduce the oxide layer.
2. Thermal Runaway / Overheating
Cause: In thermostatic models like the WP80, a failing thermocouple or a damaged sensor wire inside the pencil can cause the station to misread the tip temperature, driving the heater to 100% duty cycle.
Solution: If your solder instantly turns gray and oxidizes the moment it touches the tip, unplug the unit immediately. Test the heating element and sensor pins with a multimeter against Weller's official service documentation. Usually, replacing the pencil or the internal sensor cartridge resolves the issue.
Maintenance Schedule for Longevity
To ensure your Weller 80 watt soldering iron survives decades of heavy use, implement this strict maintenance cadence:
- End of Every Session: Melt a generous blob of 63/37 rosin-core solder over the entire working surface of the tip before powering down. This sacrificial layer oxidizes instead of the tip's iron plating.
- Monthly: Inspect the set-screw or threaded collar (depending on your specific Weller model) for seized flux residue. Clean with isopropyl alcohol and a brass brush to ensure optimal thermal coupling between the heater and the tip barrel.
- Annually: Check the power cord for heat degradation near the strain relief. 80W irons run hot, and the ambient heat traveling up the handle can eventually make the silicone jacket brittle.
Safety and Fume Extraction Considerations
An 80W iron vaporizes flux at a significantly higher rate than a 40W SMD iron due to the larger surface area and higher thermal mass of the tips being used. The resulting colophony (rosin) smoke is a known respiratory sensitizer.
Do not rely on passive desktop fans. For heavy-duty Weller 80W operations, utilize an active HEPA and activated carbon fume extractor positioned no more than 6 inches from the soldering zone. Ensure your workspace is grounded, especially when working on sensitive automotive ECUs or solid-state relays, as high-wattage irons can occasionally leak stray AC voltage if the internal mica insulation degrades over time.
Final Verdict
The Weller 80 watt soldering iron remains a cornerstone of the professional electronics and fabrication workbench in 2026. By respecting its thermal dynamics, pairing it with the correct mass-heavy tips, and adhering to strict flux and cleaning protocols, you can achieve aerospace-grade solder joints on the most demanding, high-thermal-mass workpieces available.