
The Metallurgical Reality of Copper Soldering Tips
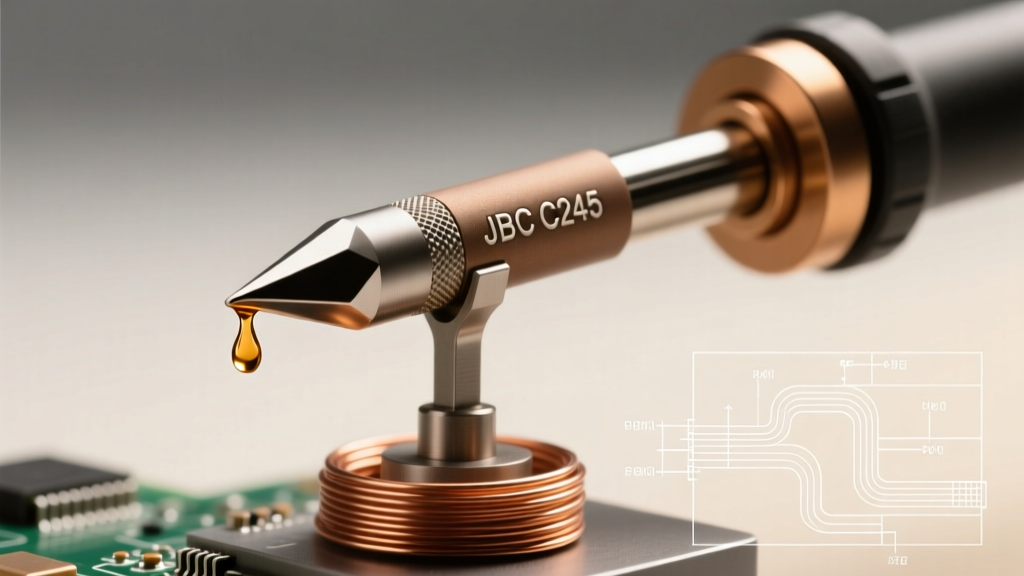
When electronics hobbyists and professionals discuss a copper tip soldering iron, they are often conflating two entirely different tools. True, solid bare copper tips are a relic of early electrical work, plumbing, and stained glass crafting. Modern PCB soldering relies on copper-cored, iron-plated tips. Understanding this metallurgical distinction is the first step in mastering your equipment and avoiding catastrophic tip failure.
Pure copper is an exceptional thermal conductor, transferring heat to heavy ground planes and thick wires rapidly. However, it has a fatal flaw: tin in your solder actively dissolves copper. At the molecular level, the tin and copper form an intermetallic compound (Cu6Sn5). When exposed to modern rosin or acid fluxes at high temperatures, this dissolution accelerates, literally eating away the tip and leaving it pitted, misshapen, and useless within hours if improperly managed.
Expert Warning: Never use a solid bare copper tip for precision surface-mount (SMD) PCB work. The rapid oxidation and pitting will destroy your solder joints and ruin expensive components. Reserve bare copper for heavy-duty electrical lugs, stained glass foiling, and plumbing.
Bare Copper vs. Iron-Plated Copper: Which Do You Have?
Before applying any maintenance, you must identify your tip type. Filing an iron-plated tip will instantly destroy it, while failing to file a pitted bare copper tip will result in cold joints. Below is a 2026 market and technical comparison to help you identify your hardware.
| Feature | Solid Bare Copper Tip | Iron-Plated Copper Core Tip |
|---|---|---|
| Core Material | 100% Solid Copper | Copper core, Iron outer shell |
| Best Applications | Stained glass, plumbing, heavy AWG wire | PCB, SMD, precision electronics |
| Flux Compatibility | Acid, Rosin, No-Clean | Rosin, No-Clean (Acid destroys plating) |
| Reshaping Method | Mechanical filing and sanding | NEVER file (destroys iron plating) |
| Avg Lifespan (2026) | 20 - 60 hours (highly variable) | 150 - 400+ hours |
| Replacement Cost | $4.00 - $9.00 | $8.00 - $18.00 |
| Common Examples | Weller CT6F7, generic plumbing tips | Hakko T18 series, Weller ET series |
Expert Maintenance Protocols for Solid Copper Tips
If you are using a heavy-duty station like the Weller WLC100 or a vintage Weller W100PG with a solid copper CT-series tip, mechanical maintenance is mandatory. As the Cu6Sn5 intermetallic layer forms, the tip will develop deep craters. Here is the professional protocol for restoring a heavily pitted bare copper tip.
Step 1: Mechanical Reshaping
Unlike iron-plated tips, which must only be cleaned with a damp cellulose sponge or brass wool, bare copper requires physical abrasion to remove the oxidized and dissolved layers.
- Tool Selection: Use a single-cut mill bastard file (such as a Nicholson 8-inch flat file). Avoid cross-cut or double-cut files, as they remove too much material and create deep gouges.
- Temperature State: Always file the tip when it is completely cold. Filing a hot copper tip accelerates oxidation immediately and warps the metal.
- Technique: Apply light, even pressure, filing in one direction to restore the original bevel or chisel geometry. Stop as soon as the shiny, unoxidized copper is revealed.
Step 2: Immediate Chemical Retinning
The moment you file a copper tip, it is highly reactive and will oxidize in the air before you can even turn the iron on. You must pre-tin it chemically.
- Apply a generous layer of high-activity tinning paste (e.g., Kester #185 or MG Chemicals 8341) directly to the cold, freshly filed tip.
- Power on your soldering station and set the temperature to a conservative 260°C (500°F).
- As the tip heats up, the paste will melt, clean the microscopic oxides, and deposit a protective layer of tin-lead or tin-silver alloy.
- Once fully melted and flowing, wipe the tip gently on a damp cellulose sponge and immediately apply your standard rosin-core solder to seal the surface.
Thermal Management: Preventing Rapid Dissolution
The rate at which solder dissolves a copper tip is governed by thermodynamics; roughly speaking, the dissolution rate doubles for every 10°C increase in temperature. According to Hakko's official maintenance guidelines, excessive heat is the primary killer of soldering tips, but for bare copper, it is an existential threat.
If you are soldering stained glass copper foil using a solid 3/16-inch chisel tip, the temptation is to crank the dial to 425°C (800°F) to melt the solder faster. Do not do this. At 425°C, a solid copper tip will pit and degrade in less than four hours of continuous use.
The Expert Thermal Strategy
- Optimal Range: Keep your bare copper tip between 315°C and 345°C (600°F - 650°F).
- Mass over Heat: If you are struggling to melt solder on a heavy joint, do not increase the temperature. Instead, switch to a physically larger copper tip (e.g., moving from a 1/8-inch to a 1/4-inch chisel). The increased thermal mass will transfer the necessary energy without requiring destructive heat levels.
- Dwell Time: Never leave a tinned copper tip resting in a metal holder for more than 5 minutes without use. The ambient radiant heat in the metal coil holder accelerates flux burn-off, leaving the copper exposed to atmospheric oxygen.
When to Retire a Copper Tip
Even with meticulous maintenance, bare copper tips are consumables. As outlined in the NASA Workmanship Training standards for soldering, tip geometry directly affects joint reliability. You must discard and replace your copper tip when:
- Concavity Exceeds 1mm: If the center of your chisel tip is scooped out by more than 1 millimeter, it will not make full contact with flat pads, leading to cold joints and insufficient wetting.
- Asymmetric Bevels: If repeated filing has caused the tip to become asymmetrical, heat transfer will be uneven, causing you to drag solder unintentionally across adjacent traces or foil.
- Structural Compromise: If the tip becomes thin enough that it bends under light pressure against a workpiece, the internal crystalline structure has been compromised by excessive heat cycling.
Frequently Asked Questions (FAQ)
Can I use a brass wire brush to clean my solid copper tip?
While brass wool is excellent for cleaning iron-plated tips during active PCB soldering, using a stiff brass wire brush on bare copper can aggressively strip the protective tinning layer and score the soft metal. Stick to a damp cellulose sponge or a very gentle brass sponge for in-session cleaning, and reserve mechanical filing for deep pitting.
Why does my copper tip turn black instantly when I turn it on?
This is flash oxidation. It occurs when a copper tip is heated without a protective layer of solder or tinning flux. To prevent this, always leave a thick blob of rosin-core solder on the tip when you turn the iron off. This sacrificial blob will burn and oxidize instead of the copper underneath. When you turn the iron back on, simply melt that sacrificial blob and wipe it away.
Is lead-free solder worse for copper tips?
Yes, significantly. Lead-free alloys (like SAC305) require higher melting temperatures (around 217°C to 227°C) and contain a higher percentage of tin, which aggressively attacks bare copper. If you must use lead-free solder with a solid copper tip, expect the lifespan to decrease by 60% to 70% compared to traditional 60/40 tin-lead solder.