
The Metallurgy of Tip Failure: Why Oxidation Occurs
Understanding how to tin a soldering iron requires a fundamental grasp of tip metallurgy. A premium soldering tip—such as the Hakko T18 series or Weller RT micro-tips—is not solid iron. It consists of a high-conductivity copper core (thermal conductivity ~400 W/m·K) electroplated with a microscopic layer of iron, typically 0.003 to 0.008 inches thick. This iron plating provides the necessary solderability and prevents the molten solder from dissolving the copper core, a destructive process known as leaching.
When a tip turns black or blue, the iron plating has oxidized. Iron oxide (Fe2O3) is a thermal insulator and is entirely non-wetting, meaning molten solder will ball up and roll off. According to the soldering workmanship requirements outlined in the IPC J-STD-001 standards, maintaining a properly tinned tip is critical for achieving reliable metallurgical bonds and preventing cold joints caused by insufficient heat transfer.
Step-by-Step: How to Tin a Soldering Iron Correctly
Proper tinning is not just about melting solder on the tip; it is a controlled thermal and chemical process. Follow this exact sequence to establish a robust protective layer.
Step 1: Cold-Start Fluxing
Before turning on your station, apply a small dab of RMA (Rosin Mildly Activated) flux paste, such as MG Chemicals 8341, directly to the cold tip. As the station powers on, the flux will melt before the tip reaches oxidation temperatures, creating a protective chemical blanket that strips away microscopic surface contaminants.
Step 2: Thermal Staging and The Eutectic Melt
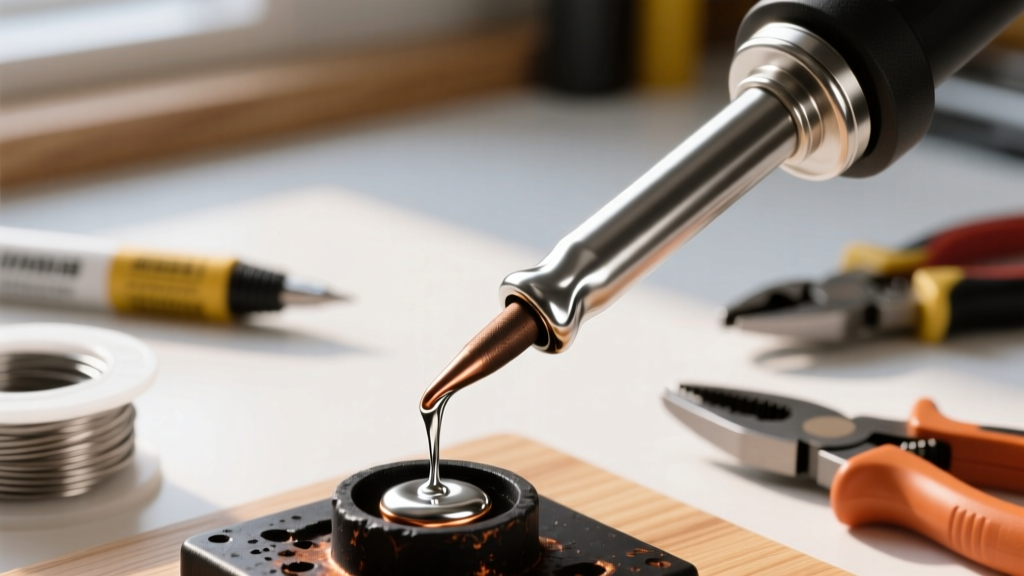
Set your station to a moderate 250°C if using standard Sn63Pb37 (63/37) leaded solder. Do not immediately blast the tip to 350°C. As the iron approaches 183°C (the eutectic melting point of 63/37 solder), feed a generous amount of 0.031-inch diameter rosin-core wire (like Kester 245) into the melting flux. The goal is to completely encapsulate the working end of the tip in a thick, shiny bead of solder before the iron reaches its maximum set temperature.
Step 3: The Wipe and Re-Tin Protocol
When you are ready to solder a joint, wipe the tip to remove the oxidized outer layer of the tinning bead. Critical rule: Use a dry brass wool sponge (e.g., Hakko 599B) rather than a wet cellulose sponge. Water-soaked spones cause rapid thermal shock, dropping the tip temperature by up to 100°C in a fraction of a second. Over time, this delta-T causes micro-fractures in the iron plating, leading to catastrophic pitting. After wiping, immediately apply fresh solder before placing the iron back in its stand. Never leave a tip bare and hot.
Troubleshooting Matrix: Diagnosing Tinning Failures
Even with strict maintenance routines, tips can degrade. Use this diagnostic matrix to identify failure modes and apply the correct corrective action.
| Visual Symptom | Root Cause | Corrective Action | Preventative Measure |
|---|---|---|---|
| Dark blue or black crust | Severe oxidation from idle heat or lack of protective solder coat. | Use a chemical tip tinner (e.g., Weller WDC2) at 300°C. | Always leave a large solder blob on the tip when powering down. |
| Pitting or craters on apex | Corrosion from water-soluble flux or mechanical abrasion. | Discard tip immediately. Pitting breaches the iron plating. | Never use sandpaper. Clean flux residues from PCBs post-solder. |
| Solder balls and rolls off | Non-wetting due to organic flux burn-off and carbon buildup. | Scrub with brass wool, apply aggressive RMA paste, and re-tin. | Wipe tip frequently during high-volume sessions; avoid no-clean flux on tips. |
| Copper visible at the tip | Iron leaching from excessive dwell time on large ground planes. | Discard tip. The copper core is exposed and will dissolve rapidly. | Use a tip with higher thermal mass (e.g., Weller RTW series) for heavy joints. |
The Lead-Free Challenge: Tinning SAC305 Alloys
As RoHS compliance becomes the global baseline in 2026, many professionals have transitioned to SAC305 (Sn96.5/Ag3.0/Cu0.5) lead-free solder. Tinning a soldering iron with SAC305 is significantly more difficult. SAC305 has a higher melting point (217°C to 220°C) and requires tip temperatures between 320°C and 350°C for adequate wetting.
Thermodynamics dictates that oxidation rates roughly double for every 10°C increase in temperature. Therefore, a tip idling at 350°C will oxidize exponentially faster than one at 250°C. As noted in Hakko USA's official maintenance documentation, leaving a station idle at high temperatures without a protective solder coating will oxidize the iron plating in under three minutes. When working with lead-free alloys, you must be militant about powering down your station or utilizing auto-sleep features (found on modern stations like the Weller WE1010NA) the moment you step away from the bench.
The Emergency Protocol: Using Chemical Tip Tinner
If your tip has already turned black and standard rosin flux fails to restore wetting, do not throw it away immediately. You can often salvage the iron plating using a chemical tip tinner. These compounds (such as the Hakko 599B Tip Tinner) contain a mixture of mild abrasives, solder powder, and highly active flux.
- Set your station to 300°C to 320°C.
- Plunge the blackened tip directly into the tinner compound for 2 to 3 seconds. You will see smoke as the active flux strips the iron oxide.
- Withdraw the tip and immediately wipe it on a brass wool sponge.
- Apply fresh, high-quality rosin-core solder to re-establish the protective coating.
- Repeat this process up to three times if the black crust is stubborn.
Fatal Maintenance Mistakes to Avoid
WARNING: Never attempt to clean a soldering tip with sandpaper, a metal file, or a Dremel tool. The iron plating is only a few thousandths of an inch thick. Abrasive mechanical cleaning will instantly strip the iron layer, exposing the copper core to molten solder. Once the copper is exposed, the tip is permanently destroyed and will dissolve into the solder joint, contaminating your PCB with copper inclusions. Always rely on chemical flux and thermal shock-free brass wool for cleaning.
Recommended 2026 Maintenance Arsenal
To maintain optimal thermodynamics and extend tip lifespan, equip your bench with these specific maintenance items:
- Hakko 599B Brass Wool Sponge ($12 - $15): The industry standard for thermal-shock-free tip cleaning. The brass shavings scrape off oxidized solder without dropping the tip temperature below the solder liquidus.
- MG Chemicals 8341 No-Clean Flux Paste ($8 - $10): Excellent for cold-start tinning and reviving slightly oxidized tips without leaving corrosive residues that require washing.
- Kester 245 63/37 Rosin Core Wire ($25 - $30): Premium eutectic solder specifically formulated for tip tinning. The high-activity rosin core ensures rapid wetting on the iron plating. Refer to Kester metallurgical data sheets for specific flux activity classifications.
- Weller WDC2 Tip Tinner ($18 - $22): An aggressive chemical restorer for heavily blackened tips that have failed standard flux cleaning protocols.
Final Thoughts on Tip Longevity
Mastering how to tin a soldering iron is the single most cost-effective skill an electronics technician can develop. Premium tips from manufacturers like Weller, Hakko, and Pace can cost anywhere from $10 to $45 each. By respecting the iron plating, managing your thermal staging, and never leaving a tip bare and hot, you can easily extend the operational life of a single tip from a few days to several months, ensuring consistent heat transfer and flawless solder joints on every project.