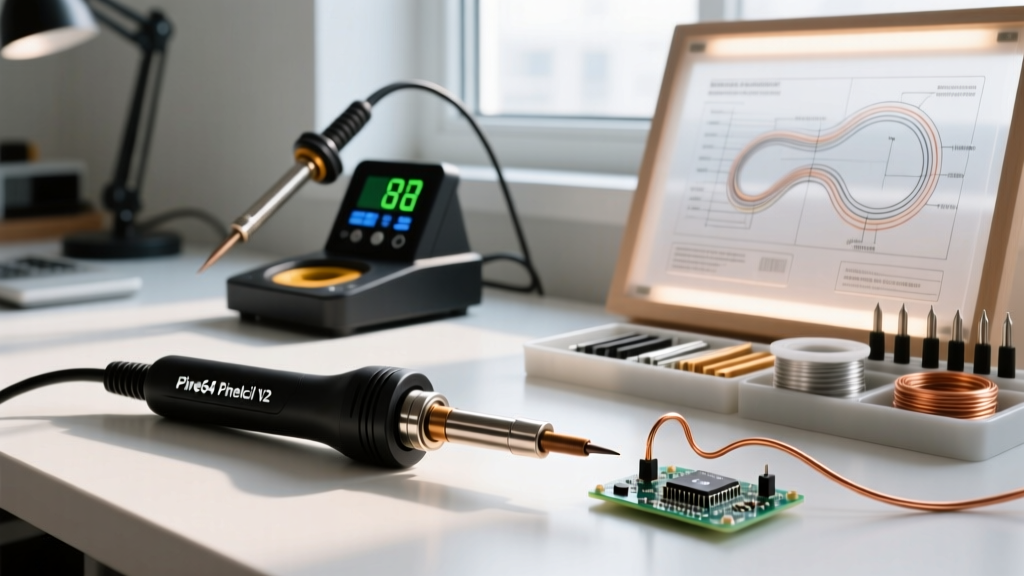

Introduction to the Pine64 Pinecil V2
As of 2026, the Pine64 soldering iron—specifically the Pinecil V2—remains the undisputed king of the open-source portable soldering market. Powered by the Bouffalo Lab BL706 RISC-V chip, the V2 offers unprecedented thermal recovery, rapid USB-C Power Delivery (PD) negotiation, and deep firmware customization via IronOS. However, out-of-the-box performance is only the baseline. To achieve IPC-compliant solder joints and protect sensitive SMD components, a proper setup and tip calibration are mandatory.
This tutorial bypasses generic unboxing fluff and dives straight into the technical setup, firmware flashing, and precise thermal calibration required to turn your Pinecil V2 into a lab-grade instrument.
Phase 1: Power Delivery (PD) Negotiation and Supply Selection
The most common setup failure with the Pine64 soldering iron is using an inadequate power brick. The Pinecil V2 features a dual-power architecture: a DC5525 barrel jack (12V–24V) and a USB-C port supporting PD 3.0/3.1. The USB-C path is the most popular, but it requires a charger capable of negotiating the 20V/3.25A profile to deliver the full 65W.
| Power Supply Type | Protocol | Negotiated Profile | Max Wattage to Pinecil | Use Case |
|---|---|---|---|---|
| Standard Phone Brick | USB-A / BC1.2 | 5V / 2A | 10W | Useless (Thermal runaway on large pads) |
| Apple 20W Adapter | PD 3.0 | 9V / 2.22A | ~20W | Light 0603 SMD and basic through-hole |
| Anker/Ugreen 65W | PD 3.0 | 20V / 3.25A | 65W | Ideal for heavy ground planes and XT60s |
| Laptop 100W+ Brick | PD 3.1 | 20V / 5A | 65W (USB-C capped) | Excellent headroom, runs cooler |
Expert Tip: Always use a high-quality, 100W-rated USB-C to USB-C cable with E-Marker chips. A substandard cable will cause voltage drop under load, triggering the Pinecil's internal low-voltage cutoff and interrupting your soldering session.
Phase 2: Flashing and Updating IronOS Firmware
Pine64 ships the Pinecil with a base version of IronOS, but the community-driven IronOS GitHub repository pushes critical updates, PD negotiation fixes, and UI improvements regularly. Updating to the latest stable 2026 build is step one of your setup.
Entering DFU Mode
- Ensure the Pinecil is unplugged from all power sources.
- Press and hold the '-' (minus) button.
- While holding the button, plug the USB-C cable into your computer.
- The screen will remain blank or show a DFU indicator. The BL706 chip is now in Device Firmware Upgrade mode.
Note: Modern IronOS builds support web-based flashing via WebUSB. You can use the official IronOS Web Flasher in a Chromium-based browser to drag-and-drop the .bin file directly to the device without installing local DFU drivers.
Phase 3: Tip Temperature Calibration (The Deep Dive)
The BL706 chip reads the thermocouple embedded in the tip via an internal Analog-to-Digital Converter (ADC). While factory calibration is generally accurate within ±5°C, manufacturing tolerances in third-party replacement tips or altitude differences can skew readings. Calibration ensures your 350°C setting actually outputs 350°C at the tip apex.
Method A: The Boiling Water Offset Trick
This method leverages the thermodynamic constant of water's boiling point. According to the USGS Water Science School, water boils at 100°C (212°F) at sea level, but this drops as elevation increases. If you are in Denver, Colorado (approx. 1,600m elevation), water boils at roughly 95°C.
- Bring a small cup of distilled water to a rolling boil.
- Set your Pinecil V2 temperature to the exact boiling point for your current altitude (e.g., 100°C at sea level).
- Dip the very tip of the iron into the water.
- Observation: If the water immediately hisses and boils vigorously off the tip, your iron is reading hotter than the water. If the water merely steams or cools the tip without a violent reaction, it is reading too cold.
- Navigate to Advanced Settings > Calibration > Temperature Offset in IronOS.
- Adjust the offset value in 1°C increments until the tip barely sustains a gentle, rolling boil when submerged, indicating thermal equilibrium.
Method B: Thermocouple Verification (Lab Grade)
For professional labs requiring IPC J-STD-001 compliance, use a K-type thermocouple and a digital multimeter.
- Bind the thermocouple bead to the Pinecil tip using high-temp Kapton tape and a dab of thermal paste to ensure accurate heat transfer.
- Set the Pinecil to 300°C, 350°C, and 400°C, allowing 60 seconds of idle stabilization at each step.
- Record the delta between the IronOS display and the multimeter reading.
- Input the average delta into the Temperature Offset menu. (Note: IronOS applies a linear offset; if your tip's resistance curve is severely non-linear, you may need to compile a custom tip definition in the IronOS source code).
Phase 4: Configuring Advanced IronOS Settings
Once calibrated, optimize the Pine64 Wiki recommended settings for daily driving the V2. Access the main menu by pressing the '+' button from the home screen.
- Sleep Mode: Set to Enabled. Configure Sleep Time to 60 seconds and Sleep Temp to 150°C. This prevents tip oxidation when you step away.
- Boost Mode: Set Boost Temp to +40°C above your base temp. Map this to a long-press of the '+' button. This gives you instant thermal mass injection when soldering to heavy copper pours.
- Power Limit: If you are using a 45W power supply, manually set the Power Limit in the Power Settings menu to 40W. This prevents the iron from attempting to draw more current than the brick can supply, which causes the USB-C PD controller to reset and drop the connection.
- Display Inversion: If you are left-handed or use a desk-mounted flex arm, toggle the display rotation in the User Interface settings so the text remains readable.
Troubleshooting Common Pinecil V2 Setup Failures
Even with perfect calibration, edge cases occur. Here is how to handle the most frequent V2 anomalies:
1. 'Thermal Runaway' Error
This safety trigger fires when the ADC detects the tip temperature rising uncontrollably, or if the thermocouple reads an open circuit. Fix: Ensure the tip is fully seated and the retaining collar is tight. If using a third-party tip, the internal thermocouple wire may be snapped. Swap to an OEM Pine64 short tip to verify.
2. USB-C PD Negotiation Loops
The screen flashes the voltage negotiation sequence endlessly and never heats up. Fix: The charger and the BL706 chip are failing to handshake. Unplug the iron, wait 10 seconds for the charger's PD controller to reset, and plug it back in. If it persists, try a different USB-C cable (avoid cables with built-in LED displays, as they often lack the proper CC resistor configuration for 20V negotiation).
3. Tip Temperature Drifting Downward
The iron is set to 350°C, but the display slowly drops to 310°C while idle. Fix: This is usually a symptom of a failing MOSFET or a voltage drop in the power cable causing the system to throttle. Test with a known-good 65W PD brick and a high-quality E-Marker cable.
Conclusion
Treating the Pine64 soldering iron as a plug-and-play toy does it a massive disservice. By selecting a proper USB-C PD power supply, updating to the latest IronOS firmware, and performing a rigorous boiling-point or thermocouple calibration, you unlock the true potential of the BL706 RISC-V architecture. Take the 15 minutes required to complete this setup tutorial, and your Pinecil V2 will deliver lab-quality, thermally stable solder joints for years to come.