
Why the Makerbase TS101 Soldering Iron is the Ultimate Beginner Choice
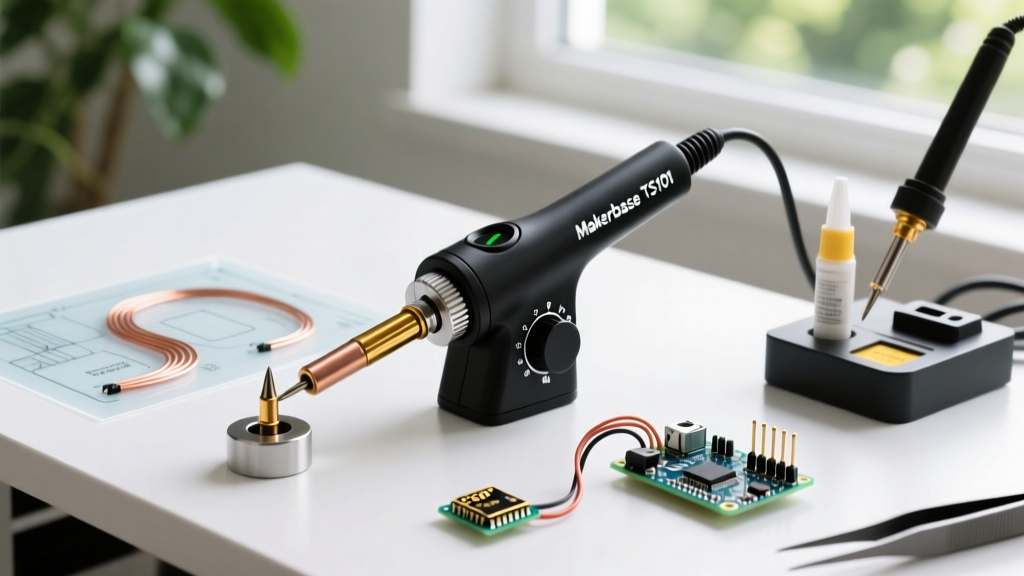
For decades, beginners were forced to choose between dangerous, unregulated $15 plug-in irons that scorched PCB pads, or expensive $150+ benchtop stations that cluttered small workbenches. The TS101 soldering iron, developed by Makerbase, completely disrupted this paradigm. By leveraging a dual-core 32-bit RISC-V processor (the Bouffalo Lab BL706) and USB-C Power Delivery (PD), the TS101 delivers the thermal recovery of a professional benchtop station in a form factor smaller than a marker pen.
Unlike cheap irons that use basic analog thermostats—which overshoot temperatures and cause thermal runaway—the TS101 utilizes a sophisticated PID (Proportional-Integral-Derivative) control loop. This means if you set the iron to 320°C, it actively calculates the rate of heat loss when touching a ground plane and injects the exact wattage needed to maintain the target temperature. For a beginner, this translates to fewer cold solder joints and a drastically reduced risk of lifting delicate SMD pads.
Crucial Distinction: TS101 vs. Pinecil V2
Before diving into the setup, beginners must understand a common market confusion. The TS101 is manufactured by Makerbase. It is frequently compared to the Pinecil V2 (made by Pine64). While both use the same BL706 chip and run the open-source IronOS firmware, there is a critical hardware difference:
- Makerbase TS101: Does not feature Bluetooth Low Energy (BLE). Configuration is done entirely via the onboard OLED screen and buttons.
- Pinecil V2: Includes a BLE module, allowing wireless configuration via a smartphone app.
If you purchase the TS101 expecting app-based telemetry, you will be disappointed. However, at a typical street price of $35 to $45, the TS101 remains the most cost-effective entry point into smart soldering.
The Hidden Costs: Power Delivery and Tip Compatibility
The TS101 is sold as a barebones unit. To actually use it, you need a compatible power supply and the correct soldering tips. This is where many beginners make their first costly mistakes.
1. The Power Supply Matrix
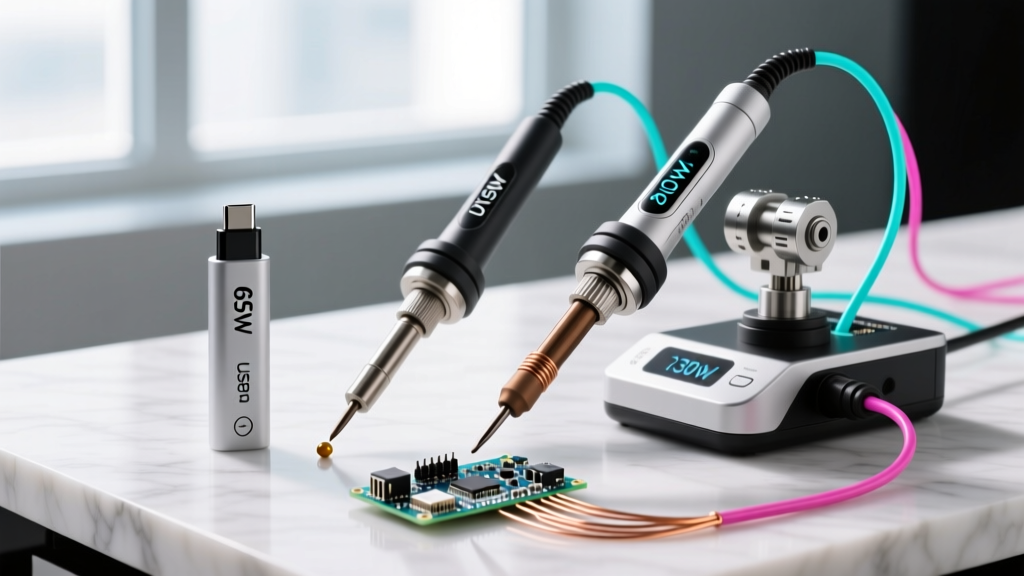
The TS101 does not regulate power internally; it negotiates it via the USB-C PD protocol. If you plug it into a standard 5V/2A phone charger, it will receive only 10W of power, rendering it useless for anything but melting tiny 0402 resistors. To achieve the advertised 65W performance, you must use a USB-C PD 3.0 (or newer) GaN charger capable of outputting 20V at 3.25A.
| Charger Output Profile | Negotiated Wattage | Heat-Up Time (to 320°C) | Use Case Recommendation |
|---|---|---|---|
| 20V / 3.25A (PD 3.0/3.1) | 65W | ~12 Seconds | Heavy ground planes, thick wires, daily use |
| 15V / 3.0A (PD 3.0) | 45W | ~18 Seconds | Standard through-hole and SMD PCB work |
| 12V / 3.0A (PD/QC) | 36W | ~25 Seconds | Light SMD work, quick repairs |
| 9V / 2.0A (QC 3.0) | 18W | 45+ Seconds (Struggles) | Emergency field repairs only |
Pro Tip: A 65W GaN charger from brands like Anker, UGREEN, or Baseus typically costs between $20 and $30. Do not buy unbranded chargers, as poor ripple filtering can induce noise into the TS101's sensitive thermocouple readings.
2. Tip Selection: The TS-C Standard
The TS101 uses the TS-C series tips. It is not backward compatible with the older TS80 or TS80P tips. When buying your first replacement tips, look for these three essentials:
- TS-C2 (Conical): The default tip. Good for general through-hole, but struggles with heat transfer on large pads.
- TS-BC2 (Beveled Cylinder): The absolute best beginner tip. The flat bevel holds solder via capillary action, making drag-soldering IC pins and wetting ground planes significantly easier.
- TS-C4 (Wide Chisel): Essential for soldering thick wires (14 AWG and below) or large XT60 connectors for RC hobbies.
Step-by-Step: First Boot and Configuration
Out of the box, the TS101 runs Makerbase's stock firmware. While functional, it is highly recommended to understand the basic UI before applying heat to your first board.
Navigating the Interface
The TS101 features a 0.96-inch OLED display and two buttons (A and B, or + and - depending on the shell printing).
- Short Press A (+): Increases target temperature by 10°C.
- Short Press B (-): Decreases target temperature by 10°C.
- Long Press B (-): Enters the main Settings Menu.
- Long Press A (+): Enters Boost Mode (temporarily overrides target temp to a higher setting, useful for quick heat-soaks).
Configuring the Voltage Limit
Before you even plug in your 65W charger, you must tell the TS101 what power source to expect to prevent negotiation timeouts.
- Long press B to enter Settings.
- Navigate to Power Settings.
- Find Voltage Limit. If using a 65W PD charger, set this to 20V. If you are using a 12V DC barrel-to-USB-C adapter, set it to 12V.
- Set the PD Timeout to 20 (which equals 2.0 seconds). This gives the charger's handshake protocol enough time to offer the 20V rail before the iron defaults to a lower voltage.
Upgrading to IronOS: The Community Standard
While the stock firmware works, the open-source community has developed IronOS, which unlocks advanced features like custom boot animations, finer temperature stepping (1°C increments), and improved PID tuning algorithms. According to the Pine64 Community Wiki (which shares architectural parity with the TS101), IronOS is considered the definitive software experience for BL706-based irons.
How to Flash IronOS on the TS101:
- Download the latest
TS101release from the IronOS GitHub releases page. - Hold down the 'B' (-) button on the iron and plug it into your PC via a data-capable USB-C cable.
- The TS101 will mount as a USB flash drive named 'DFU'.
- Drag and drop the
.binfirmware file into the drive. - Unplug, wait 5 seconds, and power it on with your soldering PSU. The new UI will be active.
Common Beginner Mistakes and Troubleshooting
Even with smart temperature control, the physics of soldering still apply. Here are the most frequent issues TS101 beginners face and how to solve them.
1. The 'Tip Not Found' or 'Thermal Runaway' Error
The Symptom: The screen flashes an error, and the iron refuses to heat, or it heats uncontrollably until you unplug it.
The Fix: This is almost never a software bug. It is a physical connection issue. The TS-C tips use a specific pinout to communicate with the BL706's ADC (Analog-to-Digital Converter). If the two tiny set screws on the side of the metal collar are loose, or if there is oxidation on the tip's insertion barrel, the iron cannot read the thermocouple. Action: Unplug the iron, let it cool, remove the tip, lightly polish the insertion barrel with a Scotch-Brite pad, reinsert it firmly, and tighten the set screws just past finger-tight using the included hex key.
2. Solder Balls Up and Refuses to Wet
The Symptom: The solder melts but forms a sphere on the tip, refusing to flow onto the PCB pad.
The Fix: This is a flux deficiency, not a temperature issue. Beginners often rely on the rosin core inside cheap solder wire, which burns off in seconds. To achieve IPC-compliant wetting, you must apply external tack flux (like Amtech NC-559 or Chip Quik SMD291) directly to the joint before applying the iron. The TS101's rapid heat-up will vaporize cheap flux instantly; always use high-quality no-clean or water-soluble flux for drag soldering.
3. Accelerometer Sleep Mode False Triggers
The Symptom: The iron goes into sleep mode (dropping to 150°C) while you are actively holding it and trying to solder.
The Fix: The TS101 uses an LIS3DH accelerometer to detect motion. If you solder with a very light, static grip, the sensor may think the iron is resting in its stand. Navigate to Sensitivity Settings in the menu and increase the Sleep Sensitivity threshold, or adjust the Sleep Time from the default 1 minute to 3 minutes while you build muscle memory.
Maintaining Your TS-C Tips for Longevity
The TS-C tips are iron-plated copper cores. They are highly susceptible to galvanic corrosion if abused. Never use abrasive sandpaper or steel wool to clean a hot tip; this strips the iron plating, exposing the copper core to molten solder, which will dissolve the tip from the inside out in a matter of days (a phenomenon known as 'copper leaching').
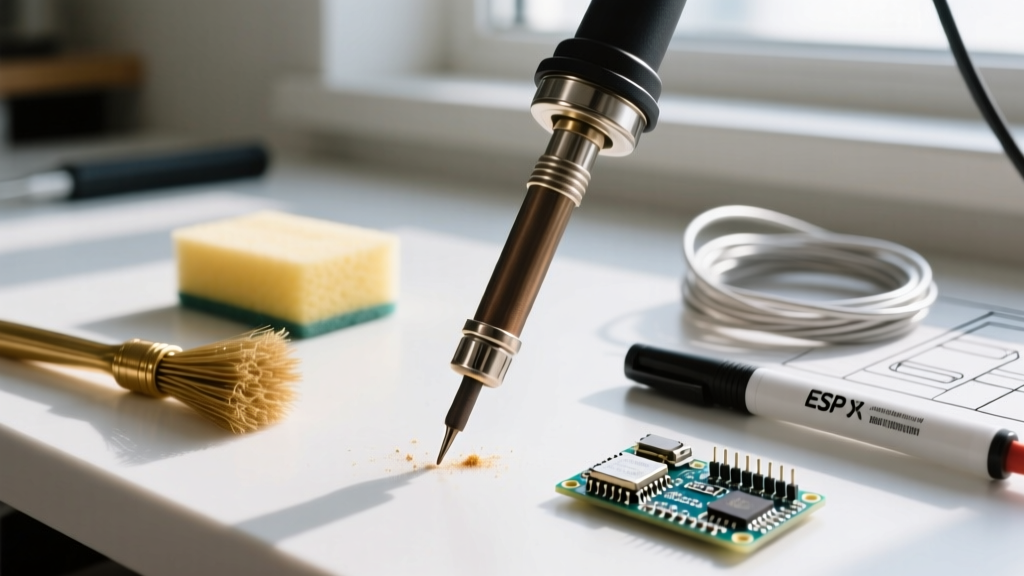
Instead, use a damp brass wire sponge. Furthermore, always 'tin' the tip before placing it in the stand. Leaving a blob of cheap, oxidized solder on the tip acts as a sacrificial anode, protecting the working face of the tip from oxidizing while it sits at 320°C. When you pick the iron back up, simply wipe that sacrificial blob off on the brass sponge, and you will reveal a perfectly tinned, ready-to-use surface.
Final Verdict for Beginners
The Makerbase TS101 soldering iron represents the pinnacle of entry-level electronics tooling. By pairing it with a reliable 65W GaN charger, a TS-BC2 beveled tip, and a high-quality no-clean flux, you are effectively bypassing the 'bad tools' learning curve entirely. It allows you to focus on the metallurgy of soldering—capillary action, wetting angles, and flux chemistry—rather than fighting a tool that cannot hold a stable temperature.