
The 2026 Landscape of Multi-Function Soldering Kits
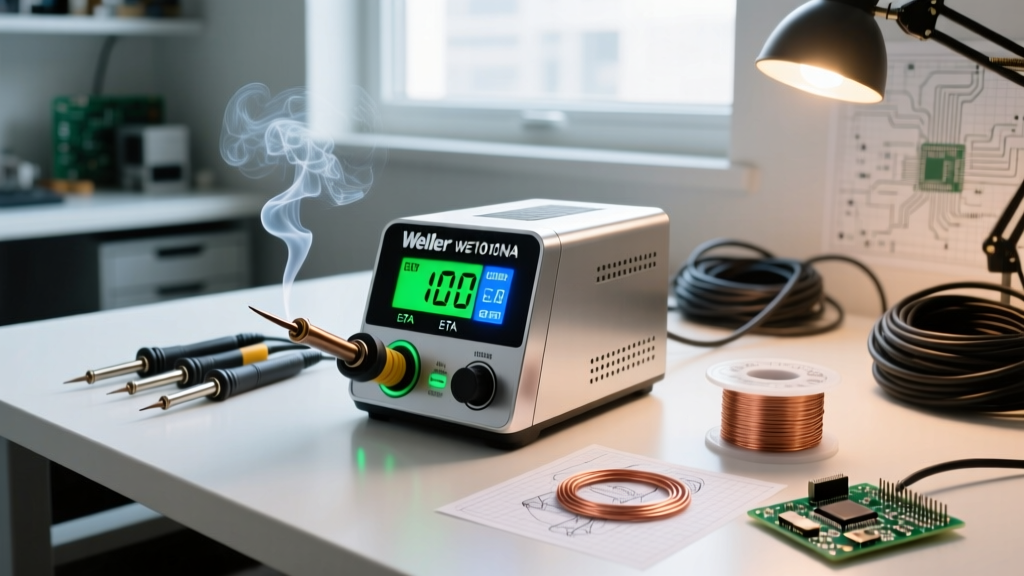
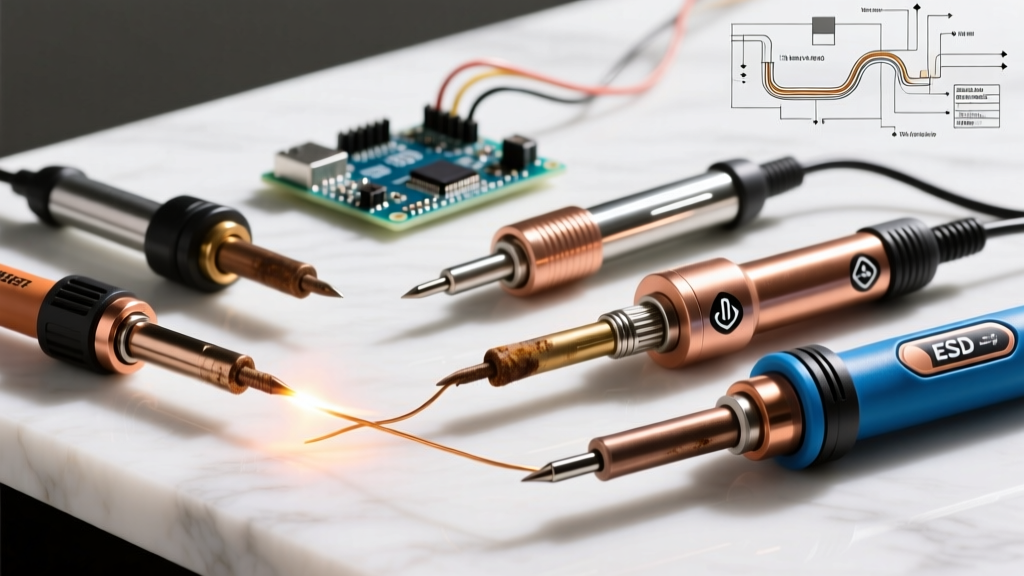
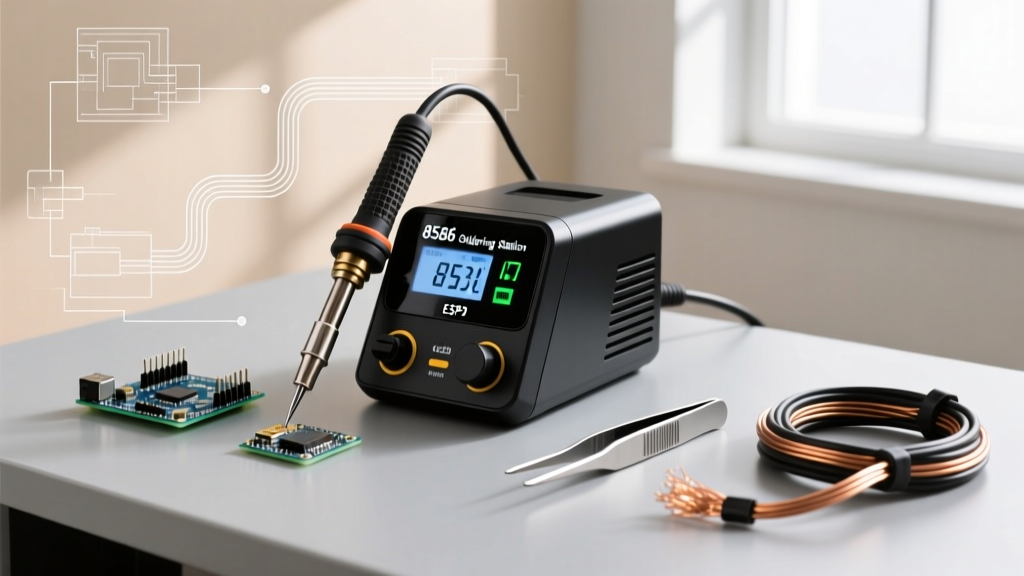
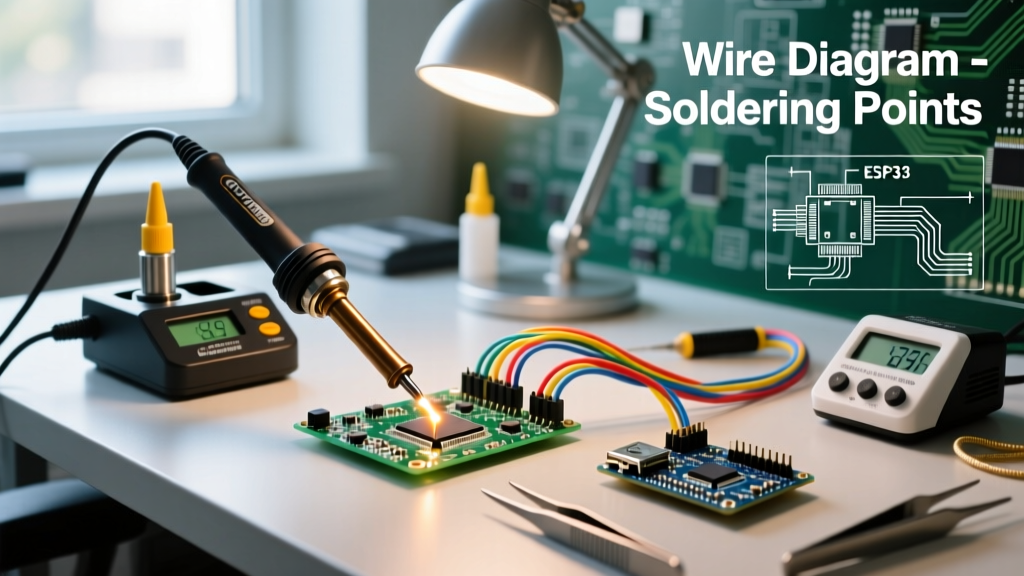
When you invest in a multi function soldering iron soldering gun set, you are typically acquiring a versatile, all-in-one workstation. These kits generally bundle a 60W adjustable temperature iron, a hot air rework gun, a desoldering pump, and occasionally a transformer-based pistol-grip soldering gun. While budget-friendly (ranging from $45 to $130 in 2026), their dense integration of components makes them prone to specific, compounding failure modes. Whether you are dealing with a Yihua 926, a generic Amazon-branded 60W combo, or a mid-tier Weller WE1010NA equivalent, understanding the internal architecture is the first step toward effective troubleshooting.
Essential Diagnostic Toolkit
Before opening the chassis of your station, assemble the following tools to ensure accurate diagnostics:
- Digital Multimeter (DMM): Capable of measuring resistance (Ohms) down to 0.1Ω and continuity.
- Isopropyl Alcohol (99%): For cleaning carbon tracking on switches and PCBs.
- Tip Tinner/Refresher: Such as MG Chemicals 490 or Hakko 599B for thermal recovery.
- Replacement Heating Elements: A1322 or A1323 compatible ceramic heaters (typically $8–$12 each).
⚠️ CRITICAL SAFETY WARNING: Always unplug the station from mains power before opening the chassis. The internal smoothing capacitors on the station's DC power board can retain lethal charges (up to 400V DC) even after being disconnected. Discharge capacitors using a high-wattage bleeder resistor before probing the PCB.
Core Troubleshooting: Iron Heater & Thermocouple Failures
The most common complaint with any multi function soldering iron soldering gun set is the iron failing to heat or the digital display flashing an error code (like 'H-E' or 'S-E'). This almost always points to a break in the aviation plug wiring or a blown ceramic heater.
Step-by-Step Pinout Testing
Disconnect the iron from the station. Set your multimeter to the Ohms (Ω) setting and probe the pins on the iron's plug. Most 5-pin aviation connectors follow this standard:
- Pins 1 & 2 (Heater Element): Should read between 15Ω and 25Ω. If it reads 'OL' (Open Line), the internal heating wire is snapped. Replace the A1322/A1323 element.
- Pins 3 & 4 (Thermocouple): Should read between 1Ω and 3Ω. A reading of 'OL' here means the sensor is dead, which will cause the station's PID controller to shut off power to prevent thermal runaway.
- Pin 5 to Barrel (Ground): Must show continuity (near 0Ω). If this is open, you risk inducing stray AC voltages into sensitive CMOS microcontrollers you are soldering.
Hot Air Gun: Reed Switch and Diaphragm Pump Diagnostics
In 2026, while premium stations have transitioned to brushless DC fans in the handle, 85% of budget multi-function sets still rely on a stationary diaphragm air pump connected to the handle via a silicone hose. If your hot air gun blows cold air or the station display blinks when you place the handle in its cradle, the issue is usually magnetic or mechanical.
The Reed Switch Failure
The handle rests in a cradle containing a magnet. Inside the handle is a glass reed switch. When the magnet pulls the reed switch closed, the station cuts power to the heating element to prevent fires. If the reed switch is stuck closed, the gun will never heat. If it is stuck open, the gun won't turn off when holstered.
- Fix: Open the handle (usually two Phillips screws). Locate the small glass cylinder. Tap it gently with a plastic spudger. If it remains stuck, desolder it and replace it with a standard 14mm normally-open reed switch (cost: ~$0.50).
Weak Airflow from the Diaphragm Pump
If the pump hums but airflow is weak, the internal rubber diaphragm has likely torn, or the silicone check valves have degraded due to heat cycling. Replacing the entire pump module (often an APC-800 or compatible 24V pump) costs around $15 and requires only basic soldering to reconnect the DC power leads on the mainboard.
Pistol-Grip Soldering Gun Trigger Intermittency
If your set includes a transformer-based pistol-grip soldering gun (like a Weller D550 clone), the trigger switch is a high-failure component. These guns draw 100W to 250W instantly, causing massive inrush currents that pit and carbonize the copper contacts inside the microswitch.
Restoration Protocol: Disassemble the gun housing. Remove the trigger switch. Inject 99% isopropyl alcohol and a specialized electrical contact cleaner (like DeoxIT D5) into the switch actuator gap. Actuate the trigger 50 times to mechanically scrub the carbon tracking off the internal contacts. If the voltage drop across the switch remains above 0.5V under load, the switch must be replaced.
Preventative Maintenance Matrix
Adhering to a strict maintenance schedule ensures your multi function soldering iron soldering gun set meets the reliability standards expected in modern electronics repair. The IPC J-STD-001 standard emphasizes that tool maintenance is directly tied to solder joint reliability and the prevention of cold joints.
| Component | Maintenance Action | Interval | Tools / Est. Cost |
|---|---|---|---|
| Iron Tip | Retin with 63/37 rosin-core solder before powering off | Every Use | Solder ($8) |
| Brass Wool Sponge | Empty oxidized solder dross from the brass coil | Weekly | Tweezers (Free) |
| Hot Air Nozzles | Clear flux residue from internal bore using a needle | Bi-Weekly | Needle / IPA ($2) |
| Aviation Plug | Inspect for bent pins; apply dielectric grease | Monthly | Dielectric Grease ($4) |
| Diaphragm Pump | Check silicone hose for micro-cracks or kinks | Every 6 Months | Replacement Hose ($3) |
Overcoming 'Black Death': Severe Tip Oxidation
If you leave your iron at 400°C with lead-free solder (SAC305), the iron plating will oxidize into a crusty black layer within minutes, refusing to transfer heat. This is known in the industry as 'Black Death'. Never use sandpaper or a file to clean it. Modern tips are iron-plated over a copper core; filing will destroy the tip instantly.
The Recovery Method: Turn the station down to 250°C. Apply a generous glob of Tip Tinner (a mixture of phosphoric acid and tin powder). The mild acid strips the oxidation, while the tin powder immediately re-wets the exposed iron plating. Wipe on a damp cellulose sponge, then immediately apply fresh rosin-core solder. If the tip remains black after three cycles, the iron plating has micro-fractured, and the tip must be discarded.
Repair vs. Replace: A Cost-Benefit Analysis
When a major component fails, is it worth fixing your multi function soldering iron soldering gun set? Here is a 2026 cost-benefit breakdown:
- Blown Heating Element ($10 fix): Always repair. Replacing an A1322 element takes 5 minutes and extends the iron's life by years.
- Fried TRIAC on Mainboard ($25 fix): Repair if skilled. If the iron heats to maximum and melts the tip, the TRIAC (often a BTA16) has shorted. Desoldering and replacing it requires intermediate through-hole soldering skills.
- Failed Transformer / Power Supply ($40+ fix): Replace the unit. Sourcing a proprietary 24V 3A DC power brick or a custom-wound transformer often costs more than buying a brand-new entry-level multi-function kit.
Frequently Asked Questions
Why does my soldering gun set trip my GFCI outlet?
This indicates a ground fault, usually caused by a breakdown in the mica insulation inside a pistol-grip gun's heating element, or a frayed wire in the hot air gun's silicone hose touching the chassis. Stop using it immediately and test the chassis for AC voltage leakage with a multimeter.
Can I use my hot air gun to shrink tubing on high-voltage wiring?
Yes, but maintain a distance of at least 2 inches and keep the temperature below 200°C. Excessive heat concentration can degrade the dielectric strength of the underlying wire insulation, violating basic safety protocols outlined by the EPA and OSHA guidelines regarding wire harness integrity and hazardous material exposure during overheating.
How do I calibrate the digital temperature display?
Most budget multi-function sets lack external calibration potentiometers. If your display reads 350°C but a tip thermometer reads 320°C, apply a +30°C offset in your workflow. For stations with a digital calibration menu (usually accessed by holding the '+' and '-' buttons on boot), use a K-type thermocouple strapped to the tip with aluminum foil to map the exact offset curve.