
The Reality of Heavy-Duty Automotive Soldering in 2026
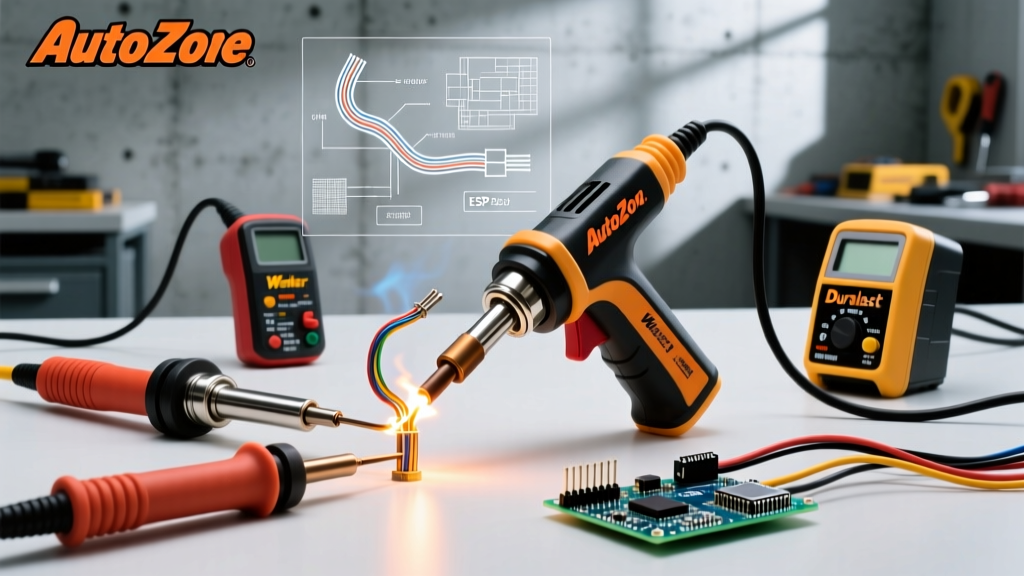
When evaluating the soldering gun AutoZone inventory, you will primarily find heavy-duty, transformer-based models designed for thick-gauge automotive wiring, battery terminals, and chassis grounding. Unlike the delicate 40W-60W pencil irons used for printed circuit boards, the typical AutoZone soldering gun—such as the in-house Duralast 150W or the premium Weller D550 (260W/200W dual-heat)—operates on entirely different electrical principles. As of 2026, the proliferation of 48V mild-hybrid systems, high-current electric vehicle (EV) accessories, and heavy-duty winch wiring means automotive technicians and DIYers are pushing these tools harder than ever.
However, transformer-style soldering guns are notorious for specific failure modes. The high-current, low-voltage secondary winding, combined with the mechanical stress of the trigger switch and the brutal thermal cycling of copper tips, leads to a predictable pattern of degradation. This guide provides deep-level troubleshooting, multimeter diagnostics, and maintenance protocols to keep your heavy-duty automotive soldering gun operational for high-amperage wiring tasks.
Anatomy of an Auto Parts Store Soldering Gun
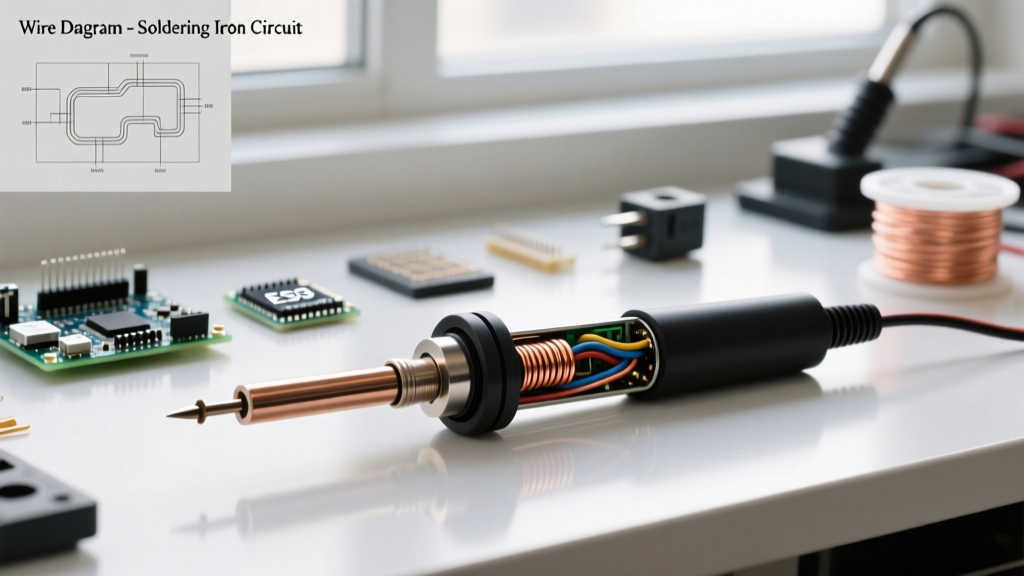
To troubleshoot effectively, you must understand the internal architecture. A standard 150W Duralast or Weller transformer gun consists of three critical subsystems:
- Primary Winding & Trigger Switch: Connects to 120V AC mains. The trigger actuates a microswitch or heavy-duty contactor to complete the circuit.
- Step-Down Transformer Core: Steps down the 120V AC to a fraction of a volt (typically 0.1V to 0.5V) while multiplying the amperage to 200A–400A.
- Secondary Loop (The Tip): The copper tip itself acts as the secondary winding. Because the resistance of the copper tip is higher than the massive transformer windings, the tip acts as a heating element, rapidly reaching 400°F–500°F in under six seconds.
Troubleshooting Matrix: Diagnosing Common Failures
Before opening the housing, use this diagnostic matrix to isolate the failure point. Always ensure the tool is unplugged before performing continuity tests.
| Symptom | Probable Cause | Diagnostic Step | Required Fix |
|---|---|---|---|
| Completely dead; no heat, no hum | Failed trigger switch or broken primary winding | Test switch continuity; test primary coil resistance | Replace microswitch or rewind/replace transformer |
| Gun hums loudly but tip stays cold | Loose tip mounting screws or oxidized secondary terminals | Visual inspection of tip base; check for arcing marks | Clean terminals with brass brush; torque screws to 15 in-lbs |
| Tip heats up but burns off solder instantly | Thermostat failure (if equipped) or shorted primary winding | Check for melted internal bobbins; measure primary resistance | Replace transformer assembly (often cheaper to buy new gun) |
| Sparks visibly at the trigger when released | Inductive kickback (normal) or pitted switch contacts | Inspect switch housing for scorch marks | Install snubber capacitor or replace heavy-duty switch |
Deep Dive 1: Electrical Diagnostics with a Multimeter
The most common reason a soldering gun from AutoZone ends up in the trash is a presumed "dead transformer." In reality, the failure is often upstream. Set your digital multimeter (DMM) to the Ohms (Ω) setting.
- Test the Trigger Switch: Place probes on the switch terminals. Pull the trigger. You should see near 0.0Ω. If the reading is infinite (OL), the switch contacts have pitted from repeated arcing and must be replaced.
- Test the Primary Winding: Bypass the switch and place probes directly on the primary coil wires. A healthy 120V primary winding in a 150W gun should read between 12Ω and 25Ω. If it reads OL, the internal thermal fuse has blown or the wire has broken.
- Test the Secondary Loop: Place probes across the two mounting screws holding the copper tip. Because this is a massive copper loop, the resistance will be incredibly low, often reading 0.1Ω to 0.3Ω. If it reads OL, the internal secondary bus bars have snapped.
Deep Dive 2: The Galvanic Corrosion Problem at the Tip Base
If your Duralast or Weller gun hums but the tip struggles to melt 60/40 rosin-core solder on an 8 AWG wire, the issue is almost always contact resistance at the secondary terminals. The secondary winding outputs hundreds of amps. Even a microscopic layer of copper oxide or galvanic corrosion at the mounting screws creates a high-resistance bottleneck. This causes the screws to glow red hot while the tip remains lukewarm.
The Fix: Remove the tip mounting screws. Use a brass wire brush (never steel, as iron deposits will alloy with the copper and ruin the electrical contact) to aggressively clean the terminal blocks and the base of the copper tip. Apply a microscopic dab of high-temperature anti-oxidant paste (like Noalox) to the screw threads—not the electrical contact surfaces—to prevent future seizing from thermal expansion.
Maintenance Protocol for High-Current Automotive Soldering
Automotive environments are hostile to soldering tips. Unlike PCB work where tips are kept tinned in a stand, auto mechanics frequently drop guns on concrete floors, wipe hot tips on greasy rags, and use them to melt heat-shrink tubing. According to the IPC-A-620 standards for wire harness assemblies, a proper solder joint on heavy-gauge wire requires complete wetting and a smooth, concave fillet. You cannot achieve this with a pitted, oxidized gun tip.
The "Brass Wool and Flux" Restoration Method
When your AutoZone gun tip turns black and solder balls up and rolls off, do not use sandpaper or a metal file. Filing removes the outer layer of copper and exposes the inner zinc/steel core (on cheaper tips), destroying the tool. Instead, follow this restoration protocol:
- Step 1: Heat the gun to full temperature.
- Step 2: Vigorously scrub the tip in a dense brass wool pad to remove carbonized flux and copper oxide.
- Step 3: Immediately plunge the hot tip into a pot of heavy-duty rosin paste flux (not liquid water-soluble flux, which will cause rapid galvanic pitting).
- Step 4: While the tip is submerged in the flux, apply a thick bead of 60/40 or 63/37 eutectic solder to the working faces.
- Step 5: Wipe gently on a damp cellulose sponge and re-tin with a fresh coat of solder before storing.
Overcoming the Heat-Sink Effect in Modern Vehicles
A frequent complaint among DIYers is that a 150W AutoZone soldering gun "isn't hot enough" to solder 4 AWG battery cables or heavy-duty ground straps. The gun is actually producing over 500°F at the tip, but the massive thermal mass of the copper wire acts as an infinite heat sink, pulling the thermal energy away faster than the transformer can replenish it.
Expert Technique: Hybrid Heating
When soldering 4 AWG or larger wire, do not rely solely on the soldering gun. Use an industrial heat gun (set to 400°F) to pre-heat the copper wire and terminal for 15 seconds before applying the soldering gun. This brings the baseline temperature of the massive copper mass up, allowing the transformer gun's localized 500°F tip to easily push the joint past the solder's liquidus point (361°F for 60/40) without stalling.
Furthermore, always use a high-solids rosin paste flux applied with an acid brush directly to the wire strands before heating. Automotive wires are often coated in microscopic dielectric greases or anti-corrosion compounds from the factory; flux is mandatory to break these barriers and allow capillary action to draw the solder into the strand matrix.
Critical Safety Warning: Inductive Kickback and Battery Gas
Transformer-style soldering guns generate a high-voltage inductive spike (kickback) the exact millisecond you release the trigger. This manifests as a visible blue spark at the copper tip. While harmless when soldering a standalone wire harness on a workbench, never release the trigger while the tip is inside an engine bay near a venting lead-acid battery. Batteries off-gas highly explosive hydrogen, and the inductive spark is more than sufficient to ignite it. Always disconnect the vehicle battery and ventilate the area before performing heavy-gauge soldering near the battery tray. For more on tool safety and electrical standards, refer to the Weller Tools official support and safety documentation.
Frequently Asked Questions (FAQ)
Can I use an AutoZone soldering gun for delicate circuit board repair?
No. The massive thermal mass and unregulated 500°F+ tip temperature will instantly lift SMD pads and destroy through-hole components. Furthermore, the electromagnetic field generated by the transformer can induce voltage spikes that damage sensitive microcontrollers and MOSFETs. Use a temperature-controlled pencil station (like a Hakko FX-888D) for PCB work.
Why does my Duralast gun tip turn black after one use?
This is severe oxidation caused by leaving the gun hot while idle, or using the gun to melt heat-shrink tubing without keeping the tip tinned. Always keep a layer of solder on the tip when not actively making a joint. The solder acts as a sacrificial anode, oxidizing in place of the copper tip.
Is it worth rewinding a blown transformer in a 150W gun?
From a time-and-materials perspective, no. High-temperature magnet wire and the labor required to safely rewind a step-down transformer with the correct turns ratio will exceed the $35–$45 replacement cost of a new Duralast gun or the $100 cost of a premium Weller replacement.