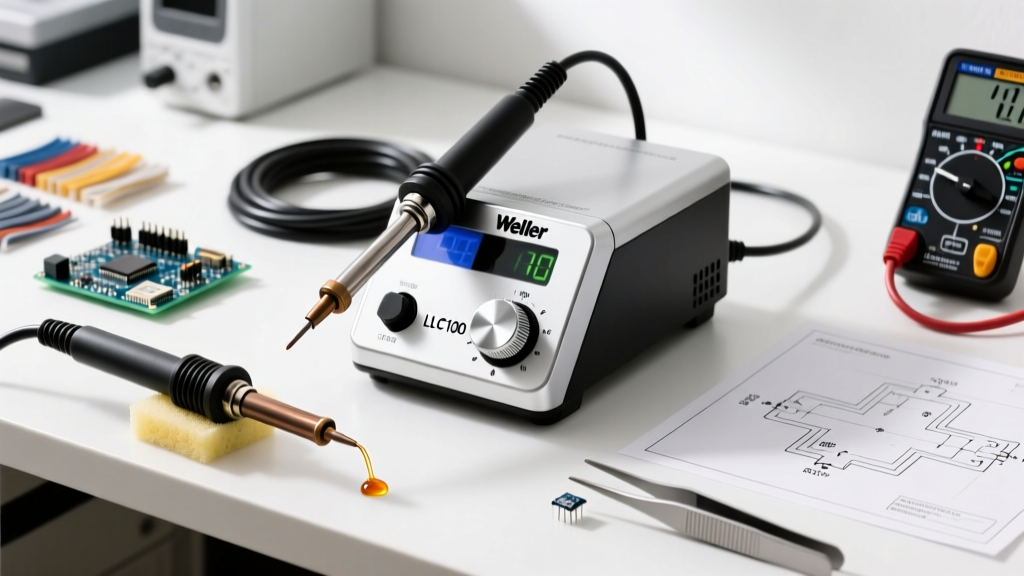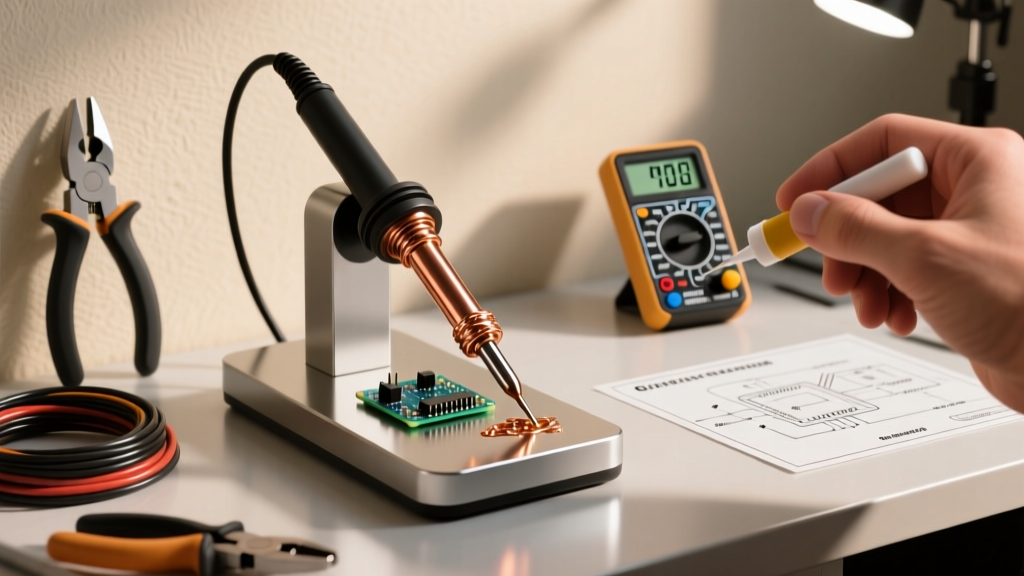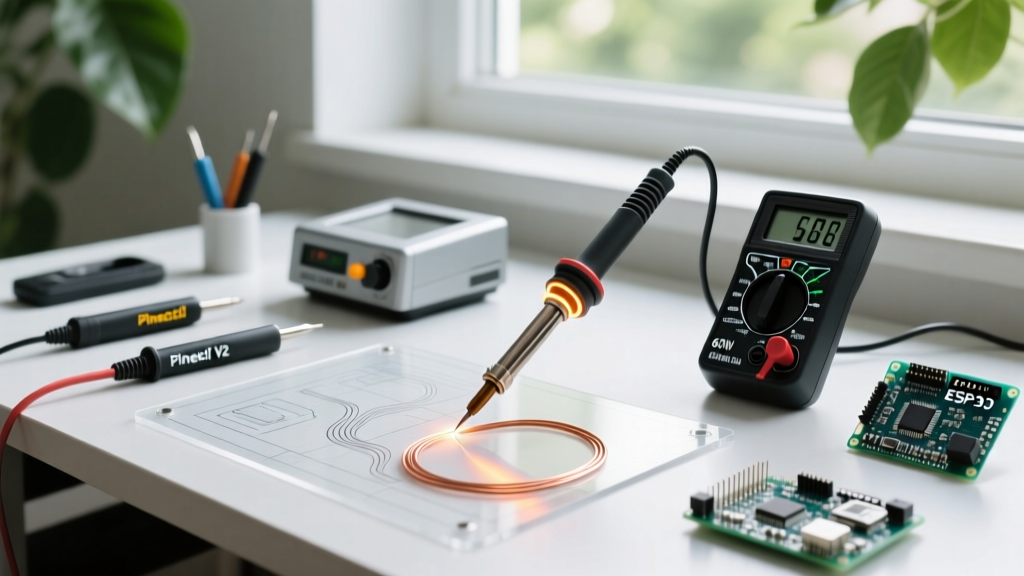

When hobbyists and students search for the cheapest soldering iron in 2026, the market generally bifurcates into two distinct categories: the ubiquitous $12 generic 60W adjustable irons with analog thumbwheels, and the $26 smart irons like the Pinecil V2. While budget tools are excellent for learning, they suffer from severe thermal lag, inaccurate thermistors, and poor factory calibration. A dial that reads 350°C on a generic iron might actually be delivering 280°C to the tip, leading to cold solder joints and frustrated makers.
This comprehensive setup and calibration tutorial will teach you how to extract precision performance from budget hardware. We will cover the physical phase-change calibration method for analog irons and the digital PID tuning for smart irons, ensuring your budget setup can handle everything from delicate 0402 SMD components to heavy ground planes.
The Physics of Budget Iron Inaccuracy
To calibrate a tool, you must first understand why it fails. In high-end stations like the Metcal or JBC, the thermistor is embedded directly inside the tip, measuring the exact working surface temperature. In the cheapest soldering iron models, the thermistor is located inside the ceramic heating element, separated from the actual tip by an air gap and a layer of metallic oxidation.
This physical separation creates thermal lag. The heater core might reach 350°C and shut off, but the tip itself is only at 290°C. Furthermore, cheap analog dials are simply variable resistors (potentiometers) that limit voltage; they are not mapped to actual temperature readings. The numbers printed on the plastic housing are largely decorative. To fix this, we must bypass the printed numbers and calibrate using fixed physical constants.
Calibrating the Generic 60W Analog Iron (Phase-Change Method)
Since generic irons lack digital menus, we use the known melting points of solder alloys as our fixed reference points. This method requires a few inexpensive tools but yields highly reliable results.
Required Tools
- K-type thermocouple wire (exposed bead)
- Digital multimeter with temperature probe capability
- High-temperature thermal paste (e.g., Arctic Silver Ceramique)
- Sn63/Pb37 Eutectic Solder (Melts exactly at 183°C / 361°F)
- SAC305 Lead-Free Solder (Melts exactly at 217°C / 422°F)
- High-temperature Kapton tape
Step-by-Step Analog Calibration
- Couple the Thermocouple: Apply a tiny dab of thermal paste to the flat side of your soldering tip. Press the exposed bead of the K-type thermocouple against the paste and secure it tightly with Kapton tape. This ensures accurate heat transfer to the sensor.
- Establish the Eutectic Baseline: Turn the iron on and set the dial to the lowest setting. Slowly increase the dial while holding a strand of Sn63/Pb37 solder against the tip. Watch your multimeter. The exact moment the solder flashes and melts, note the temperature on the multimeter and mark the dial with a permanent marker. Label this '183C'.
- Establish the Lead-Free Baseline: Repeat the process with SAC305 solder. Increase the dial until the lead-free solder flows smoothly. Mark this position on the dial as '217C'.
- Map the Intermediates: You now have two fixed, scientifically accurate points on your analog dial. You can linearly interpolate the positions for 300°C and 350°C between and above these marks. Ignore the factory-printed numbers entirely.
Expert Warning: Never use a cheap infrared thermometer gun to calibrate your iron. IR thermometers measure surface emissivity, and the shiny metallic plating of a soldering tip will reflect ambient room temperatures, giving you wildly inaccurate readings up to 100°C off. Always use physical contact thermocouples or phase-change alloys.
Calibrating the Cheapest Smart Iron (Pinecil V2)
If your definition of the cheapest soldering iron leans toward 'best value for money,' the Pinecil V2 is the undisputed champion in 2026. Priced around $26, it features a RISC-V processor, USB-C PD negotiation, and a digital menu that allows for precise tip offset calibration and PID tuning.
Accessing the Hidden Service Menu
Out of the box, the Pinecil V2 is calibrated for an 'average' tip. However, manufacturing tolerances in the thermistor mean your specific tip might read 10°C high or low. To calibrate it:
- Unplug the iron and let it cool to room temperature.
- Press and hold the '+' (Plus) button.
- While holding the button, plug the iron into a USB-C power source.
- The screen will display the Service Menu. Release the button.
Adjusting the TIP Offset
Navigate to the Calibration submenu. You will see a 'TIP Offset' value. Using a trusted room-temperature thermometer, adjust the offset value until the Pinecil's displayed temperature matches your room temperature exactly. This zeroes out the thermistor's baseline resistance error.
PID Tuning for Thermal Stability
The Proportional-Integral-Derivative (PID) controller dictates how the iron reacts to heat loss. The default PID values (P: 150, I: 15, D: 250) are optimized for standard medium-conical tips. If you switch to a heavy chisel tip for large ground planes, the default integral windup will cause temperature overshooting. For heavy tips, reduce the 'I' value to 10 and increase 'P' to 180 to prioritize aggressive initial heating over long-term micro-adjustments.
Solder Alloy Temperature Matrix
Regardless of whether you are using a $12 analog iron or a $26 smart iron, your target temperature must be dictated by the alloy you are using, not by arbitrary preferences. The general rule of thumb endorsed by Adafruit's soldering guidelines is to set the tip 40°C to 60°C above the alloy's liquidus point to account for the thermal mass of the PCB pad.
| Alloy Type | Composition | Melting Point | Ideal Tip Target |
|---|---|---|---|
| Eutectic Leaded | Sn63 / Pb37 | 183°C (361°F) | 240°C - 260°C |
| Lead-Free (SAC) | SAC305 | 217°C (422°F) | 300°C - 320°C |
| Low-Temp Bismuth | Sn42 / Bi58 | 138°C (280°F) | 180°C - 200°C |
| High-Temp (LEDs) | Sn10 / Pb88 / Ag2 | 268°C (514°F) | 330°C - 350°C |
Overcoming Thermal Mass Limitations
The most common failure mode when using the cheapest soldering iron is attempting to solder a large ground plane on a multi-layer PCB. The massive copper area acts as a heatsink, draining thermal energy from the tip faster than the 60W ceramic heater can replenish it. The temperature crashes, the solder turns to a dull paste, and the joint is compromised.
To mitigate this without buying a $300 station, you must maximize thermal transfer efficiency:
- Maximize Contact Area: Never use a fine conical tip for ground planes. Swap to a wide bevel or heavy chisel tip. The larger the surface area touching the pad, the faster the thermal transfer.
- Use Flux Generously: Flux is not just for cleaning; it is a thermal bridge. Liquid or tacky flux fills the microscopic air gaps between the tip and the pad, dramatically increasing thermal conductivity before the solder even melts.
- Pre-heat the Board: If you are working on a 4-layer board with heavy copper pours, use a cheap $15 PTC heating pad or a hot air gun set to 100°C to bring the ambient board temperature up. This reduces the thermal delta the iron must overcome.
Essential Maintenance for Budget Tips
Budget irons typically use the 900M-T series tips. These consist of a copper core plated with a microscopic layer of iron (usually 0.1mm thick) to prevent the solder from dissolving the copper. If this iron plating oxidizes, heat transfer drops to near zero.
According to thermal measurement best practices, maintaining the emissivity and conductivity of your sensor (or in this case, your heating element) is paramount. Never file, sand, or use abrasive sponges on a 900M-T tip. Instead, use a damp cellulose sponge or brass wire shavings. Always leave a thick blob of solder on the tip before turning the iron off; this 'sacrificial anode' will oxidize instead of the iron plating, ensuring your calibrated setup remains accurate for years to come.
By understanding the physical limitations of budget hardware and applying scientific calibration methods, you can transform the cheapest soldering iron into a reliable, precision instrument capable of professional-grade PCB rework.