
The Hidden Cost of Oxidized Soldering Tips
There are few things more frustrating in electronics assembly than a soldering tip that refuses to wet. You touch the iron to a pad, and the molten solder balls up and rolls away, leaving a cold, uneven joint. This phenomenon is almost always caused by oxidation and carbonized flux buildup on the working surface of the tip. As we navigate the component density challenges of 2026, lead-free alloys like SAC305 and SAC405 dominate both professional production and advanced DIY builds. These alloys require higher operating temperatures—typically between 340°C and 380°C—compared to legacy Sn63/Pb37 eutectic solder. This 40°C to 60°C increase drastically accelerates tip oxidation and flux carbonization, making the technique of cleaning soldering iron tips more critical than ever.
Replacing high-performance tips is expensive. A single genuine Weller RT series micro-tip costs around $14, while Pace Blue Series tips hover near $16. If you are burning through a tip a week due to improper maintenance, you are wasting over $700 annually. More importantly, an oxidized tip transfers heat inefficiently, leading to prolonged dwell times on sensitive pads and a higher risk of thermal damage to modern BGA components and fine-pitch ICs.
The Anatomy of a Soldering Tip (And Why Abrasives Ruin Them)
To understand proper cleaning techniques, you must understand tip metallurgy. A modern high-quality soldering tip is not solid iron or solid copper. It is a complex, multi-layered engineered component:
- Copper Core: Provides rapid thermal conductivity from the heating element to the workpiece.
- Iron Plating: A protective layer, typically 100 to 150 microns thick, applied to the copper. Molten solder aggressively dissolves copper; the iron plating acts as a sacrificial barrier to prevent the tip from eroding away.
- Nickel/Chrome Barrier: Applied behind the iron plating to prevent solder from wicking up the shaft of the tip.
- Tinned Working Surface: The very tip is pre-tinned with solder to ensure immediate wetting.
Because the iron plating is only a fraction of a millimeter thick, using abrasive materials like sandpaper, metal files, or Dremel tools to clean a tip will strip the iron layer in seconds. Once the copper core is exposed, the tip will dissolve into your solder pot or joint within hours, rendering it completely useless. According to IPC soldering standards, maintaining the integrity of the tip's plating is essential for consistent thermal transfer and joint reliability.
Tier 1: Daily Maintenance and Routine Cleaning
Routine cleaning should occur every time you put the iron back into its holder, and immediately before making a solder joint. The goal is to remove oxidized solder and burnt flux without shocking the tip or scratching the iron plating.
The Brass Wool vs. Cellulose Sponge Debate
For decades, the damp cellulose sponge was the industry standard. However, brass wool has largely superseded it in professional environments, and for good reason.
Cellulose Sponges: If you use a sponge, it must be 100% natural cellulose. Synthetic kitchen sponges will melt onto the hot tip, creating a catastrophic carbonized mess. The sponge should be dampened with distilled water—tap water contains minerals that leave insulating deposits on the tip. The Squeeze Test: When squeezed, the sponge should not drip water. If it is too wet, touching a 360°C tip to it causes an instantaneous temperature drop of up to 100°C. This thermal shock creates micro-fractures in the iron plating, leading to pitting and premature failure.
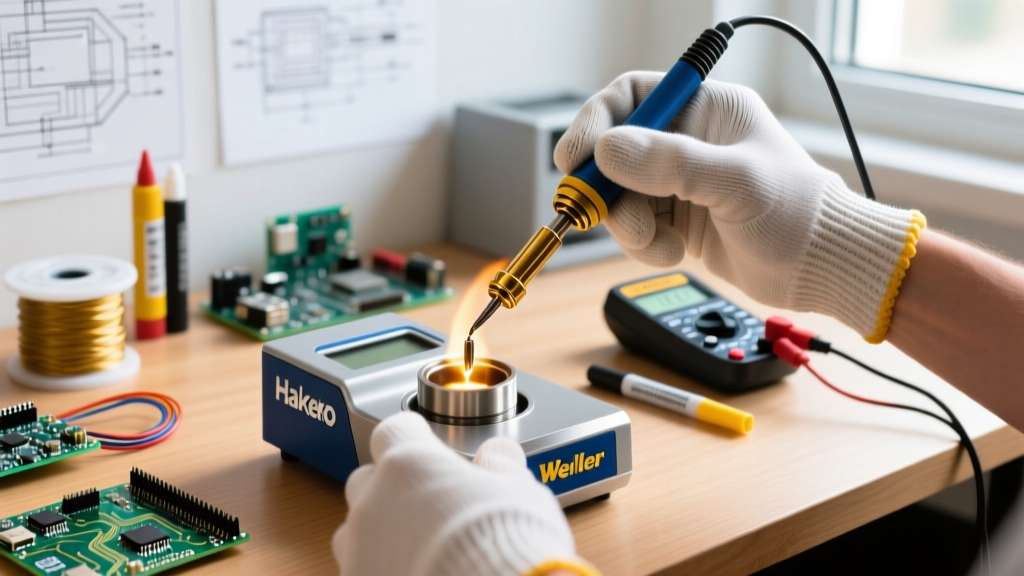
Brass Wool: Products like the Hakko 599B (around $7) use soft brass shavings. Brass is harder than solder but softer than the iron plating. Wiping the tip through brass wool scrapes away oxidized solder and carbonized flux without scratching the iron layer. Furthermore, because it is dry, it causes zero thermal shock, keeping your station's temperature sensors stable and extending the life of the heating element.
Tier 2: Deep Cleaning for 'Black Tip' Syndrome
If your tip has turned black, grey, or crusty, and molten solder immediately balls up and falls off, routine wiping will not save it. The tip is heavily oxidized and requires chemical reduction. This is where a tip tinner/activator becomes mandatory.
Expert Insight: Never use liquid flux paste or aggressive plumbing acids to clean an electronics soldering tip. The high chloride content in plumbing fluxes will rapidly eat through the iron plating. Always use dedicated electronics tip tinner.
A high-quality tip tinner, such as the Hakko FS-100 or Weller WDC2 (both priced between $9 and $15), contains a mixture of mild phosphoric acid and powdered SAC305 solder. The acid strips the oxidation, and the solder powder immediately re-tins the exposed iron.
Step-by-Step Chemical Deep Cleaning
- Reduce Temperature: Lower your soldering station to 250°C - 280°C. High heat will cause the activator to boil and splatter.
- Dip and Agitate: Plunge the oxidized tip into the tip tinner compound for 2 to 3 seconds. Gently swirl it in a circular motion. You will see a small amount of smoke as the phosphoric acid reacts with the iron oxide.
- Wipe Clean: Remove the tip and immediately wipe it vigorously through your brass wool to remove the acidic residue and slag.
- Re-Tin Immediately: Apply fresh, high-quality rosin-core electronics solder to the tip. It should wet instantly, leaving a shiny, mirror-like finish.
- Repeat if Necessary: For severe carbon buildup, you may need to repeat this process two or three times.
For comprehensive maintenance protocols, Hakko's official tip maintenance guidelines strongly recommend tinning the tip before powering down the station to create a sacrificial oxidation barrier while the tool cools.
Comparison Matrix: Tip Cleaning Methods Evaluated
| Cleaning Method | Mechanism of Action | Risk to Iron Plating | Best Use Case |
|---|---|---|---|
| Brass Wool (Dry) | Mechanical scraping (soft metal) | Very Low | Routine wiping between every joint |
| Cellulose Sponge (Damp) | Thermal shock & steam cleaning | Moderate (Micro-fractures) | Legacy setups; requires strict moisture control |
| Tip Tinner/Activator | Chemical reduction (Phosphoric acid) | None (Restores plating) | Deep cleaning oxidized/blackened tips |
| Sandpaper / Emery Cloth | Abrasive grinding | Catastrophic (Strips plating) | NEVER use on soldering tips |
| Metal File / Knife | Heavy mechanical cutting | Catastrophic (Strips plating) | NEVER use on soldering tips |
Five Fatal Mistakes That Destroy Iron Plating
Even with the right tools, bad habits will ruin a $15 tip in a matter of days. Avoid these common pitfalls:
- Idling at Maximum Temperature: Leaving a station set to 400°C+ while not actively soldering accelerates oxidation exponentially. If you are stepping away for more than five minutes, turn the station off or use a sleep/standby function that drops the temp to 150°C.
- Using the Tip as a Pry Tool: Soldering tips are not screwdrivers or levers. The iron plating is brittle; prying up a stubborn component will chip the plating, exposing the copper core to instant dissolution.
- Leaving Flux to Carbonize: If you apply flux to a joint but fail to clean the tip afterward, the rosin will bake into a hard, black carbon shell. This shell acts as a thermal insulator, forcing you to increase the temperature and apply more pressure, which damages the tip and the PCB pad.
- Tapping the Iron on the Stand: Violently tapping the iron against the metal base to knock off excess solder can physically deform the tip or crack the internal ceramic heating element in pencil-style irons.
- Using Lead-Free Solder on Non-Rated Tips: While most modern tips are rated for lead-free, using specialized high-temperature solders (like SN100C) on standard thin-plated tips will erode them rapidly. Ensure your tip series is rated for the specific alloy you are using.
Edge Case Troubleshooting
Problem: The tip has a shiny surface, but solder still won't stick.
Diagnosis: Invisible silica or rosin buildup.
Solution: Use a specialized tip polishing bar (like the Edsyn TP-1) which uses a very mild, non-abrasive chemical compound to remove invisible insulating layers without scratching the iron.
Problem: The tip surface looks like a cratered moon (pitting).
Diagnosis: The iron plating has been breached, and the copper core is dissolving.
Solution: The tip is dead. No amount of tip tinner will fix physical pitting. Discard the tip, clean the heater shaft with isopropyl alcohol to ensure good thermal transfer, and install a new one.
Problem: The tip has turned a dark blue or gold color near the base.
Diagnosis: Severe overheating. The iron and nickel layers have oxidized due to running the station too hot for too long.
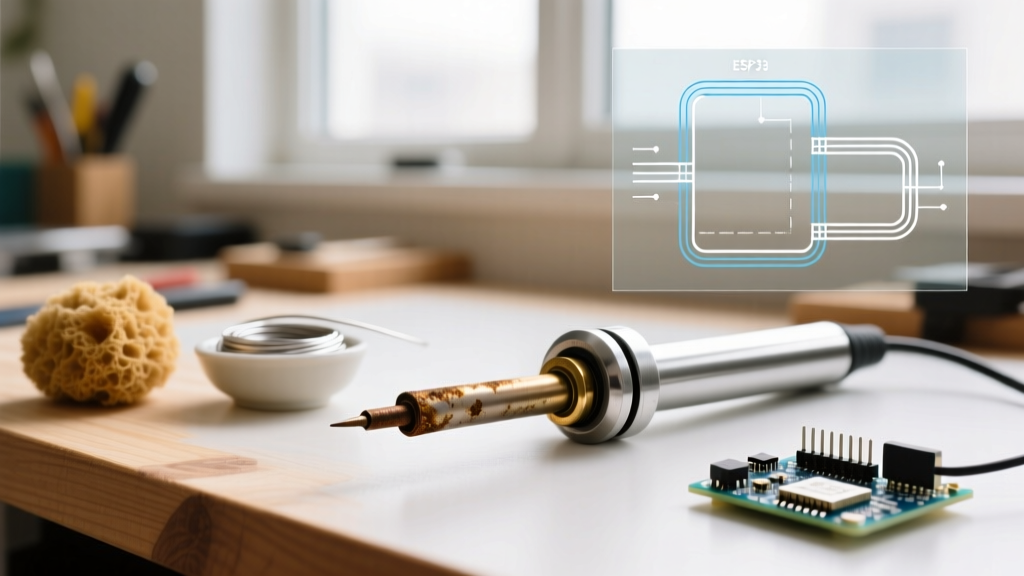
Solution: Lower your working temperature. If the discoloration is only on the shaft and the working end still wets properly, the tip can still be used, but its overall lifespan has been significantly reduced.
Conclusion
Mastering the technique of cleaning soldering iron tips is not just about keeping your tools looking nice; it is a fundamental requirement for reliable electronics assembly. By understanding the delicate metallurgy of the iron plating, utilizing dry brass wool for daily maintenance, and deploying chemical tip tinners for deep oxidation removal, you can easily double or triple the lifespan of your tips. In the era of high-temperature lead-free solders and microscopic 0201 components, a perfectly wetted, properly maintained tip is your most valuable asset on the workbench.